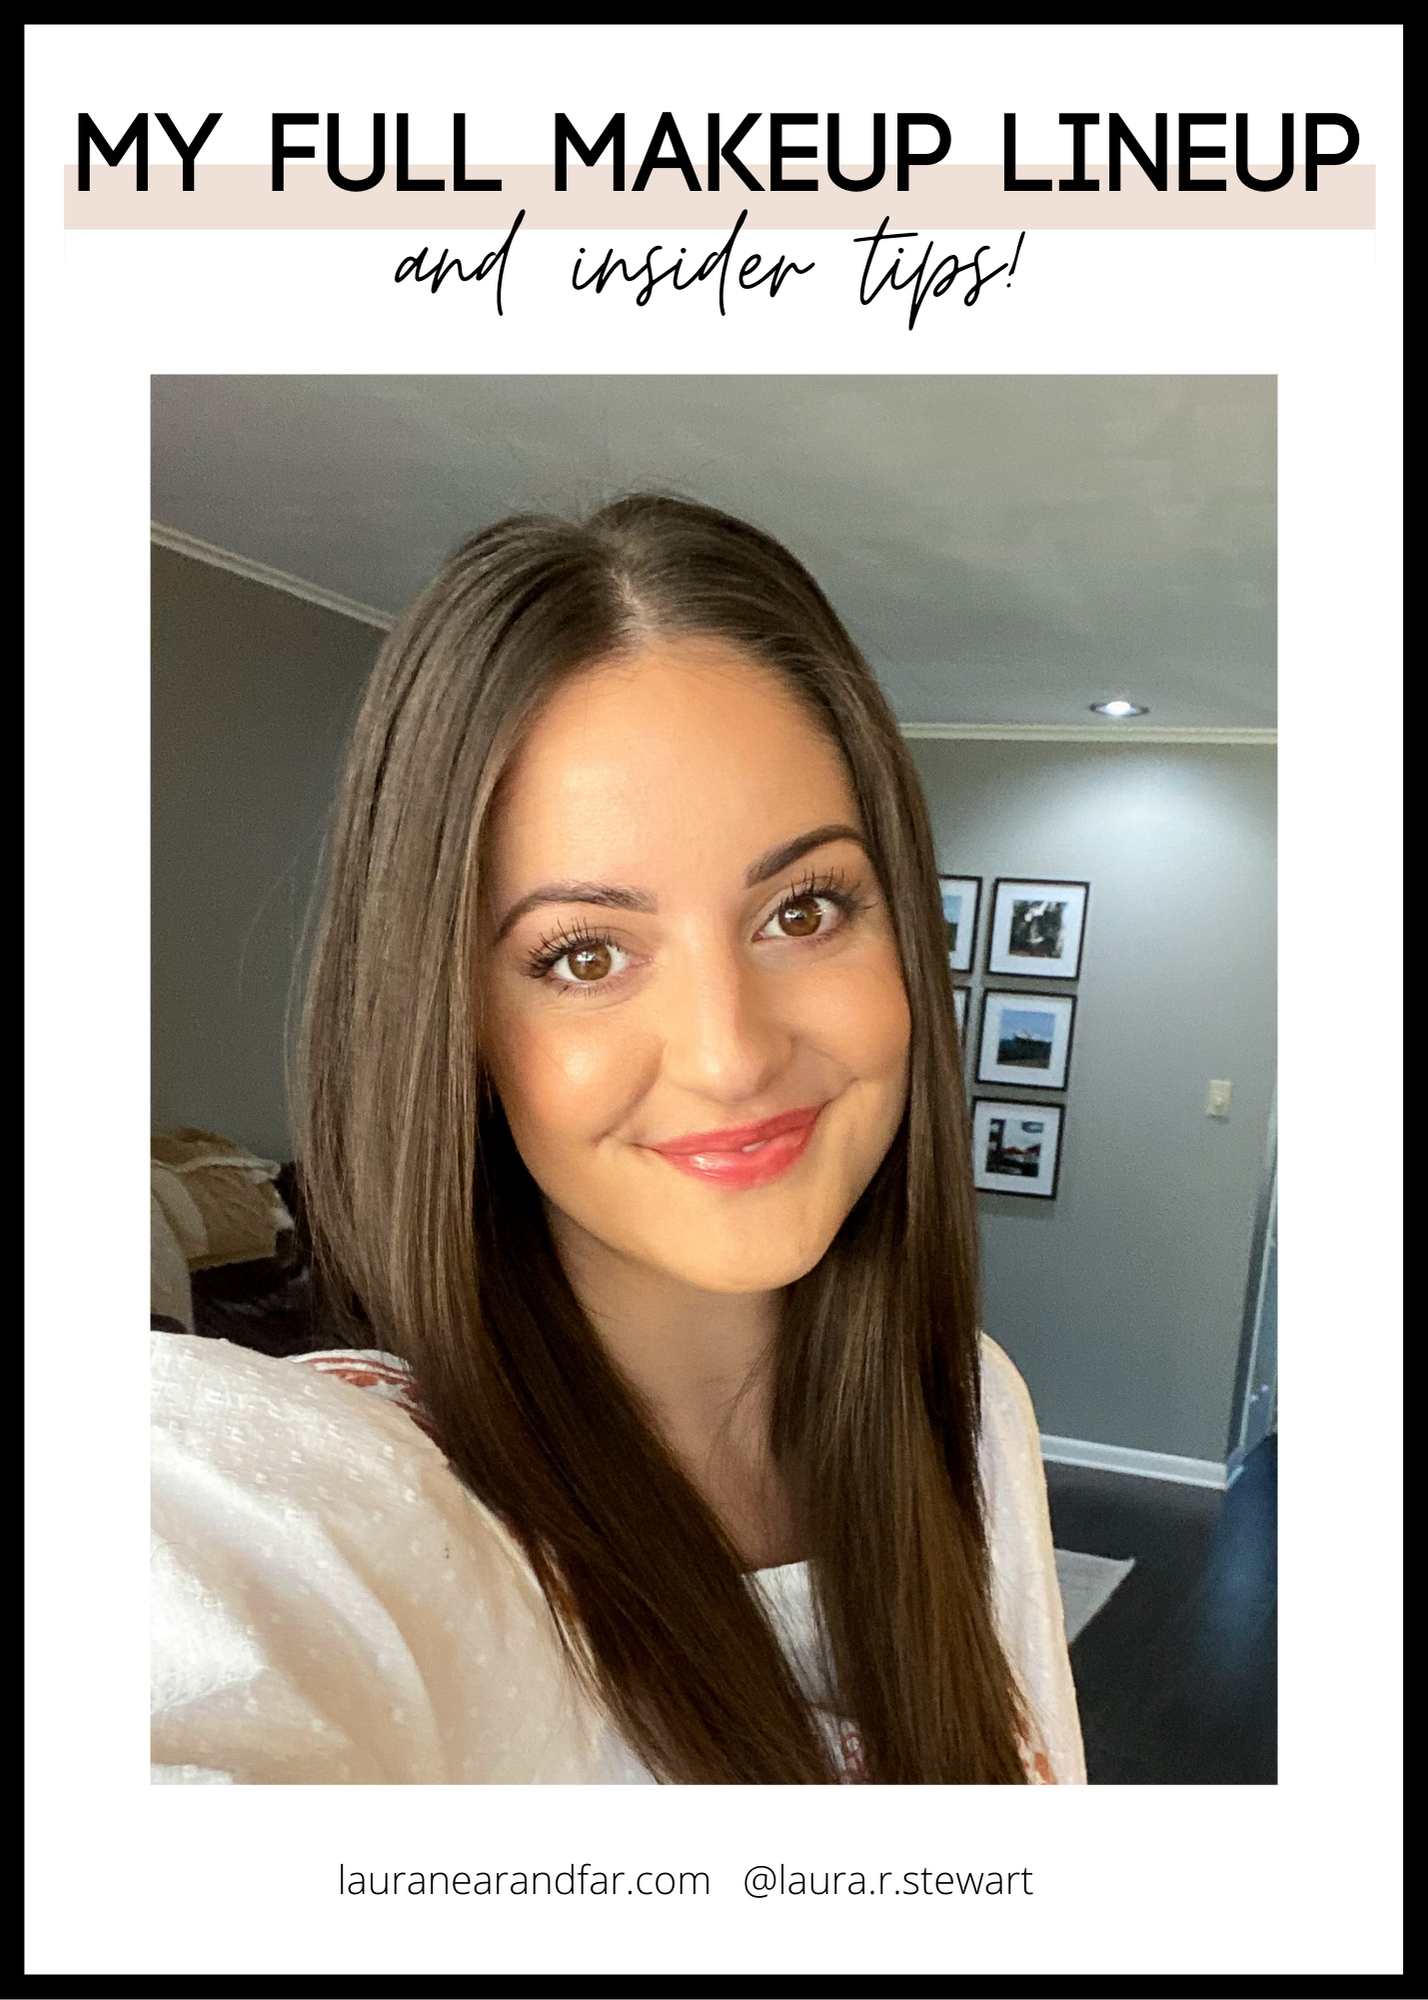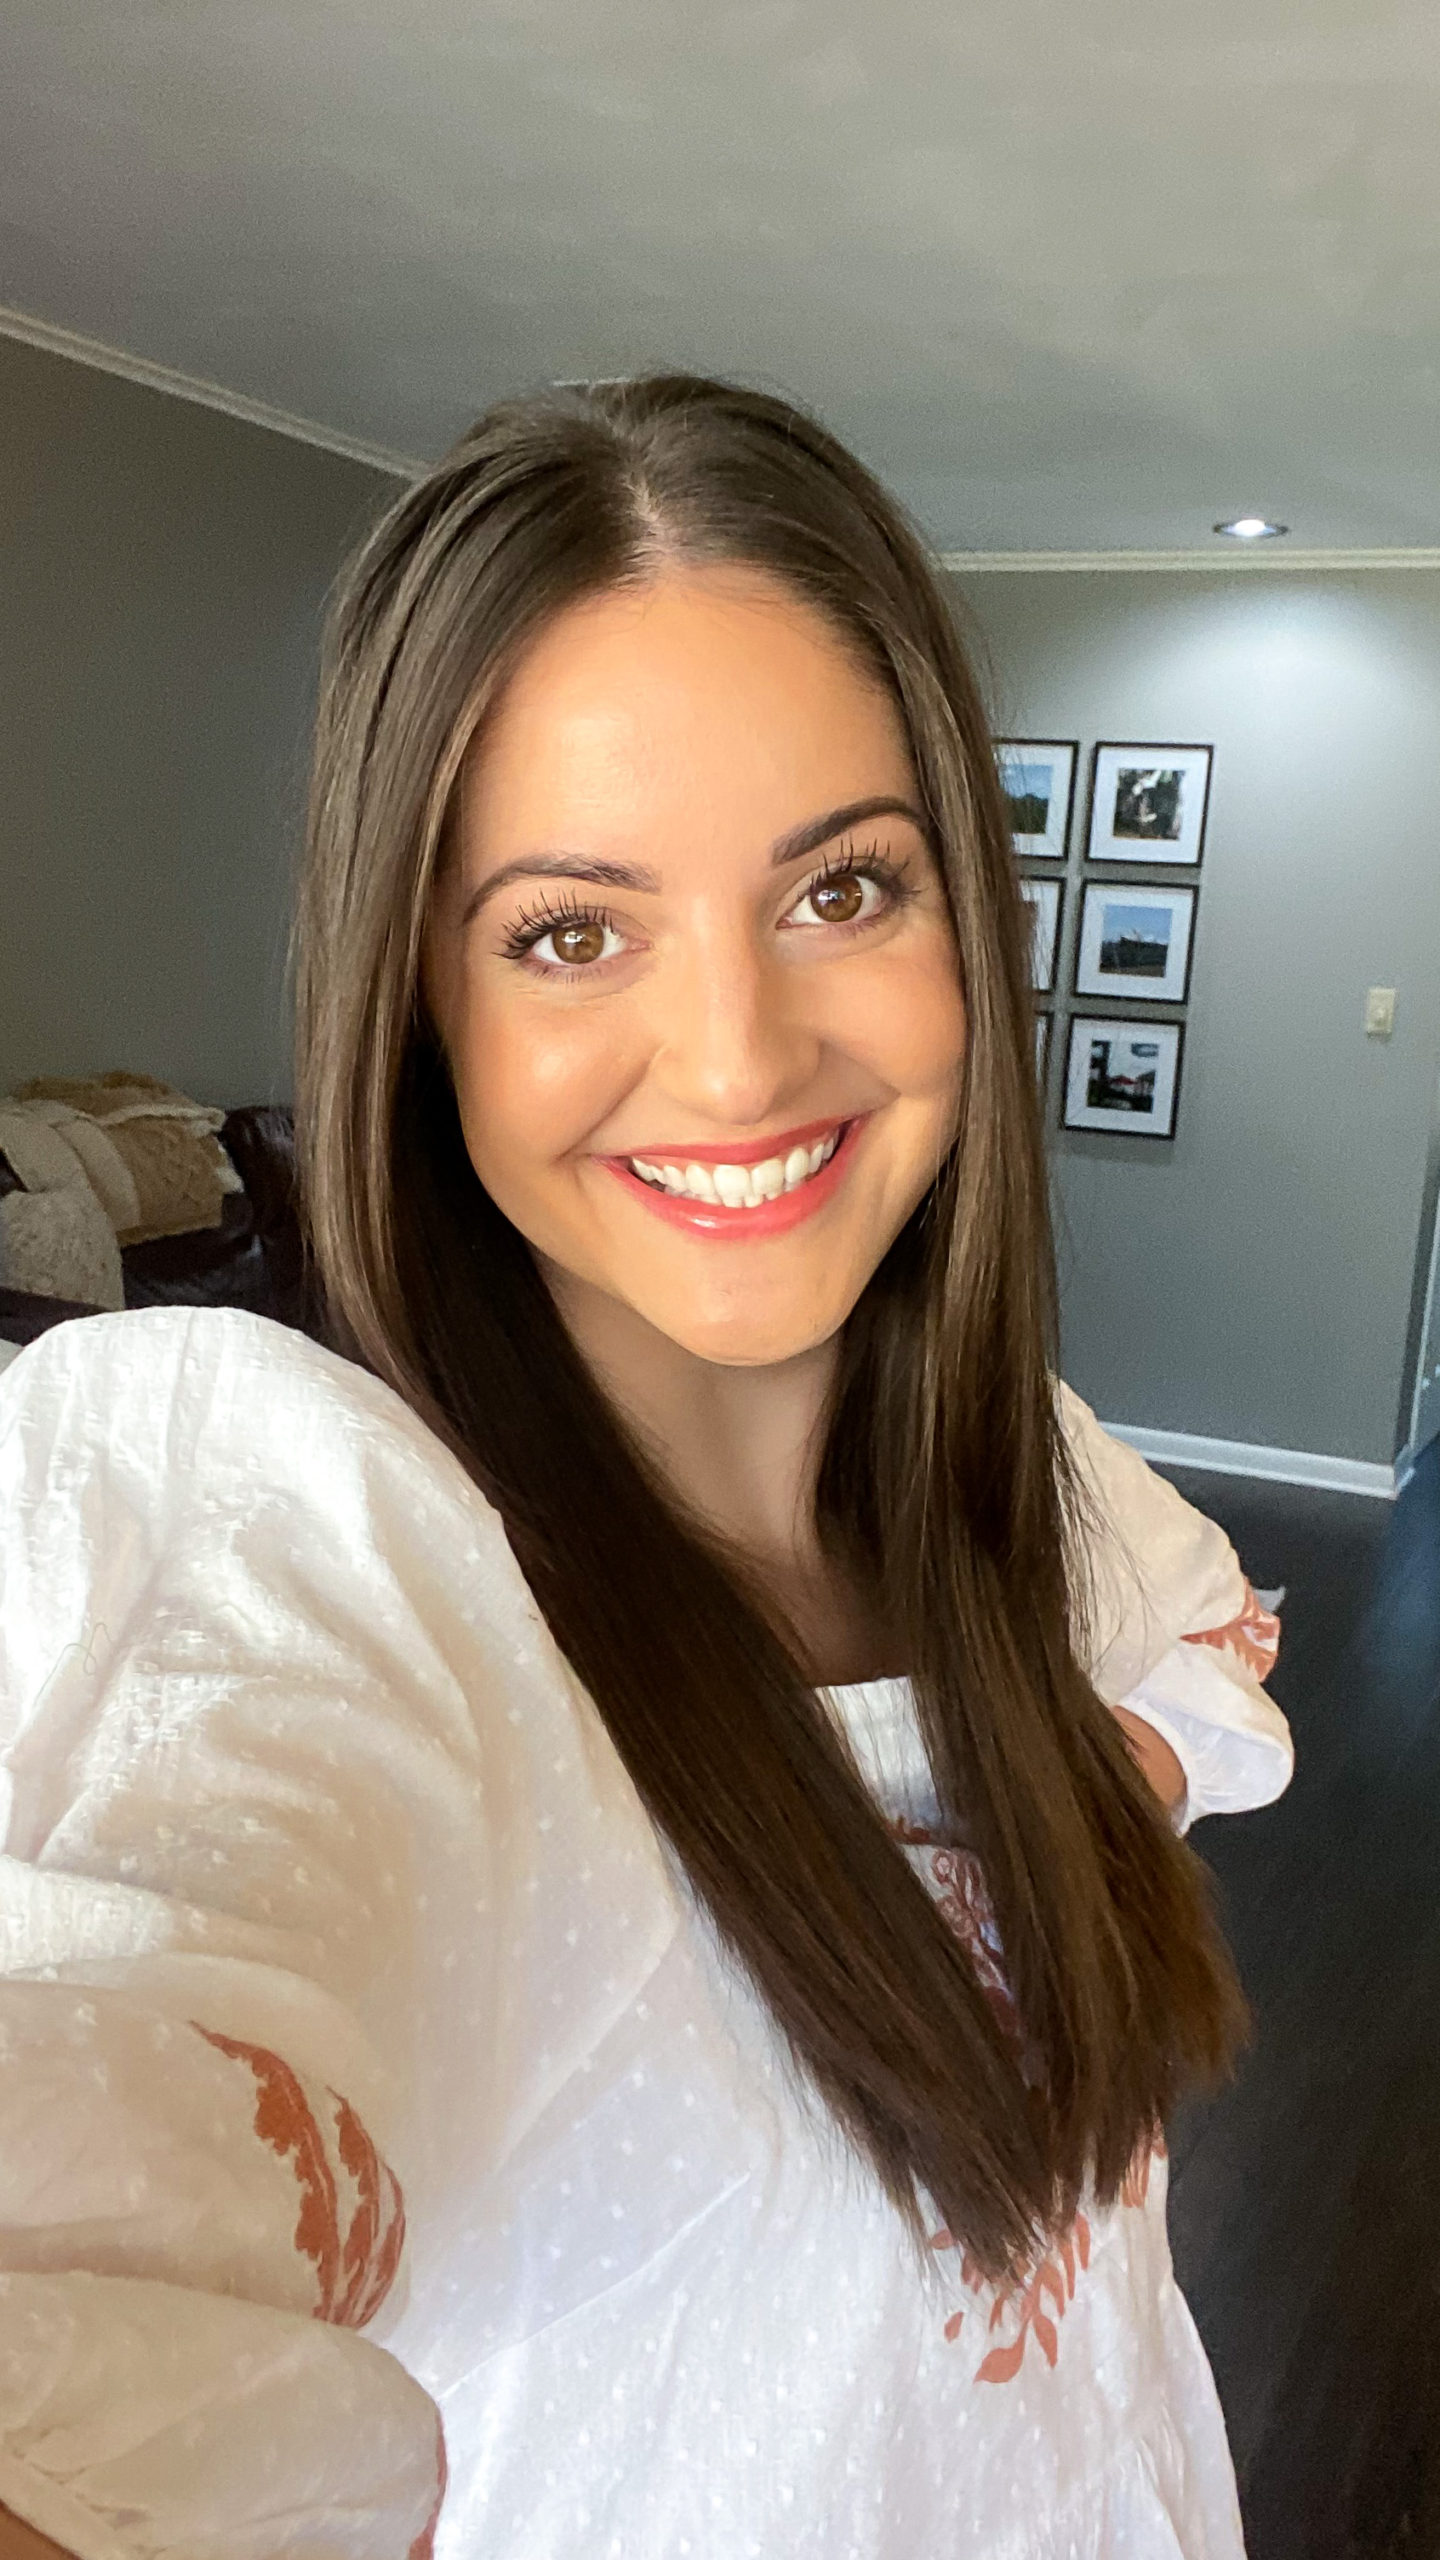
Let’s talk about makeup! Firstly, let me say that the amount that I wear makeup ebbs and flows with my mood and the events I have on the schedule from day to day. Usually while working from home, I keep it very minimal — maybe some eyebrow enhancer, concealer, and mascara. These three items alone can make me feel more comfortable when the Zoom camera has to go on.
Before the makeup, I always start with my morning skincare. I usually use a toner like a witch hazel, a hydrating serum, and a moisturizer. My skin is prone to dryness so I don’t shy away from moisturizing products. More on this in a future post! In this post, I’m outlining all my current makeup faves and what I like about each product. I’m absolutely no expert (and actually, my sister is the eyeshadow blending queen), but I hope you find some helpful info here!
Face Makeup


If I have any spots to correct, this concealer stick is like a magic eraser. It’s super affordable and I always have it on hand just in case I have a pesky breakout that needs a little extra coverage. Next, I use my favorite
ItCosmetics brush to apply this CC Cream, in the shade Light or Neutral Medium. I have used the regular and the Illumination version, which I love during the summertime for a little extra glow. I really like to use CC cream because it has great coverage and keeps my skin feeling hydrated throughout the day. It only takes a small amount (1 pump tops) so it lasts a long time. These often go on sale so keep an eye out!
Next, I use a concealer like this one under the eyes. Using my ring finger I just dab it in the inner corner and around the outer edge out toward the temple. I have really visible blue-ish veins in my undereye so I never skip this step. I also use the same concealer down the bridge of my nose, sort of like a highlight.
Then I set the places I used concealer with this translucent setting powder.
I don’t typically use powder all over my face as my skin is prone to dryness. I will use a little deeper-toned powder right underneath my cheekbones and across the forehead hairline, to contour just a little. Lately, I have been using this beautiful powder by ItCosmetics, applied with the “Flawless Face” brush from E.L.F. I use this blush in the shade “Berry,” applied just over the contour powder.
Shop all my Face makeup
Eye Makeup
I went through high school in the era of over-tweezing and it has taken so many years to try to get these brows back! I don’t get mine micro-bladed or laminated for fullness, so I’m left to my own devices every day with filling them in.
This eyebrow pencil from Maybelline is the one I keep repurchasing. I love that it is soft, adjustable, and ultra-slim so the strokes are more hair-like. I have used a lot of eyebrow products and this one is just so quick, easy, and it looks natural in my opinion.
Next, I just set them with a clear brow gel, using upward strokes.
To be honest, I rarely use eyeshadow. If I have a nicer occasion, I’ll use it, and I generally stick to natural tones.
These brushes from Real Techniques offer everything you need to get a complete eyeshadow look. I have an eyeshadow palette from Morphe that I love, but it isn’t sold anymore, so here is a similar one that would be a great alternative.
More details on eyeshadow: I use a medium neutral shade in the crease of my eye, focusing on the outer edge, and I always like to highlight under my brow and in the inner corner of my eyelid with a super light shade. Sometimes I will use a shimmery rose color on my lid. I find that rosy eyeshadows look nice with my skin tone and eye color.
For eyeliner, I use the small angle brush from the kit and first get it damp. I use one of the darkest brown shades and sweep it across my upper lash line. To create a winged look, I bring the brush further out from my eye and smudge the line. If I’m feeling more dramatic, I love to use this eyeliner pen from E.L.F. because it’s bold and super thin which makes it easy to use.
Next, I spend some time on my eyelashes. I use any old curler from the drugstore, and then I apply my favorite
Telescopic Mascara from L’Oreal. Here’s the trick, don’t let it dry in between coats! It actually clumps worse if you let it dry; it’s better to keep the lashes smooth with each coat. I usually do 2 coats on one eye before moving to the other. I’ll slightly smudge just a tiny bit on my lower lashline as well.
Click Here to watch a short video
Shop all my Eye makeup
Lips
Must have lips to finish off the look! I have three products to create my perfect lip combo and I haven’t strayed from it for a long time. I’m not someone who experiments will crazy lip colors so once I find something I like, I stay with it for a long time. I have tried and tried to do a true nude lip look and I just can’t; this girl has to have some color!
The first thing that I use is a lip liner pencil from NYX in a rosy neutral shade. It takes a little experimenting, but I like a shade that is almost matching or just slightly deeper than my natural lip color. For my skin tone, I usually go for a pink shade in lipstick. At first, it looks a little bright but my gloss tones it down a lot.
I mostly use the Ulta Luxe lipstick in the shade “Valley Girl.” Then I pair it with a deeper tinted gloss from E.L.F.
Once everything is done, I use a setting spray to finish it off and keep the makeup in place instead of powder.
I love the ItCosmetics Your Skin but Better Setting Spray. This Makeup Mist and Set from E.L.F. is way cheaper but also does a good job!
That’s it for my favorite makeup and tips (for now!) As I experiment with new brands and products I’ll keep you posted. Thanks and leave a comment if you found this helpful!
Xo, Laura

