
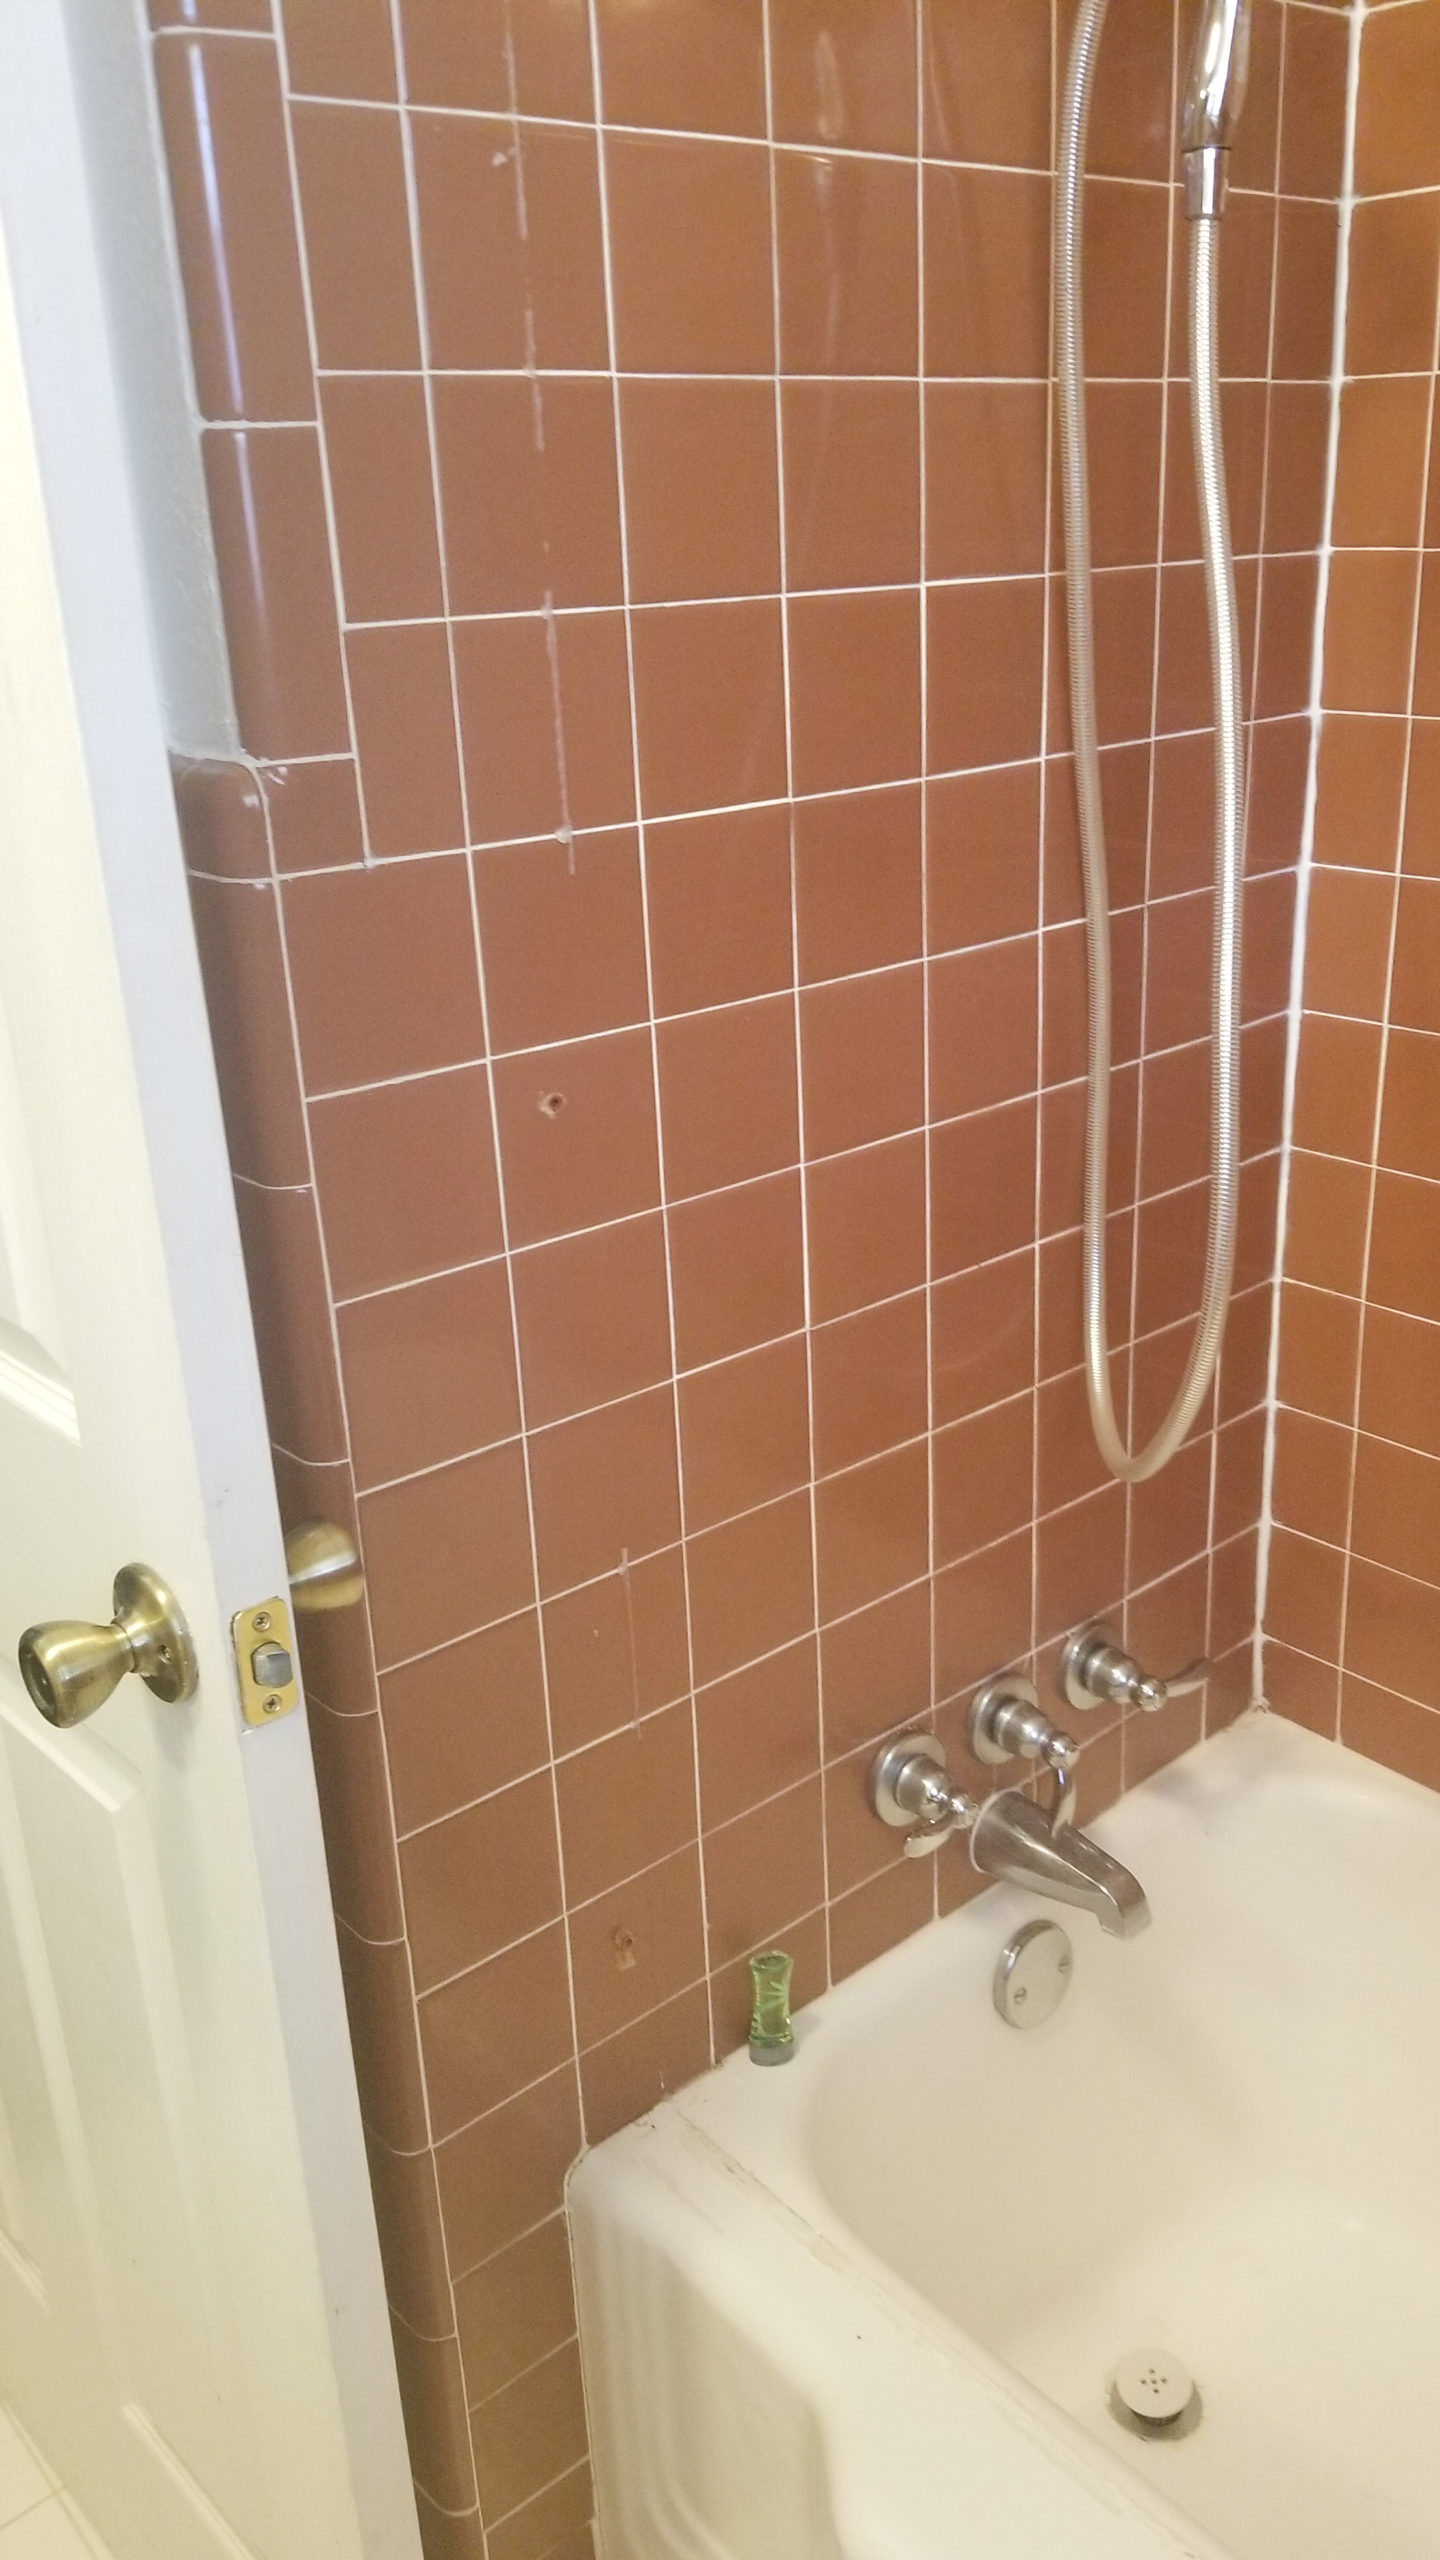
If you have ever moved into a new house (or maybe not-so-new), you’ve probably also run across several things about it that you wanted to redo or update. In our new house, we were lucky enough to only see minimal changes in the works. One of those changes was in the main bathroom. As a late 1970’s model home, the bathroom has that signature retro tile all throughout. The bathroom is also on the smaller side. So small that the door nearly swung into the vanity. Not ideal. I want to point out that our updates are definitely just a “refresh” rather than a “remodel.” There is more we want to do to this room, but these little updates were efficient and inexpensive enough for us to get done quickly. Let’s get into it!
Remove Sliding Glass Shower Doors
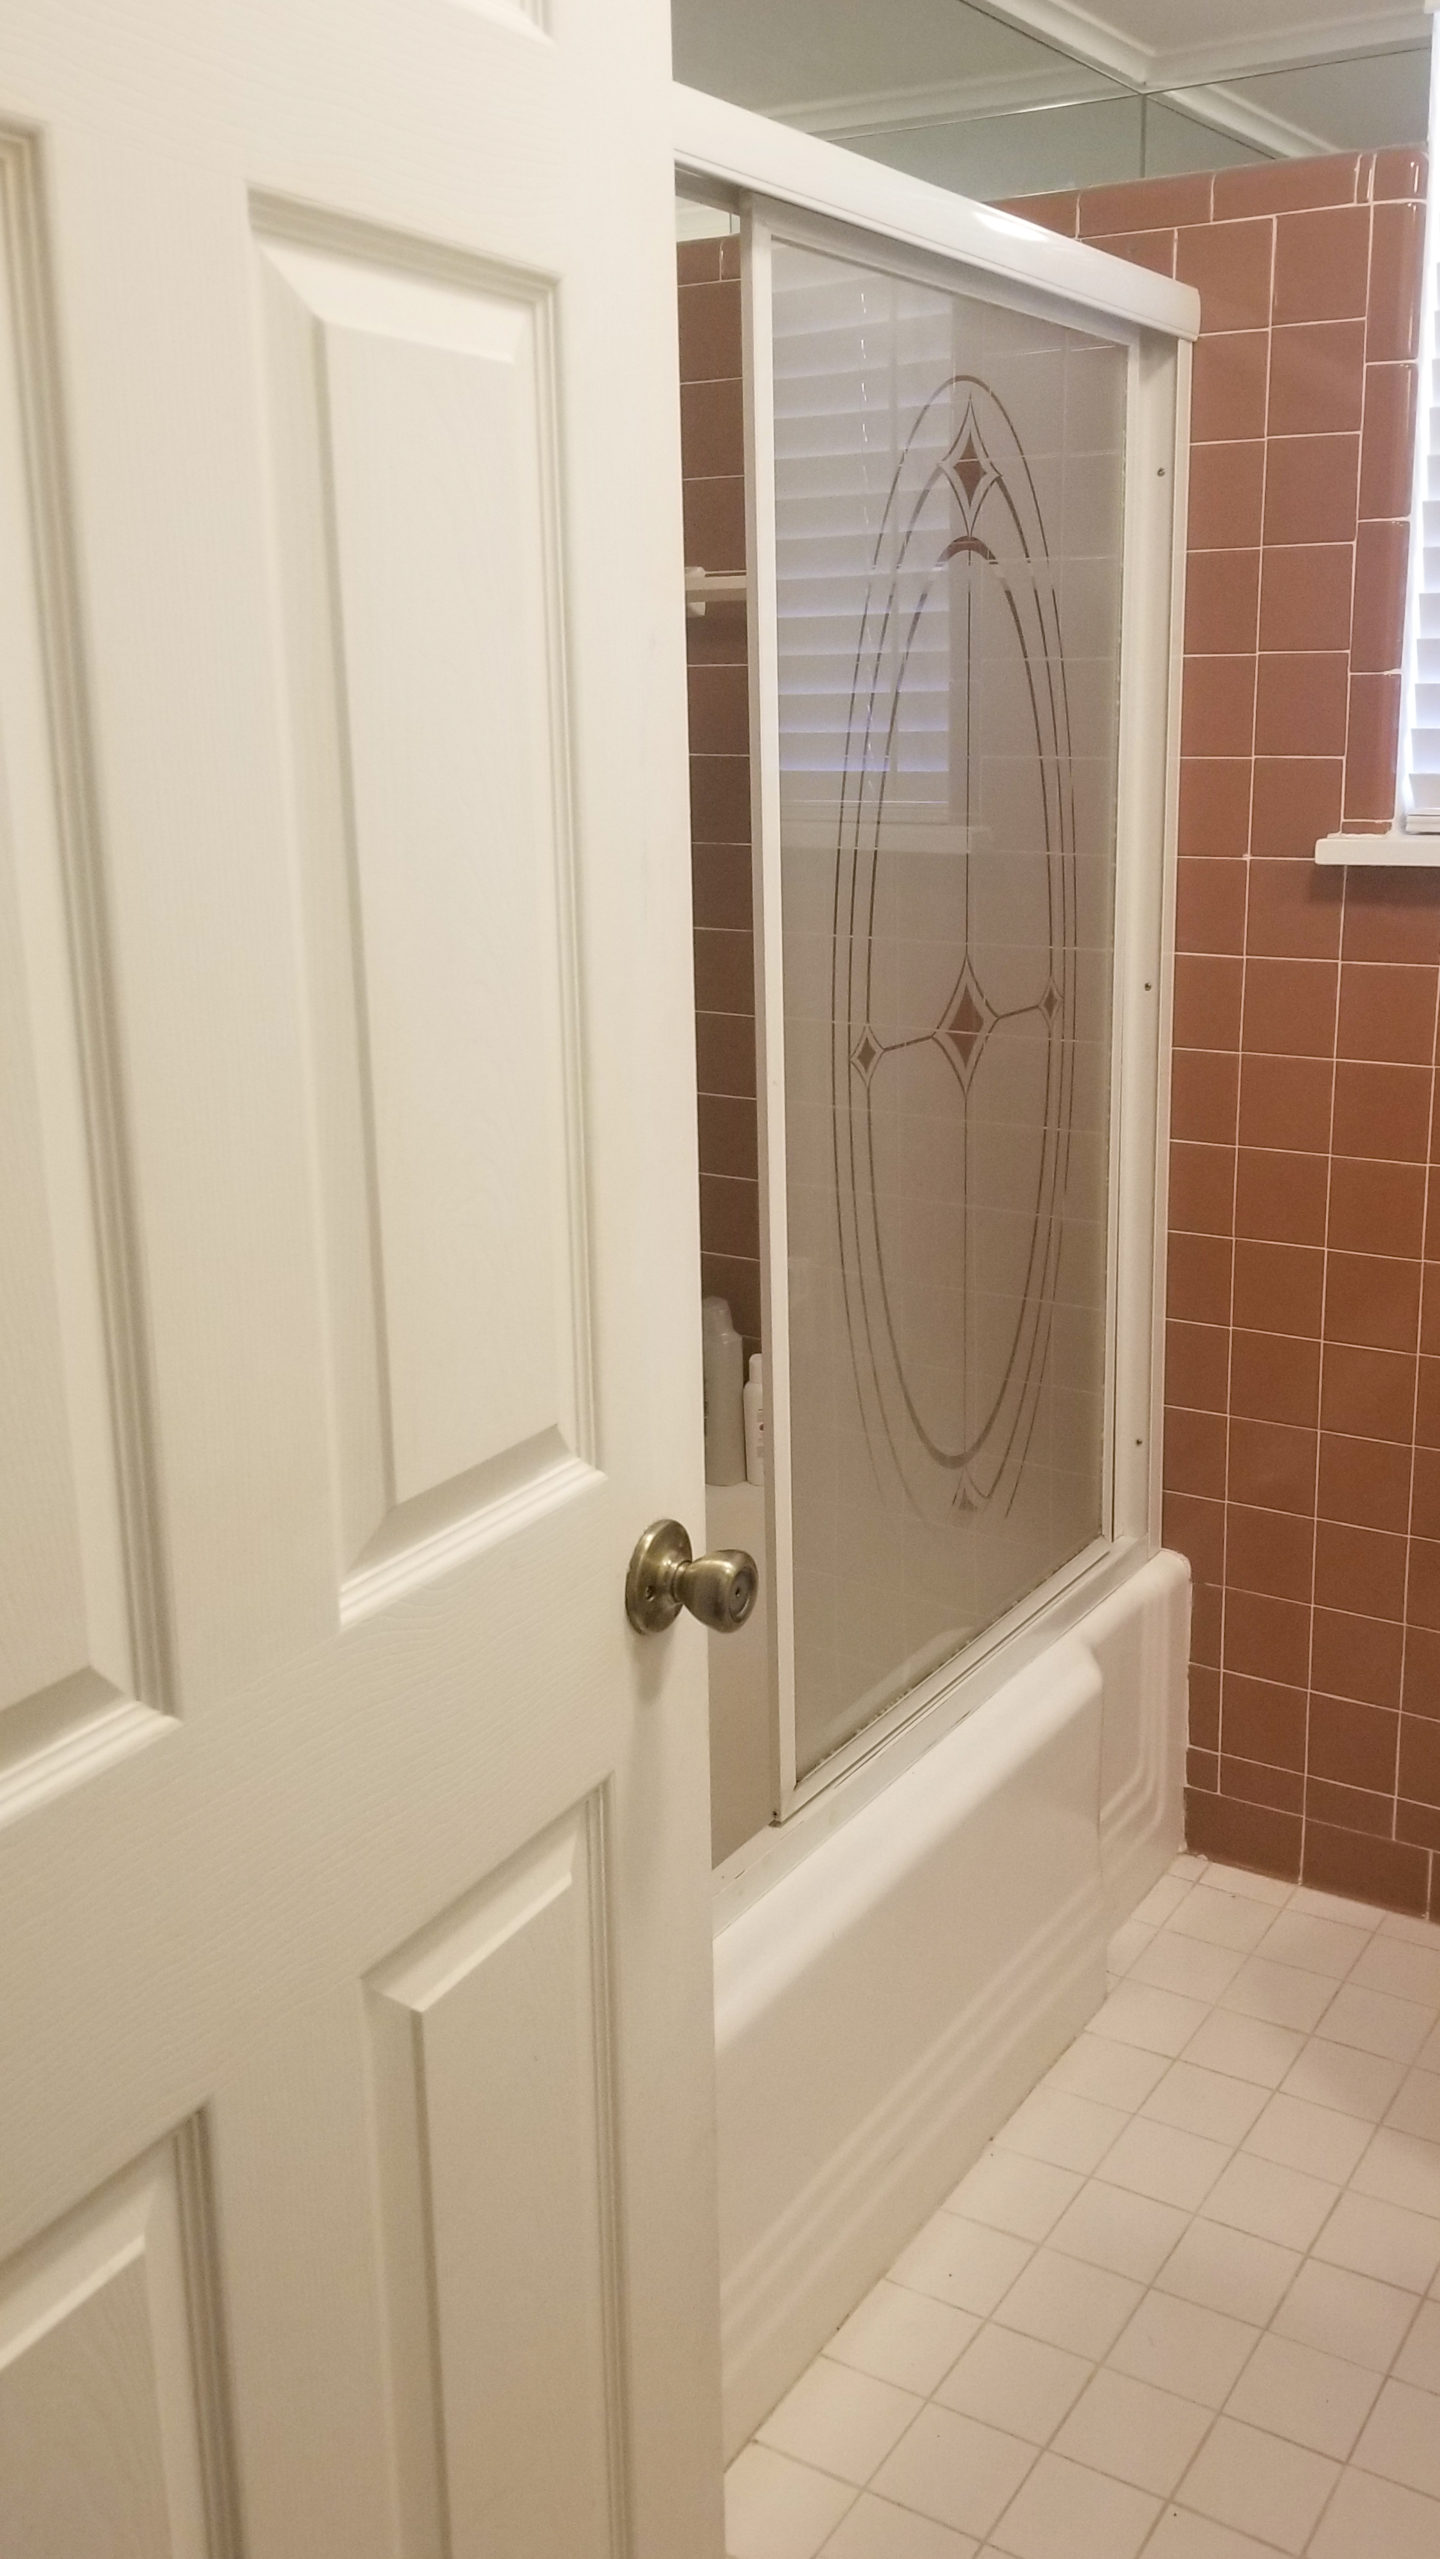
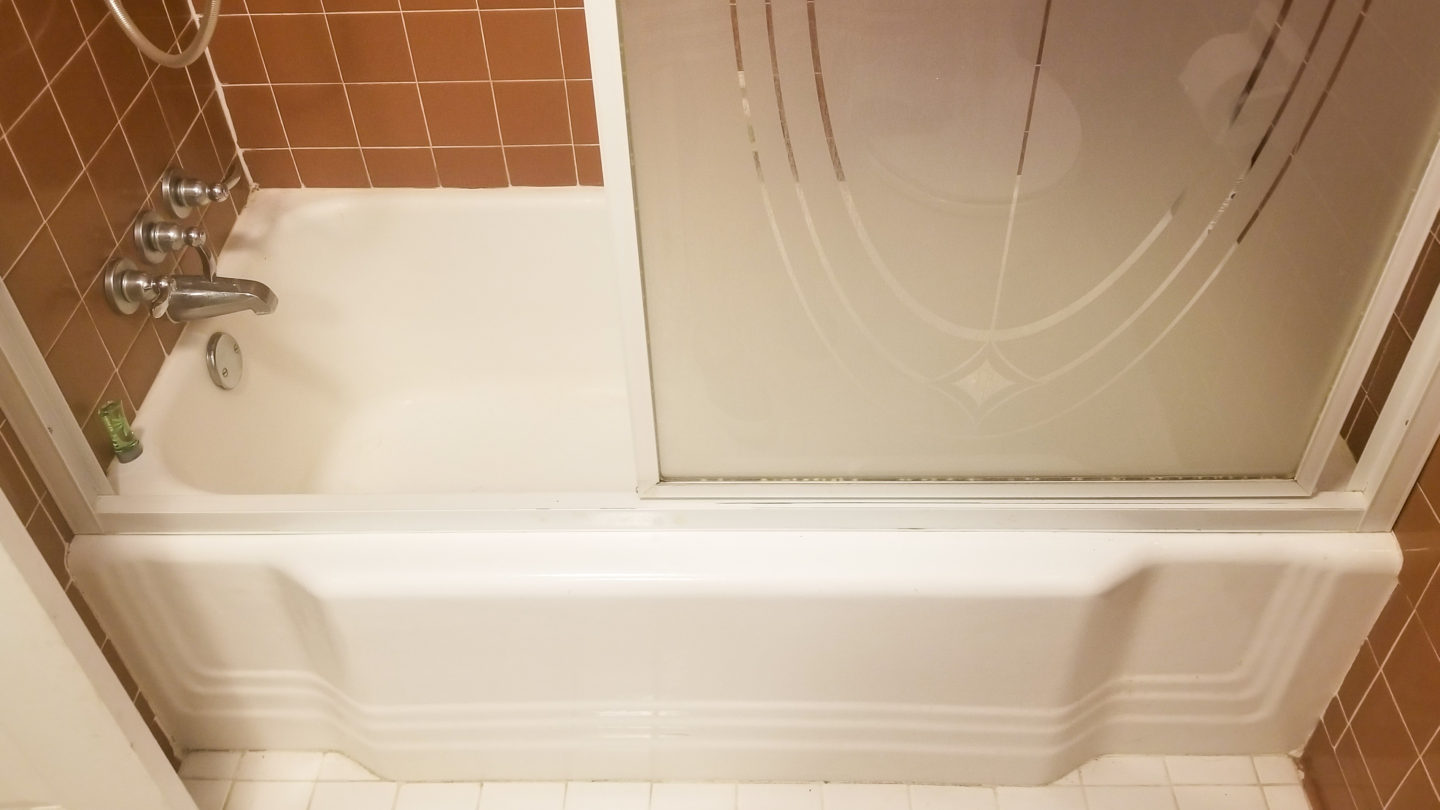
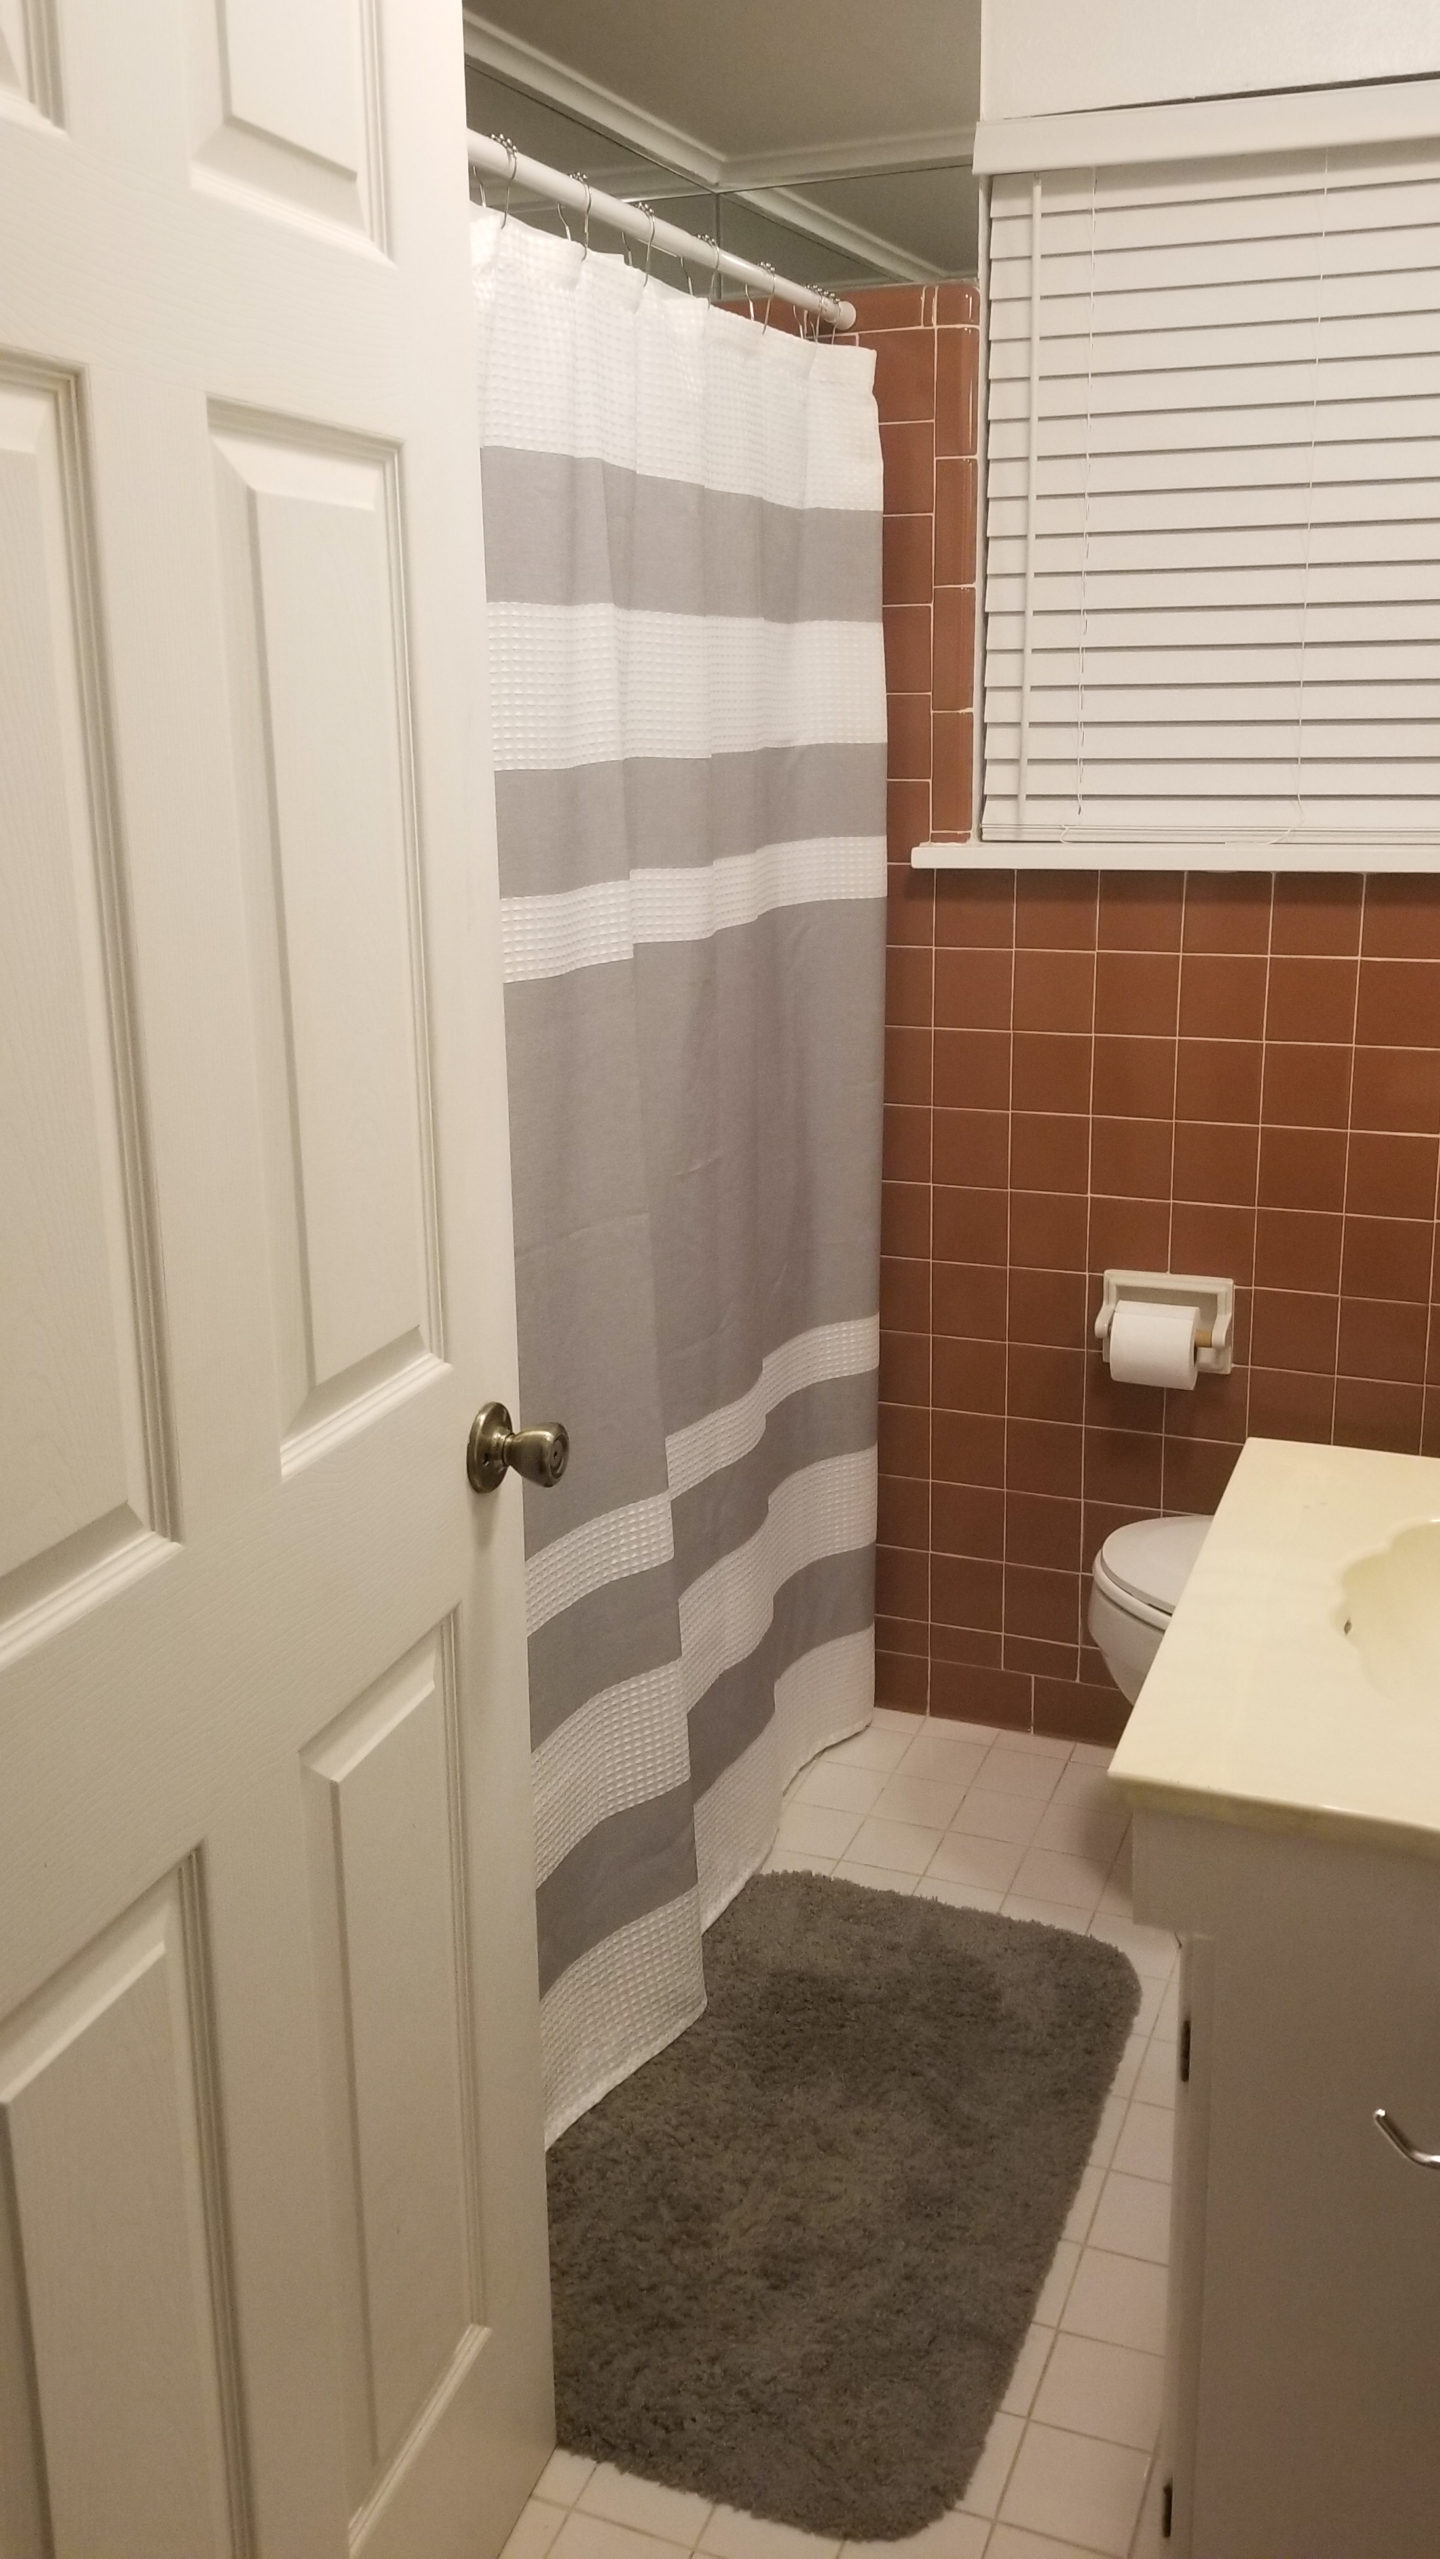
I really wanted to lose these doors as soon as I saw them. Sliding glass doors in the shower are difficult to keep clean and have a habit of collecting mold and mildew inside the tracks. I also think that having a curtain softens the room and is more manageable in the long run. Here’s what I did:
- Remove sliding doors by lifting straight up on one door to loosen it from the bottom track. Once freed from the bottom track, gently pull down to shift it away from its top track. Do the same for the second sliding door.
- Using an electric drill, unscrew the side tracking from the walls. Then gently pull the track away from the wall. (Usually, they will also have some adhesive on them, so gently and slowly peel away as to not chip any of the tiles behind it.)
- Unscrew the bottom track (the part that is sitting on the tub). Gently peel it away as to not chip the porcelain on the tub.
- When the tracks are removed, you can use a small scraper and/or some Goo Gone to remove any stubborn adhesive from the walls.
Next, all you need to do is pick out a shower curtain, attach a rod, and complete the look! I always line the inside of the shower with a sheer or white vinyl curtain as well. My accessories are linked just below this image!

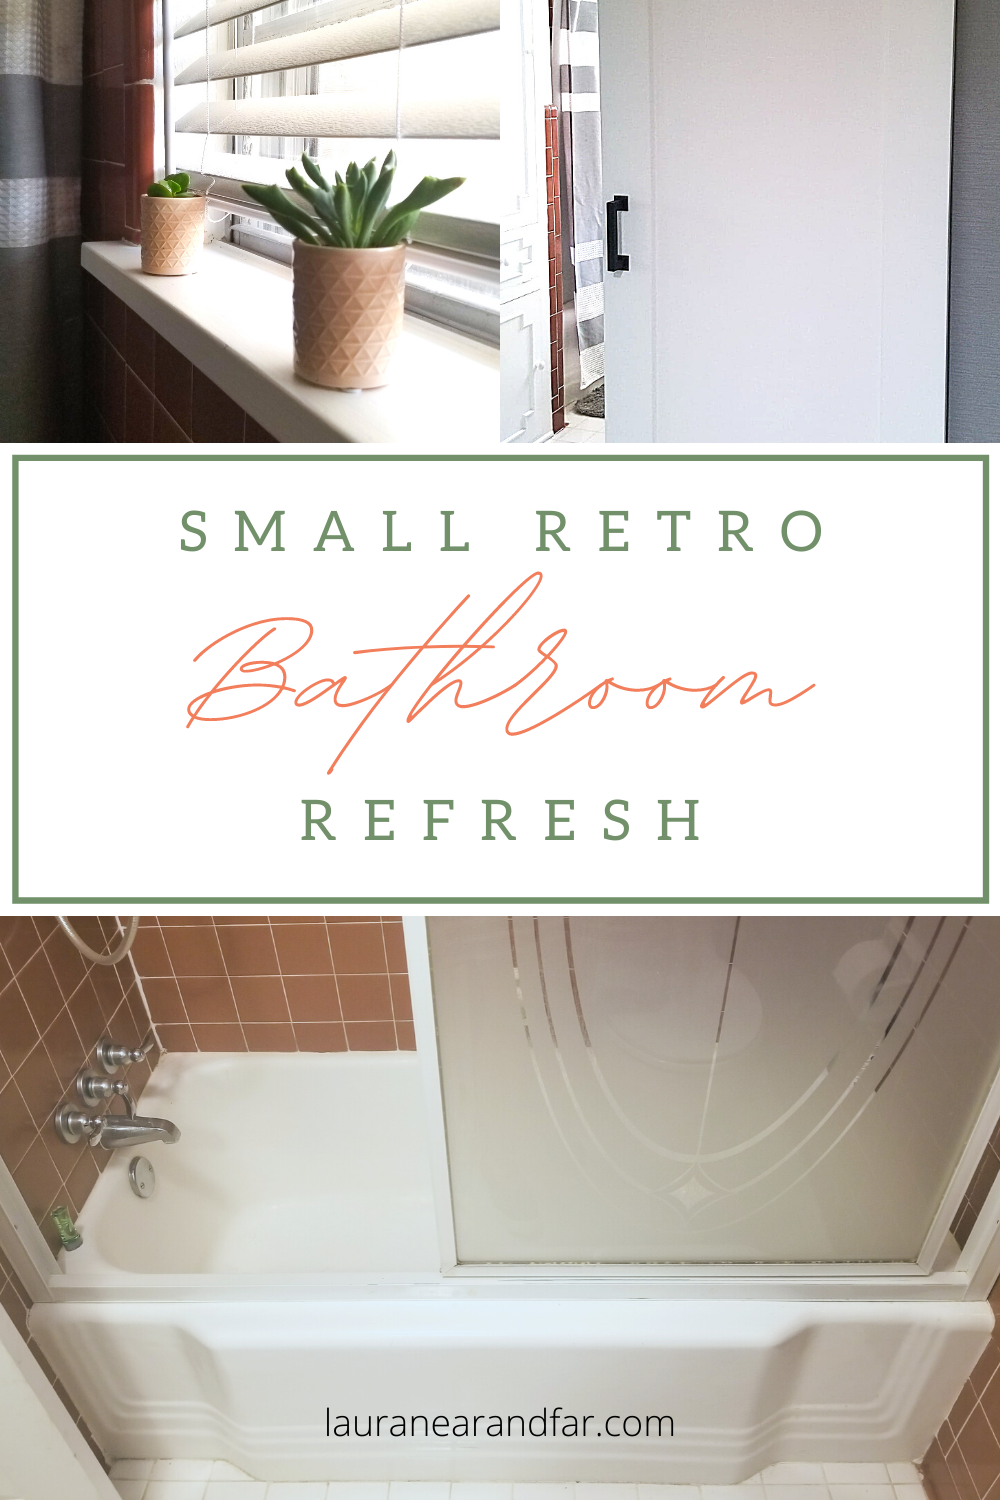
Sliding Barn Door
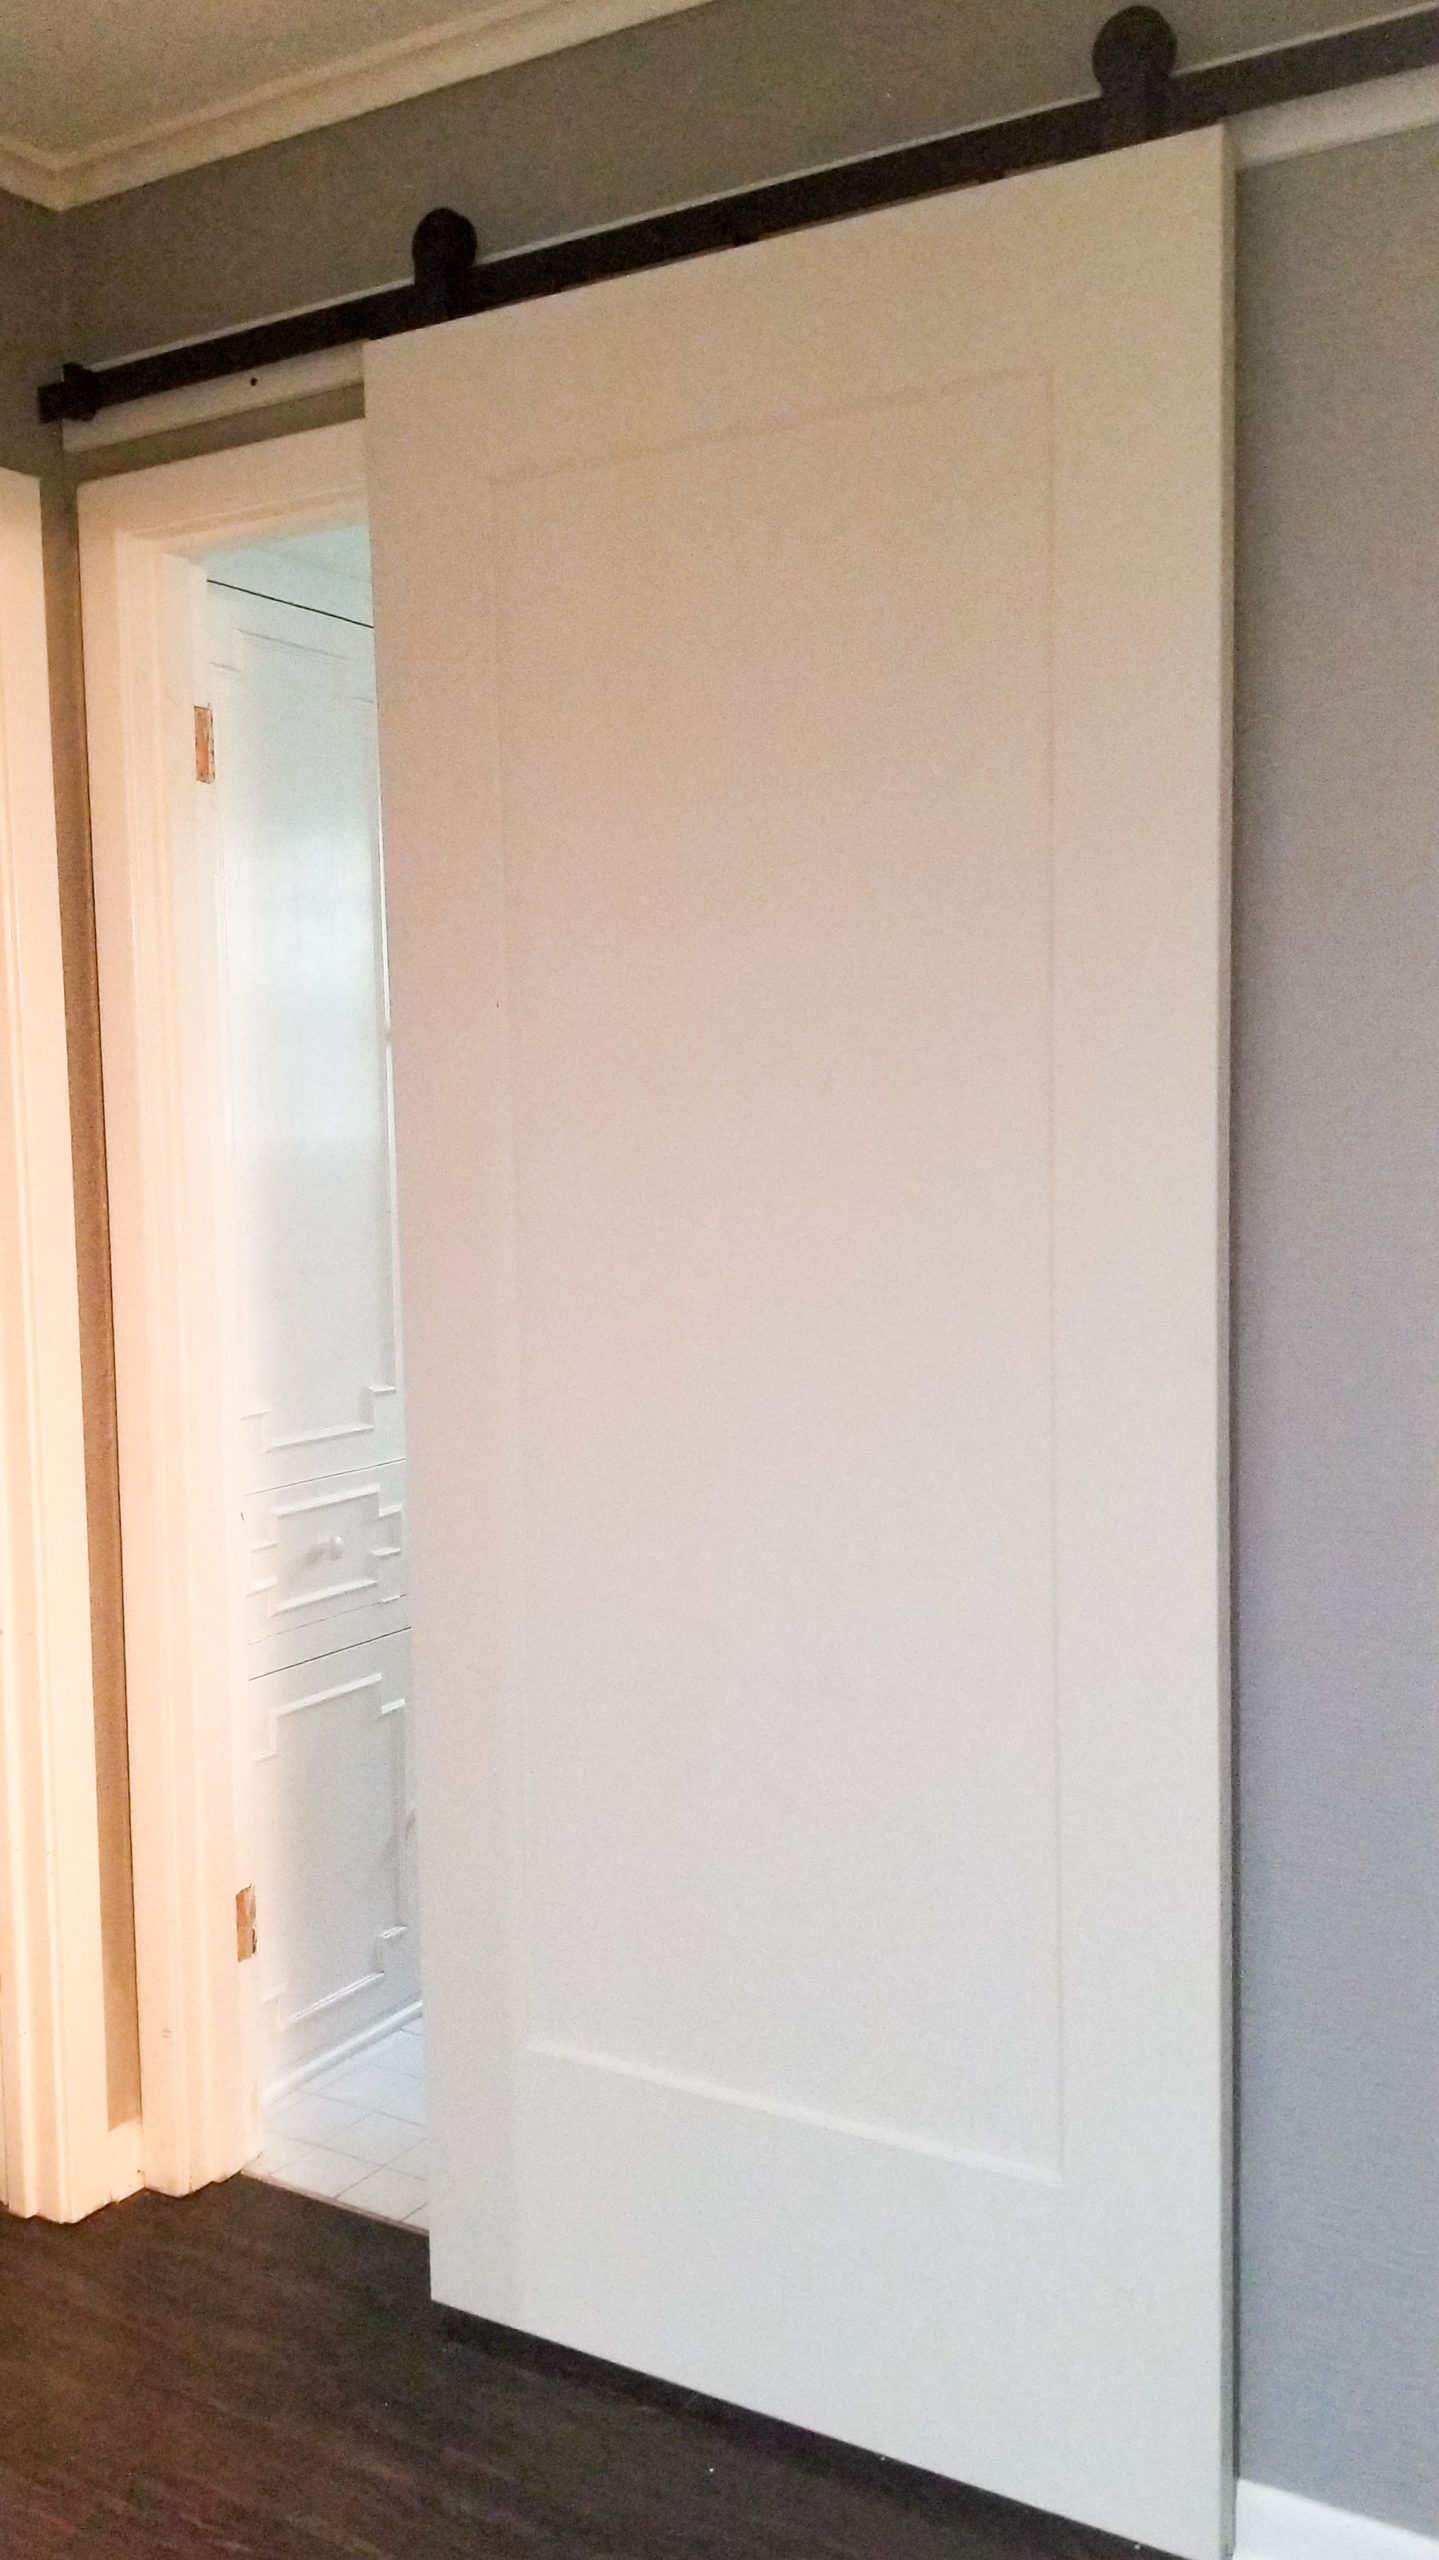
As I mentioned before, the normal door to our bathroom barely missed the corner of the vanity when it was swung open. It also concealed all the storage cabinets. We had seen tons of examples of interior barn doors being used to save space and add character. So, we decided to go for it! We had quite a bit of groundwork to do beforehand. The hallway wall needed to be prepped before a sliding door would work. First, we removed the old door to get it out of the way. Then we needed to get rid of the hallway light fixture. Caleb then removed the unnecessary electrical components. Next, we had to patch, texture, and paint the wall.
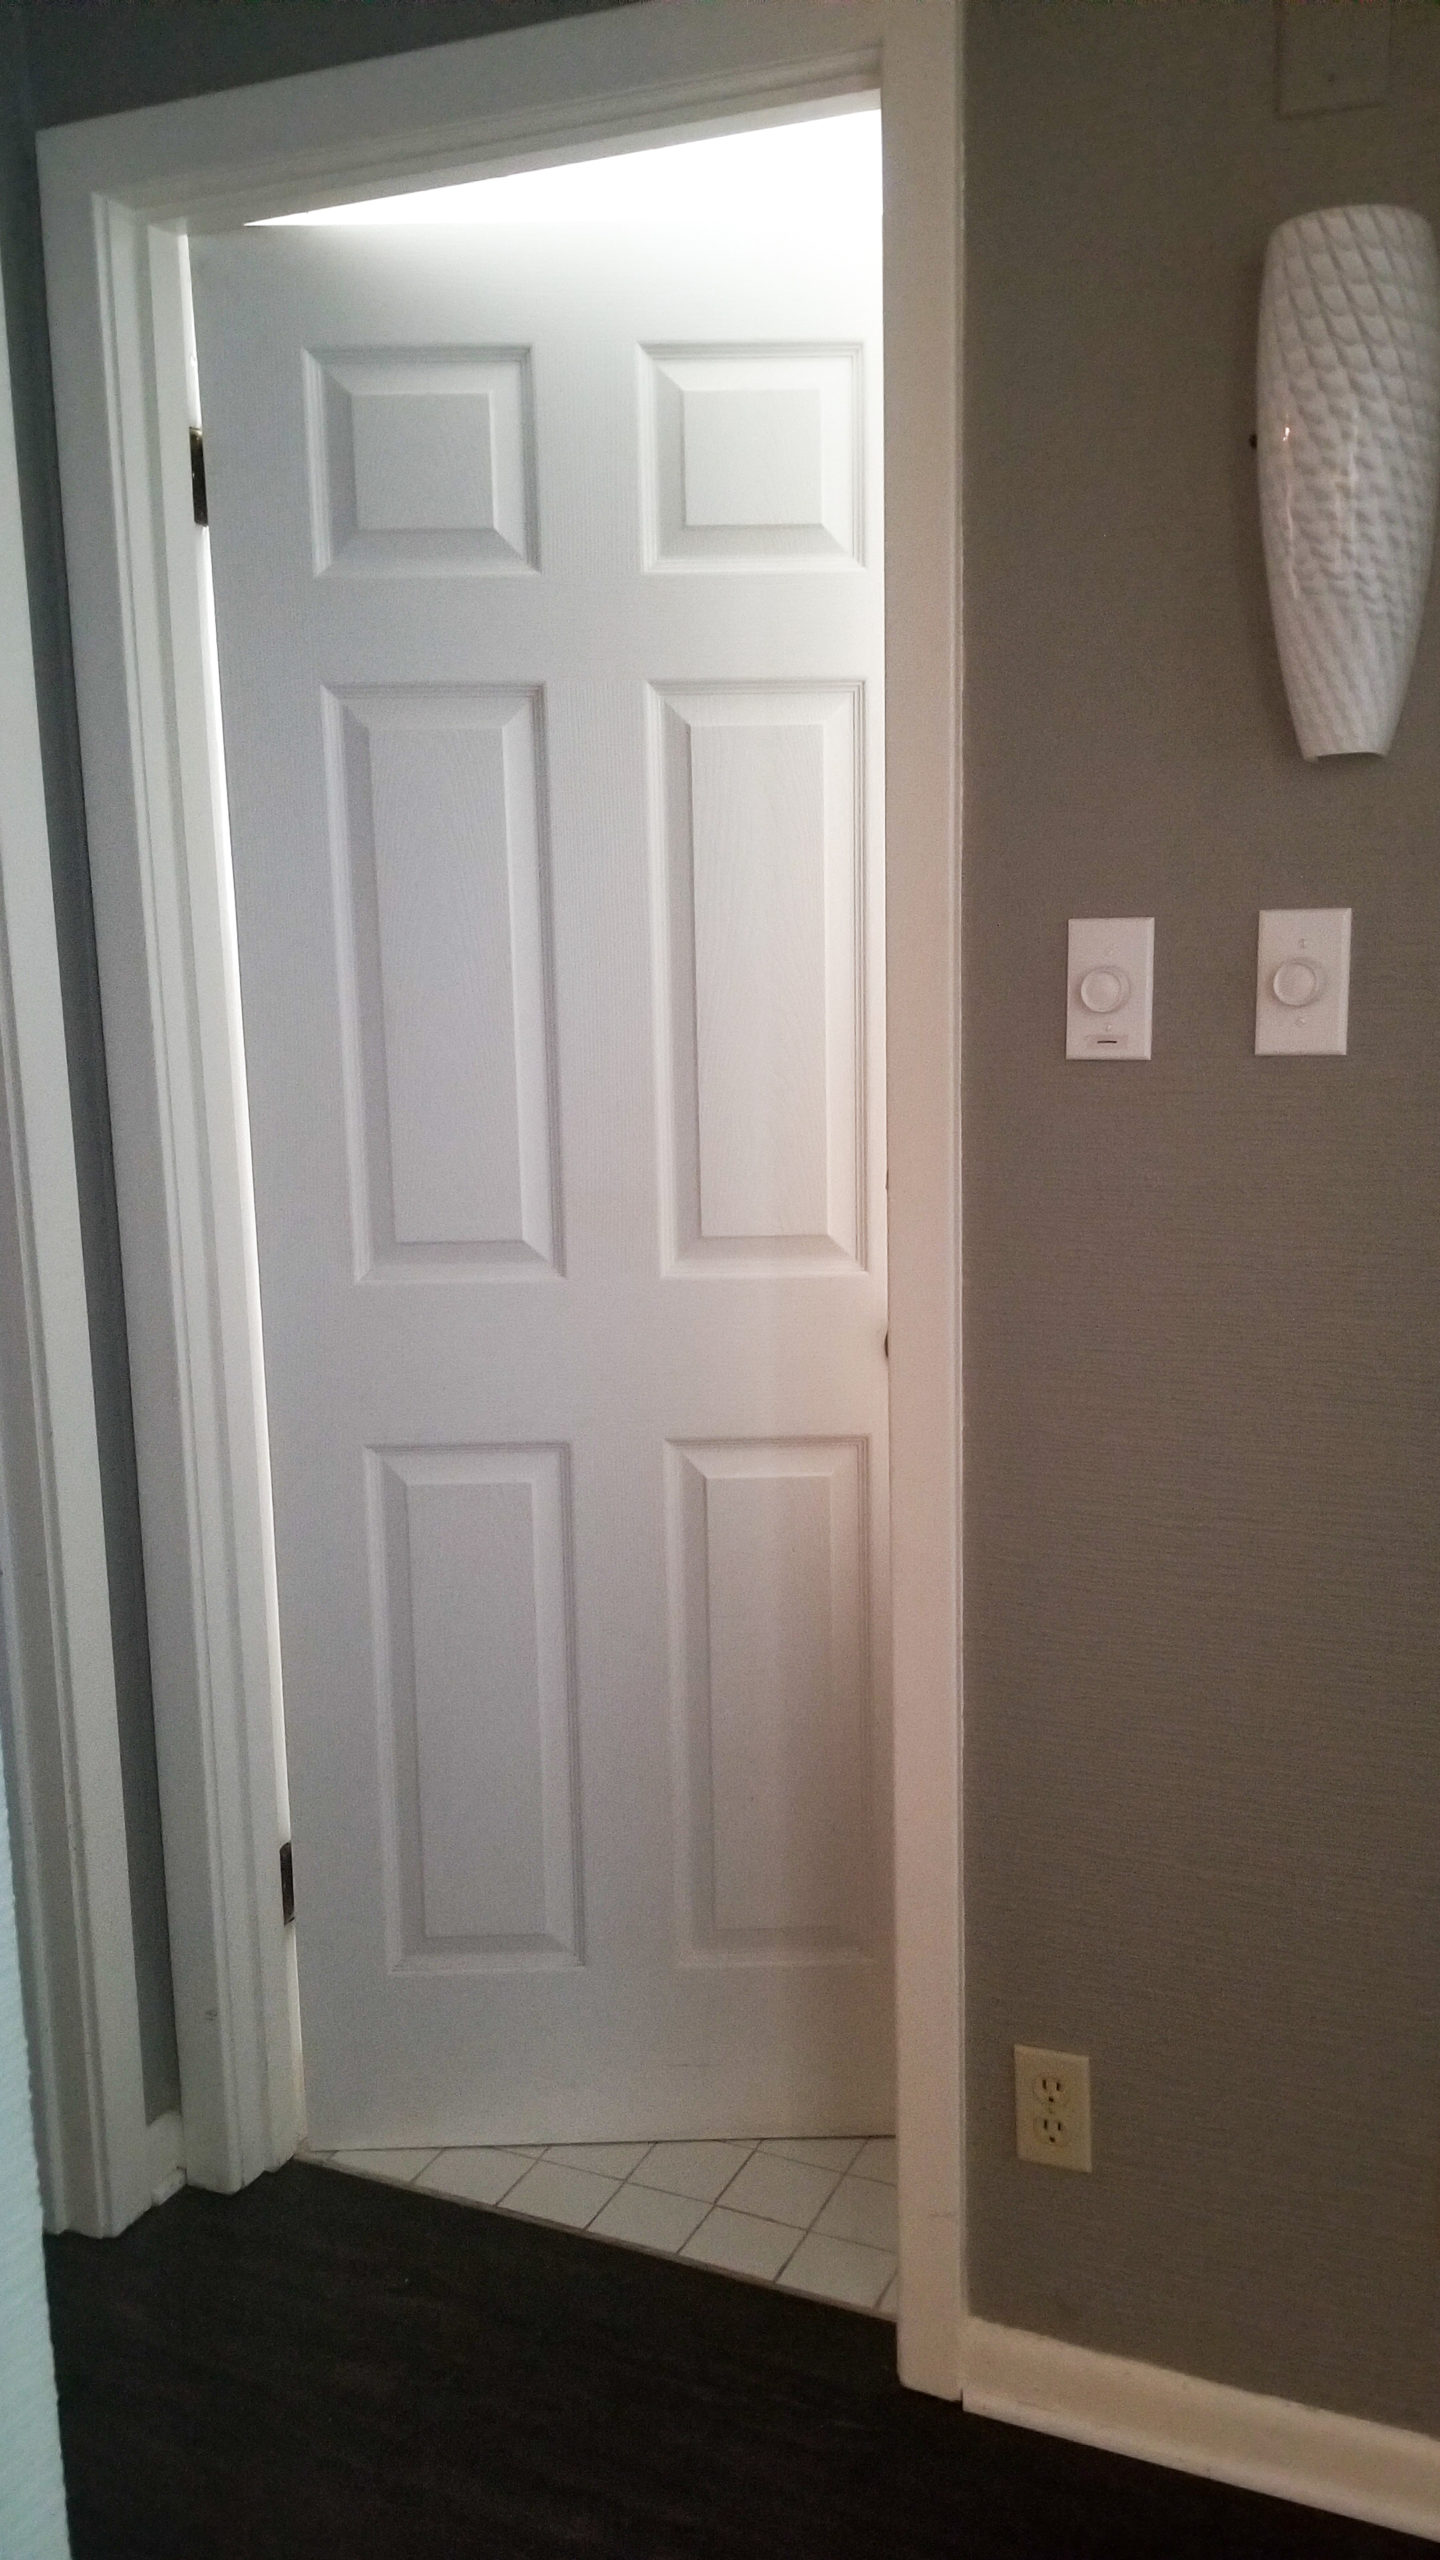

Door removed 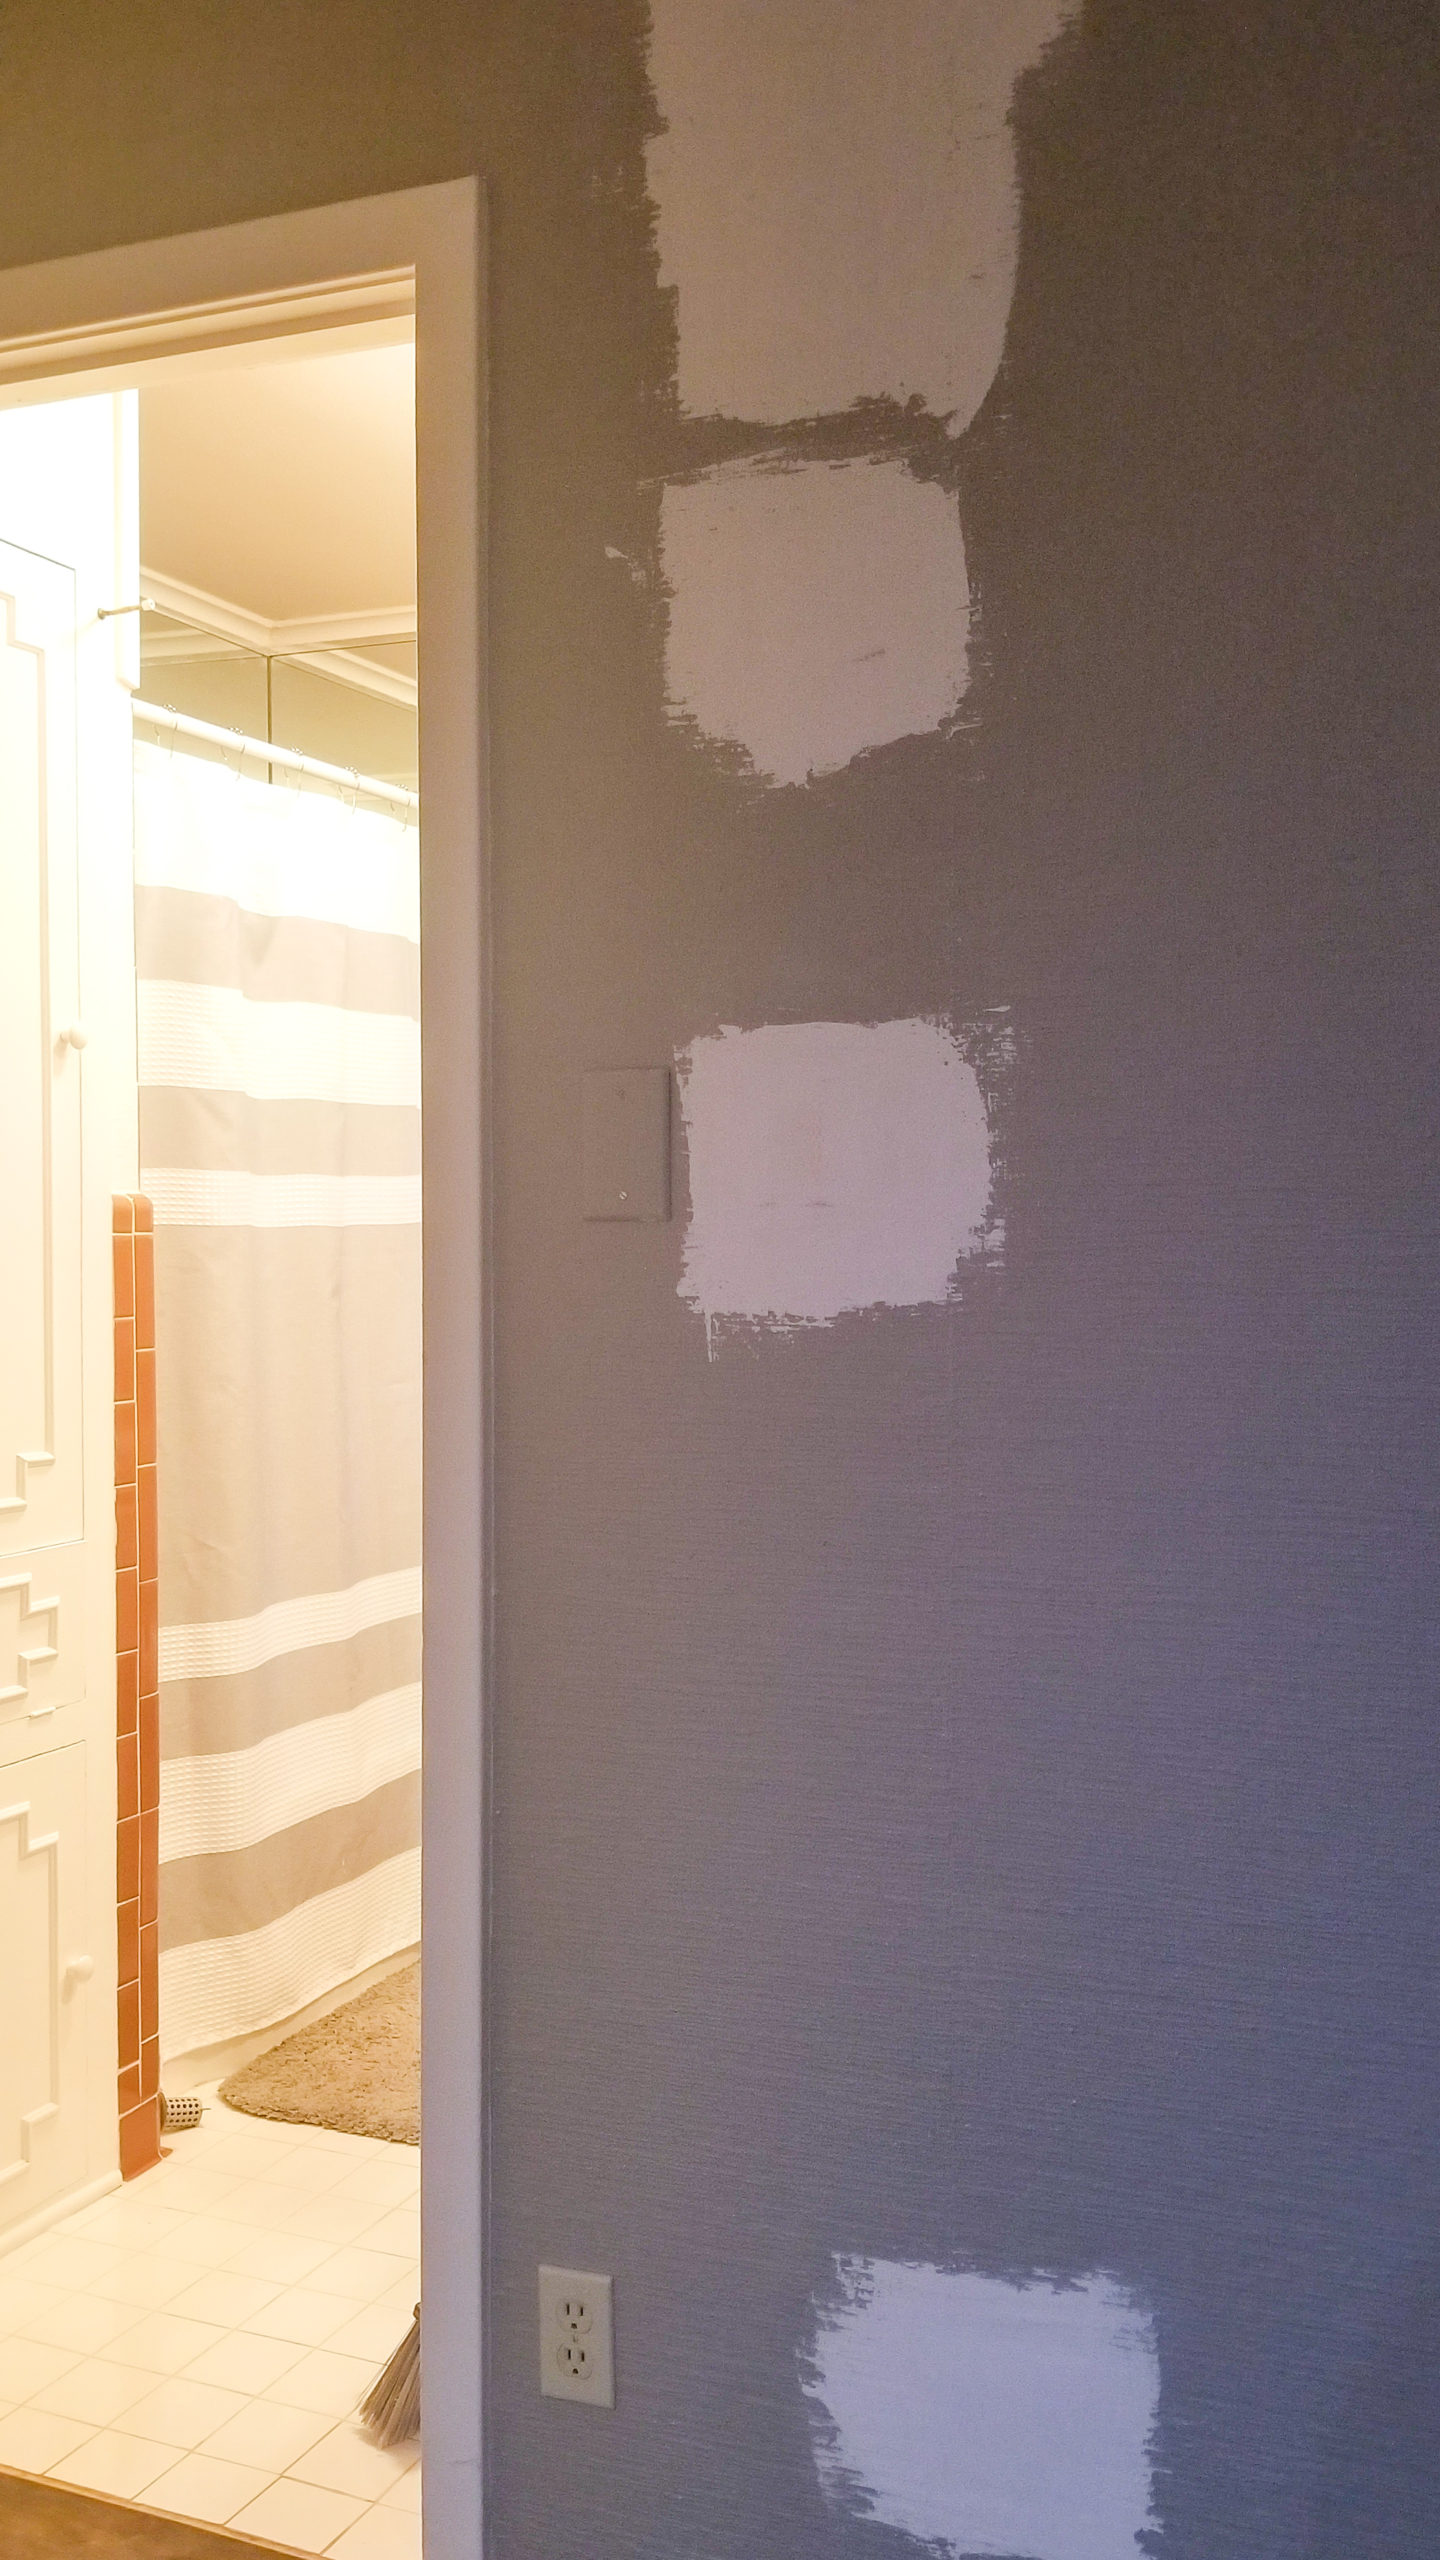
Electrical outlets and switches removed and wall patched.
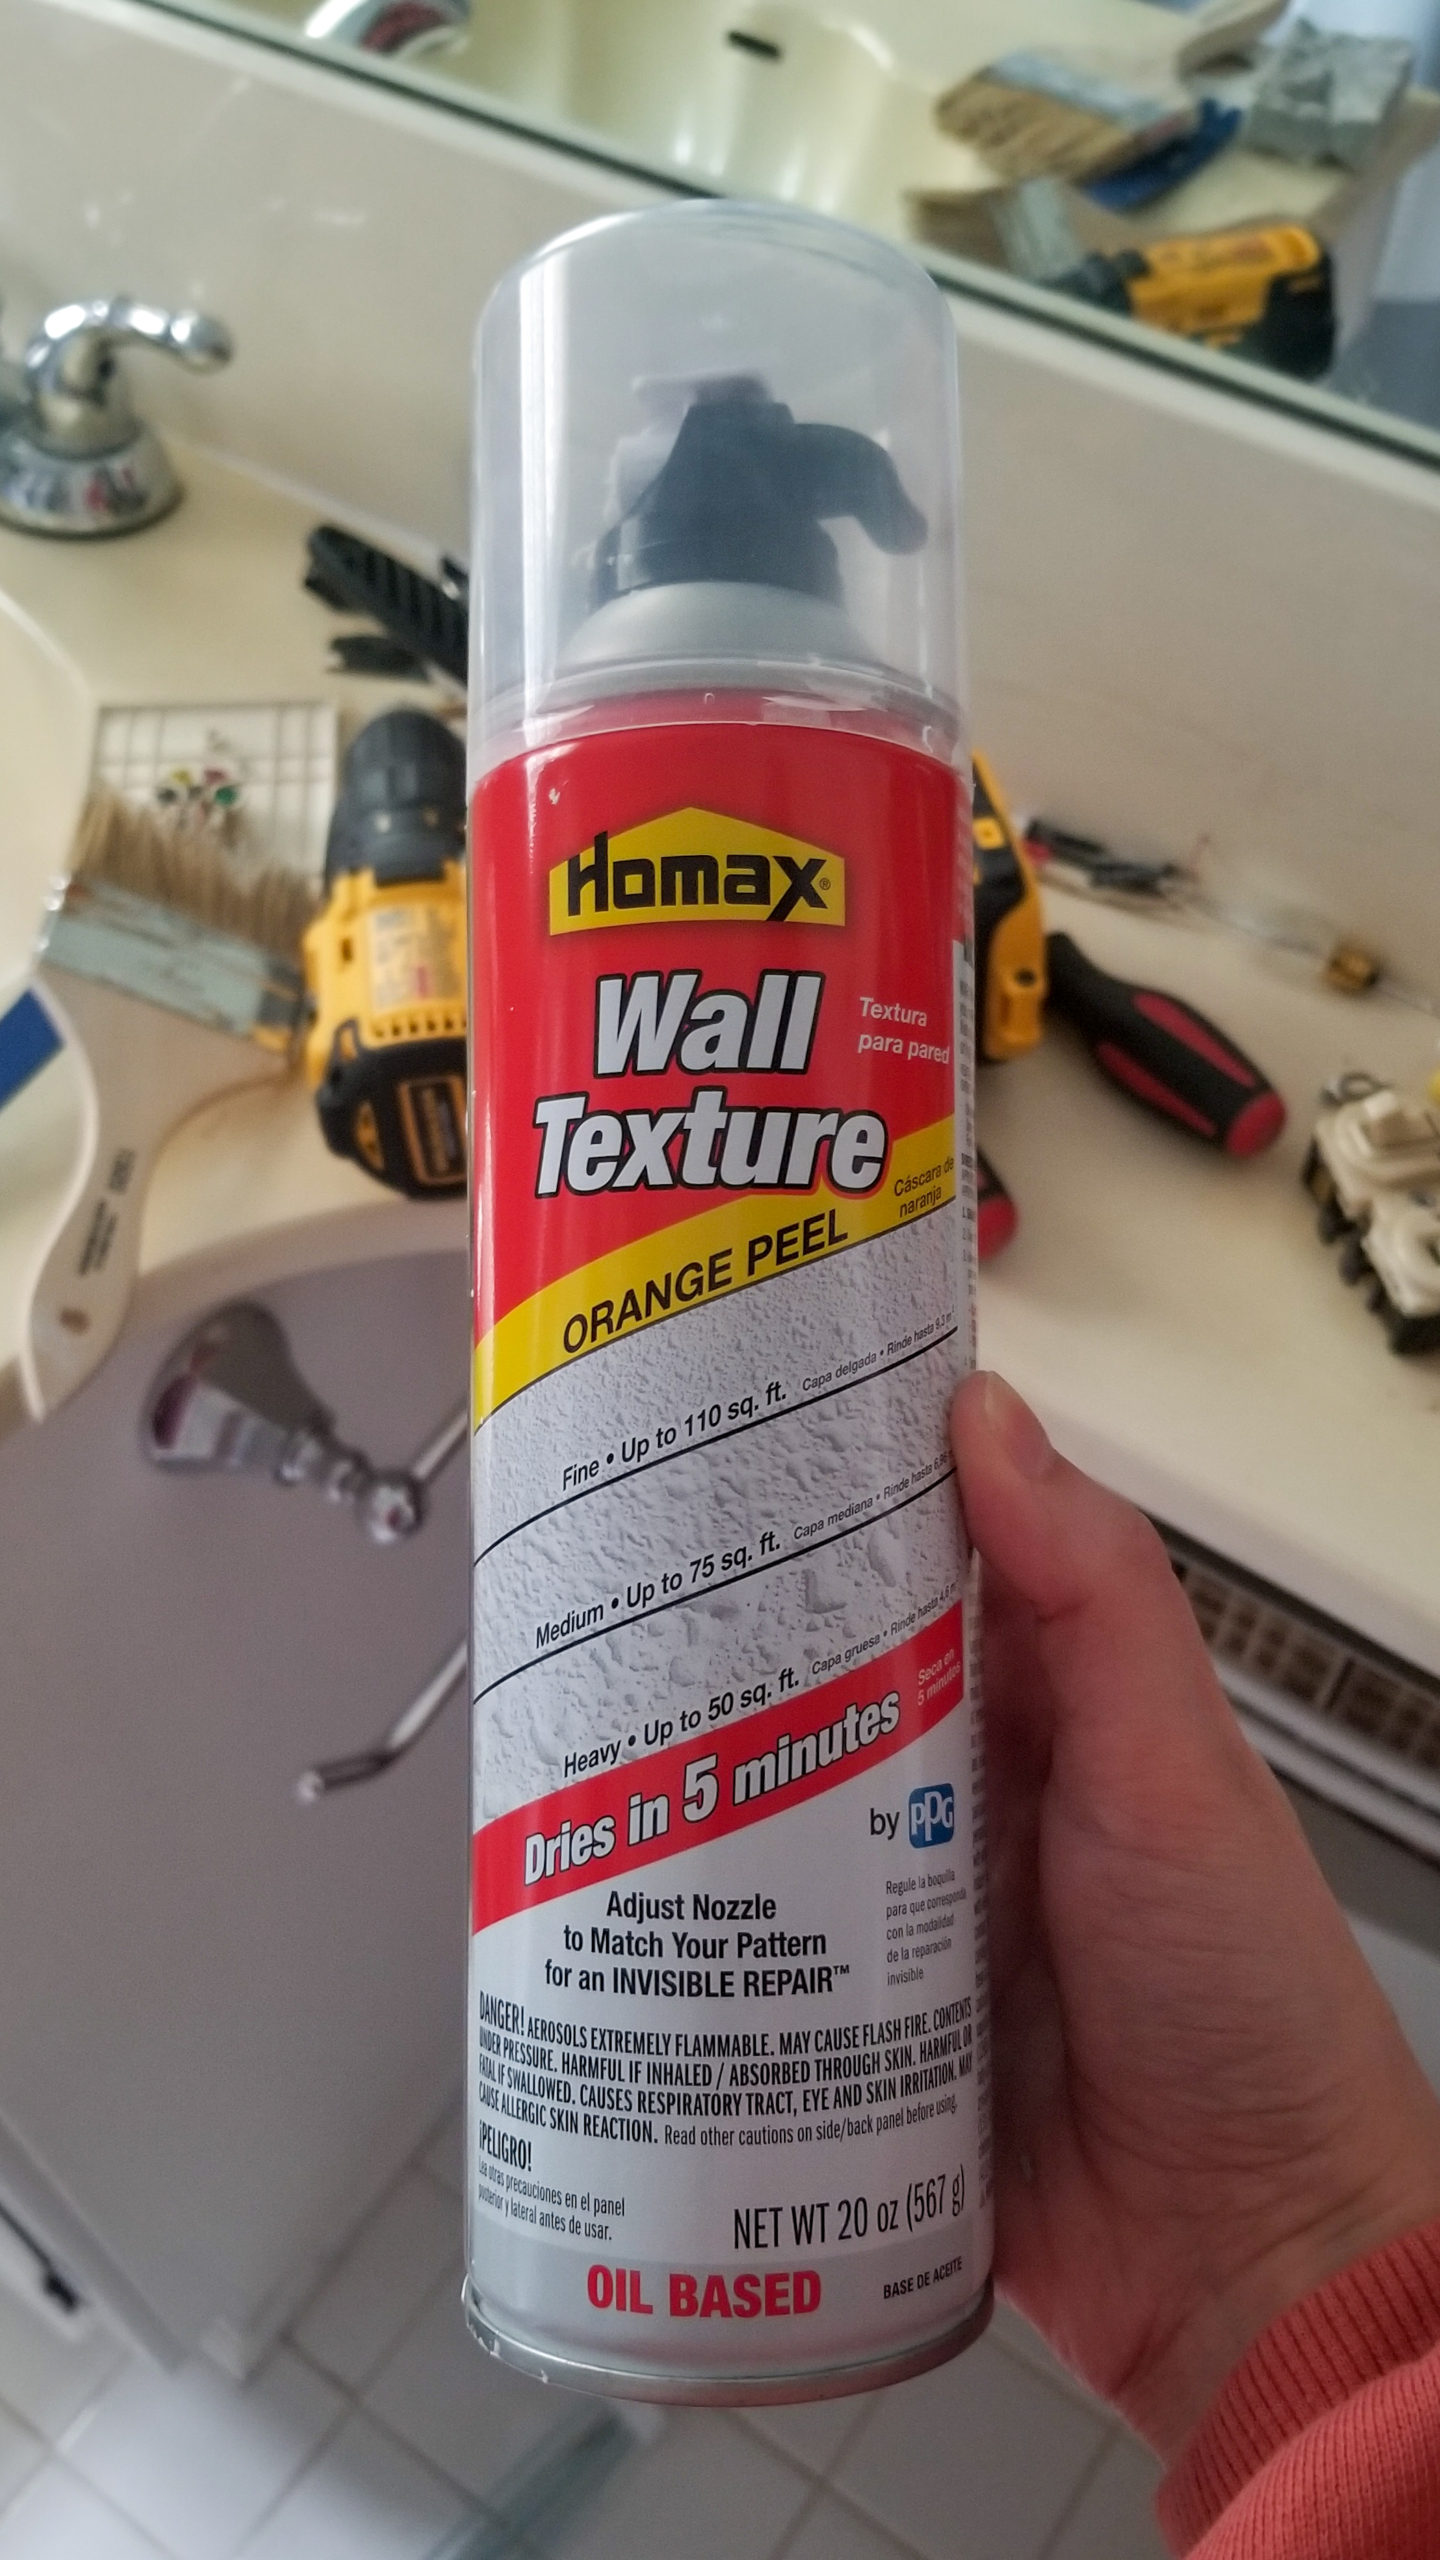
This is the texture spray we used! 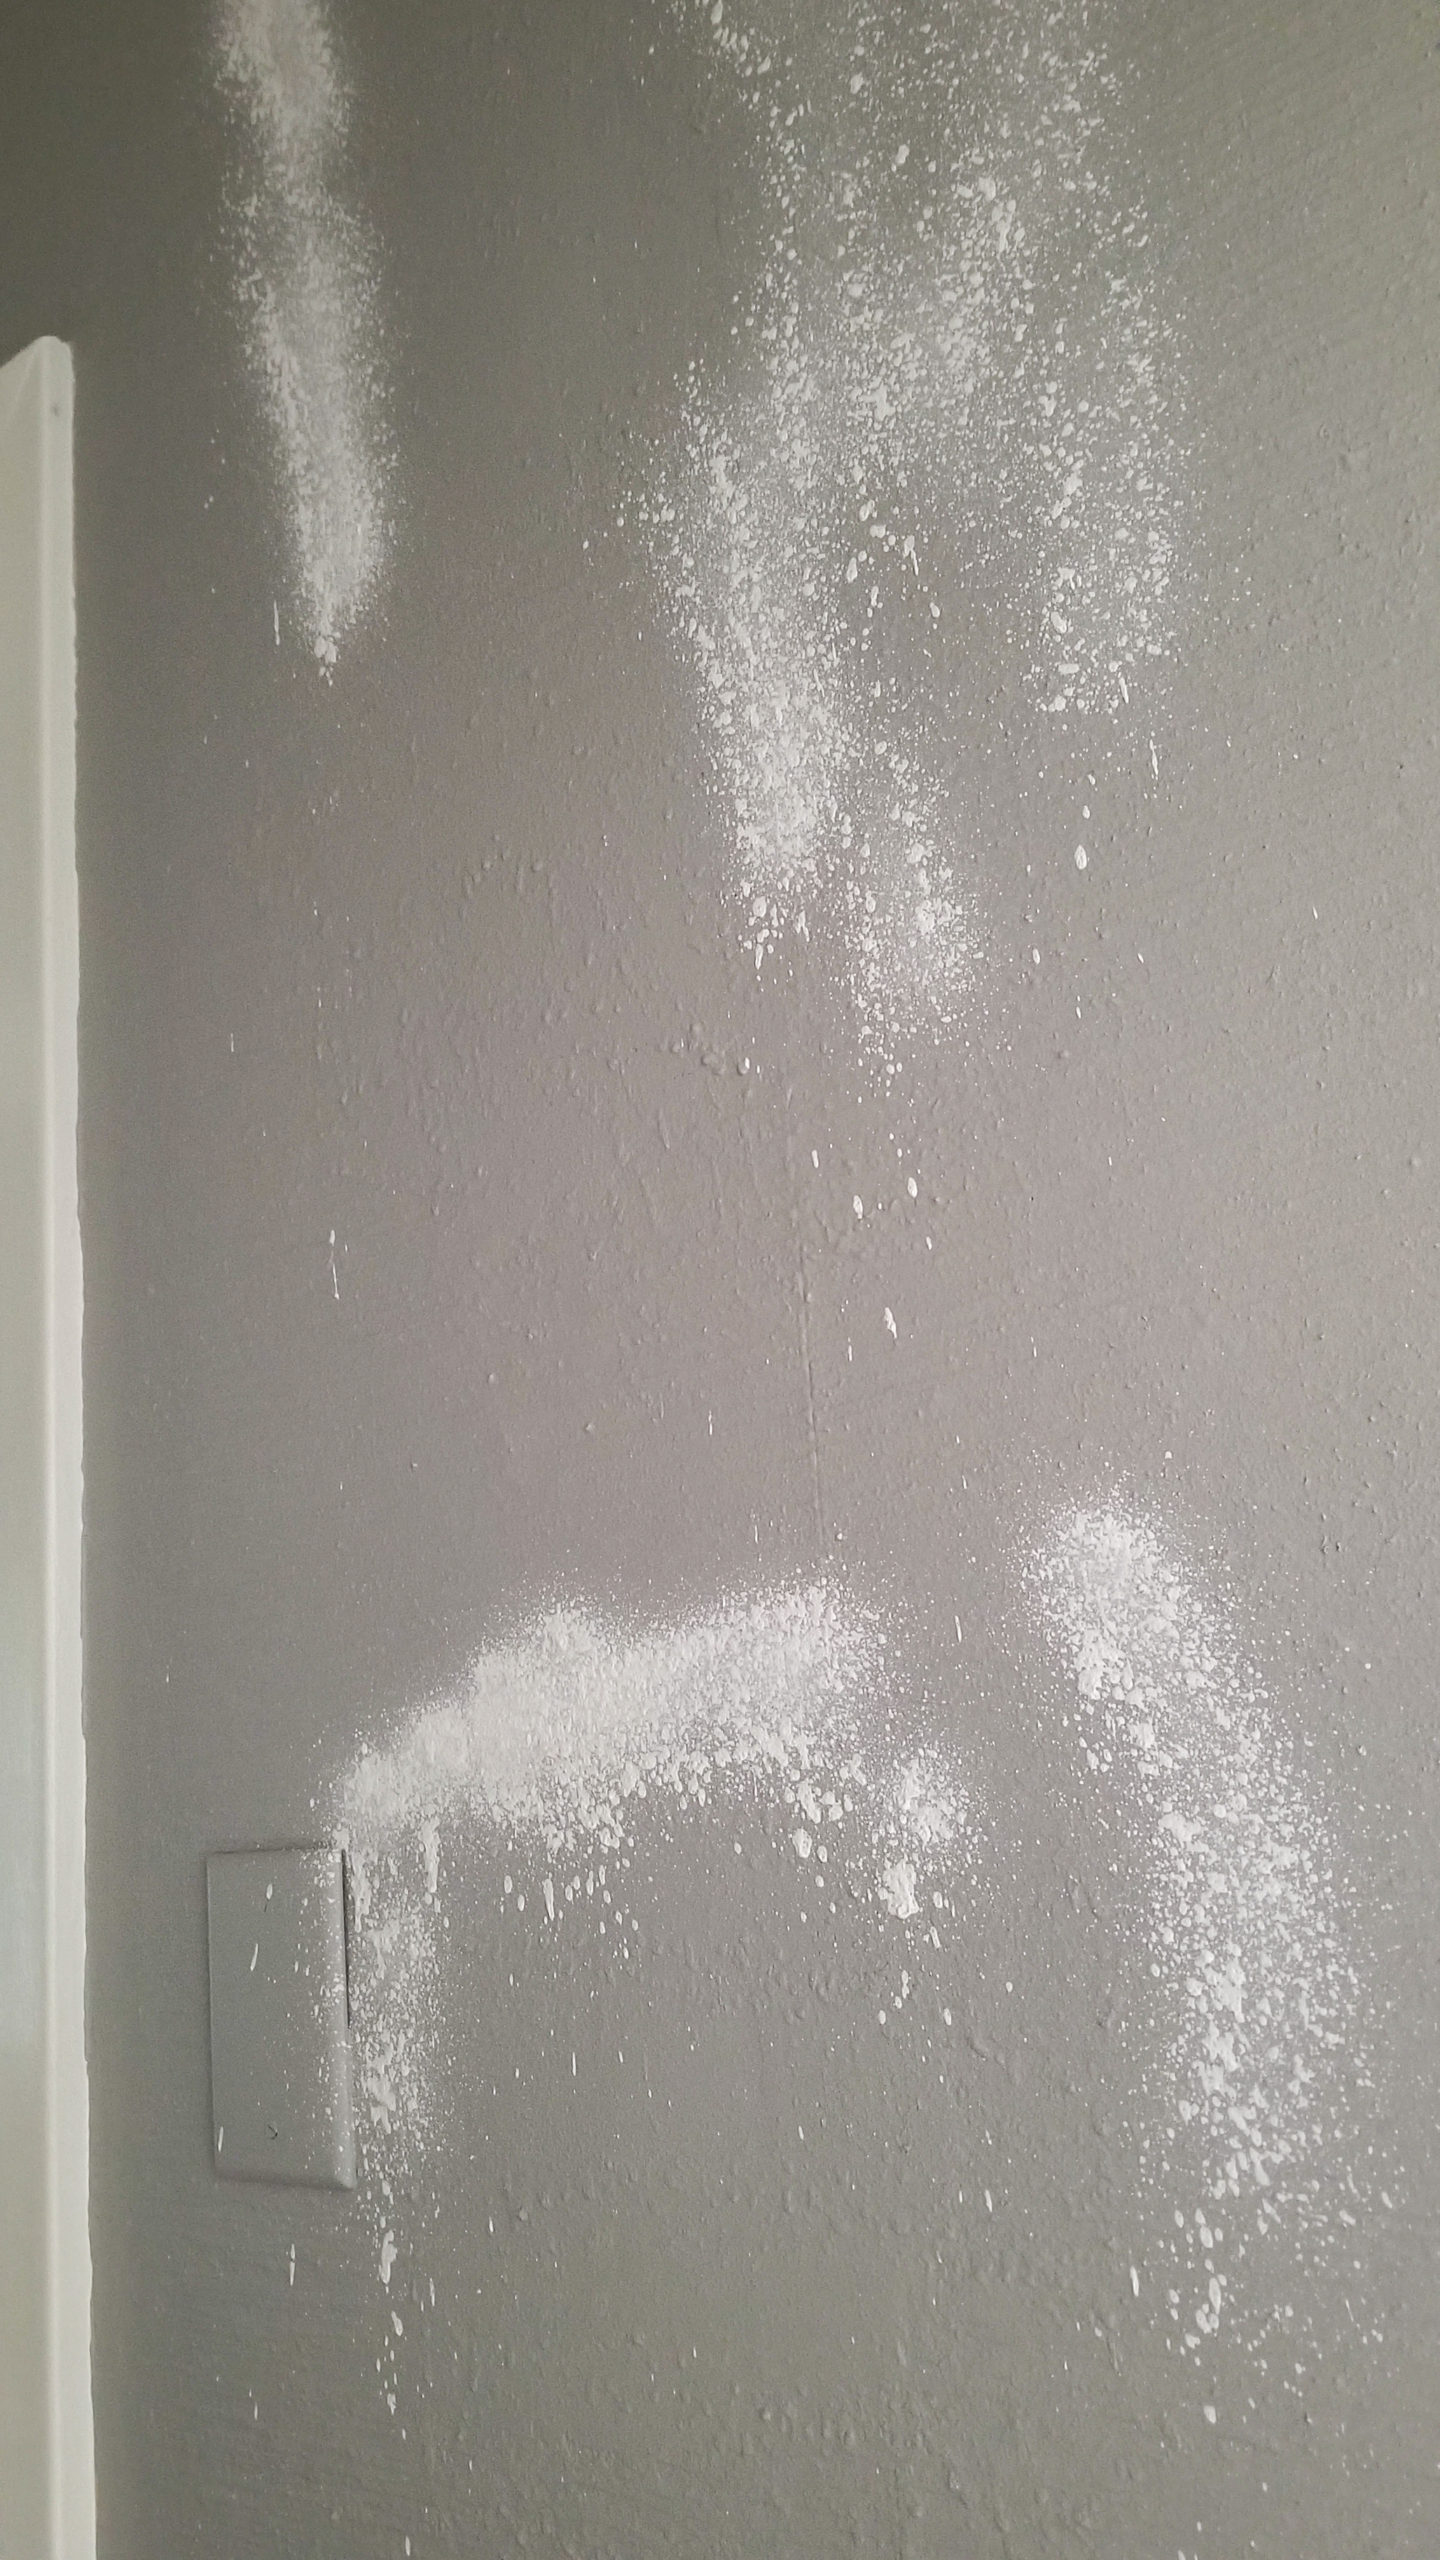
Texture sprayed on the wall. 
Completed hallway
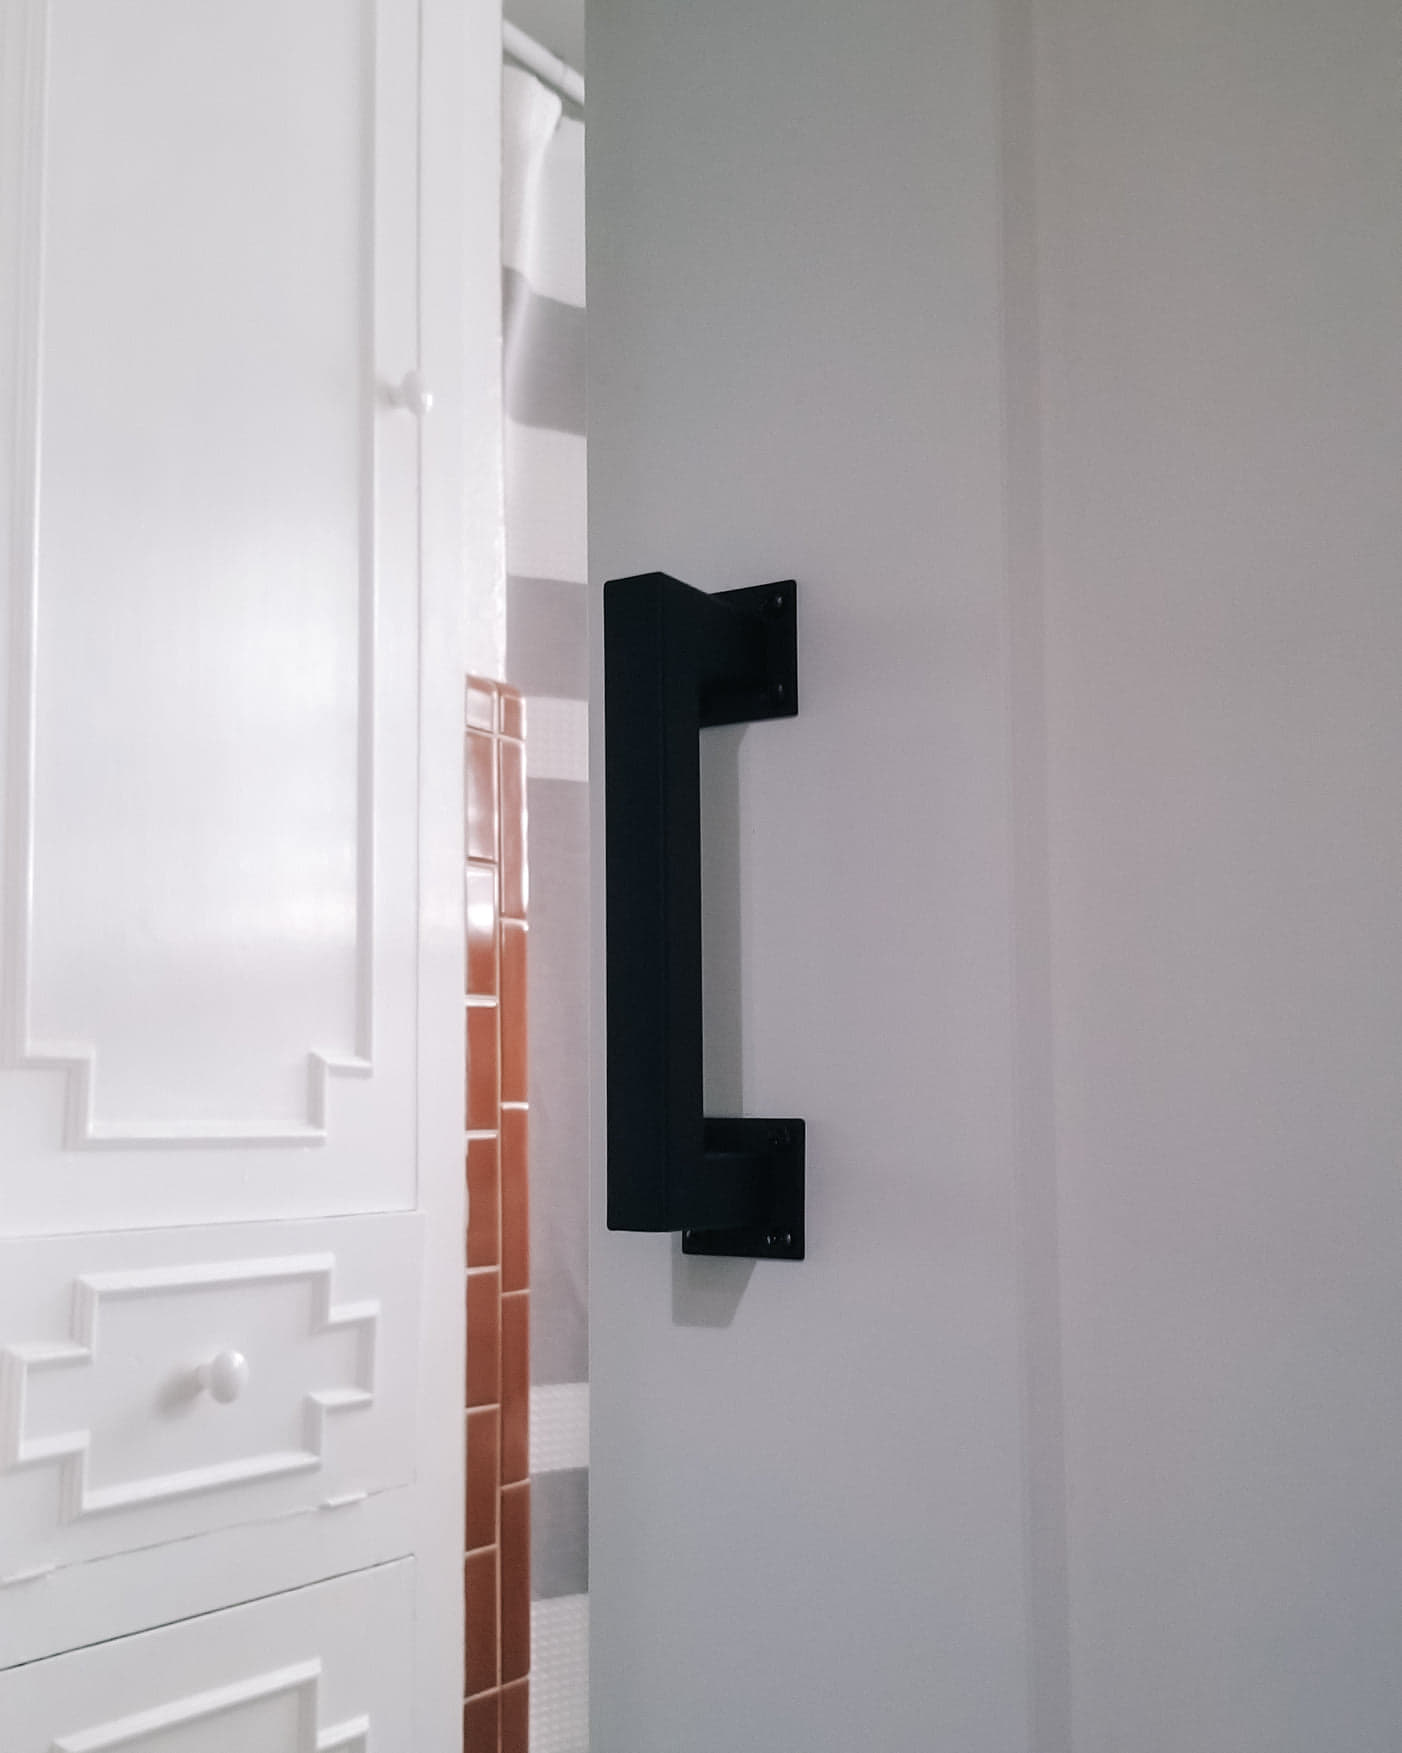
Finally time to put the door on! We thought about making our own barn door because we have seen so many amazing DIYs online. however, because we felt in a bit of a time crunch, we opted for a pre-fabricated door that we found at Lowe’s. This Masonite Sliding Barn Door Kit came ready to go with all the hardware included! I love that it was simple and stylish. The instructions were easy, though I will say we had to make a couple minor adjustments to the length of the track (circular saw not included LOL!)

Before Middle 
After 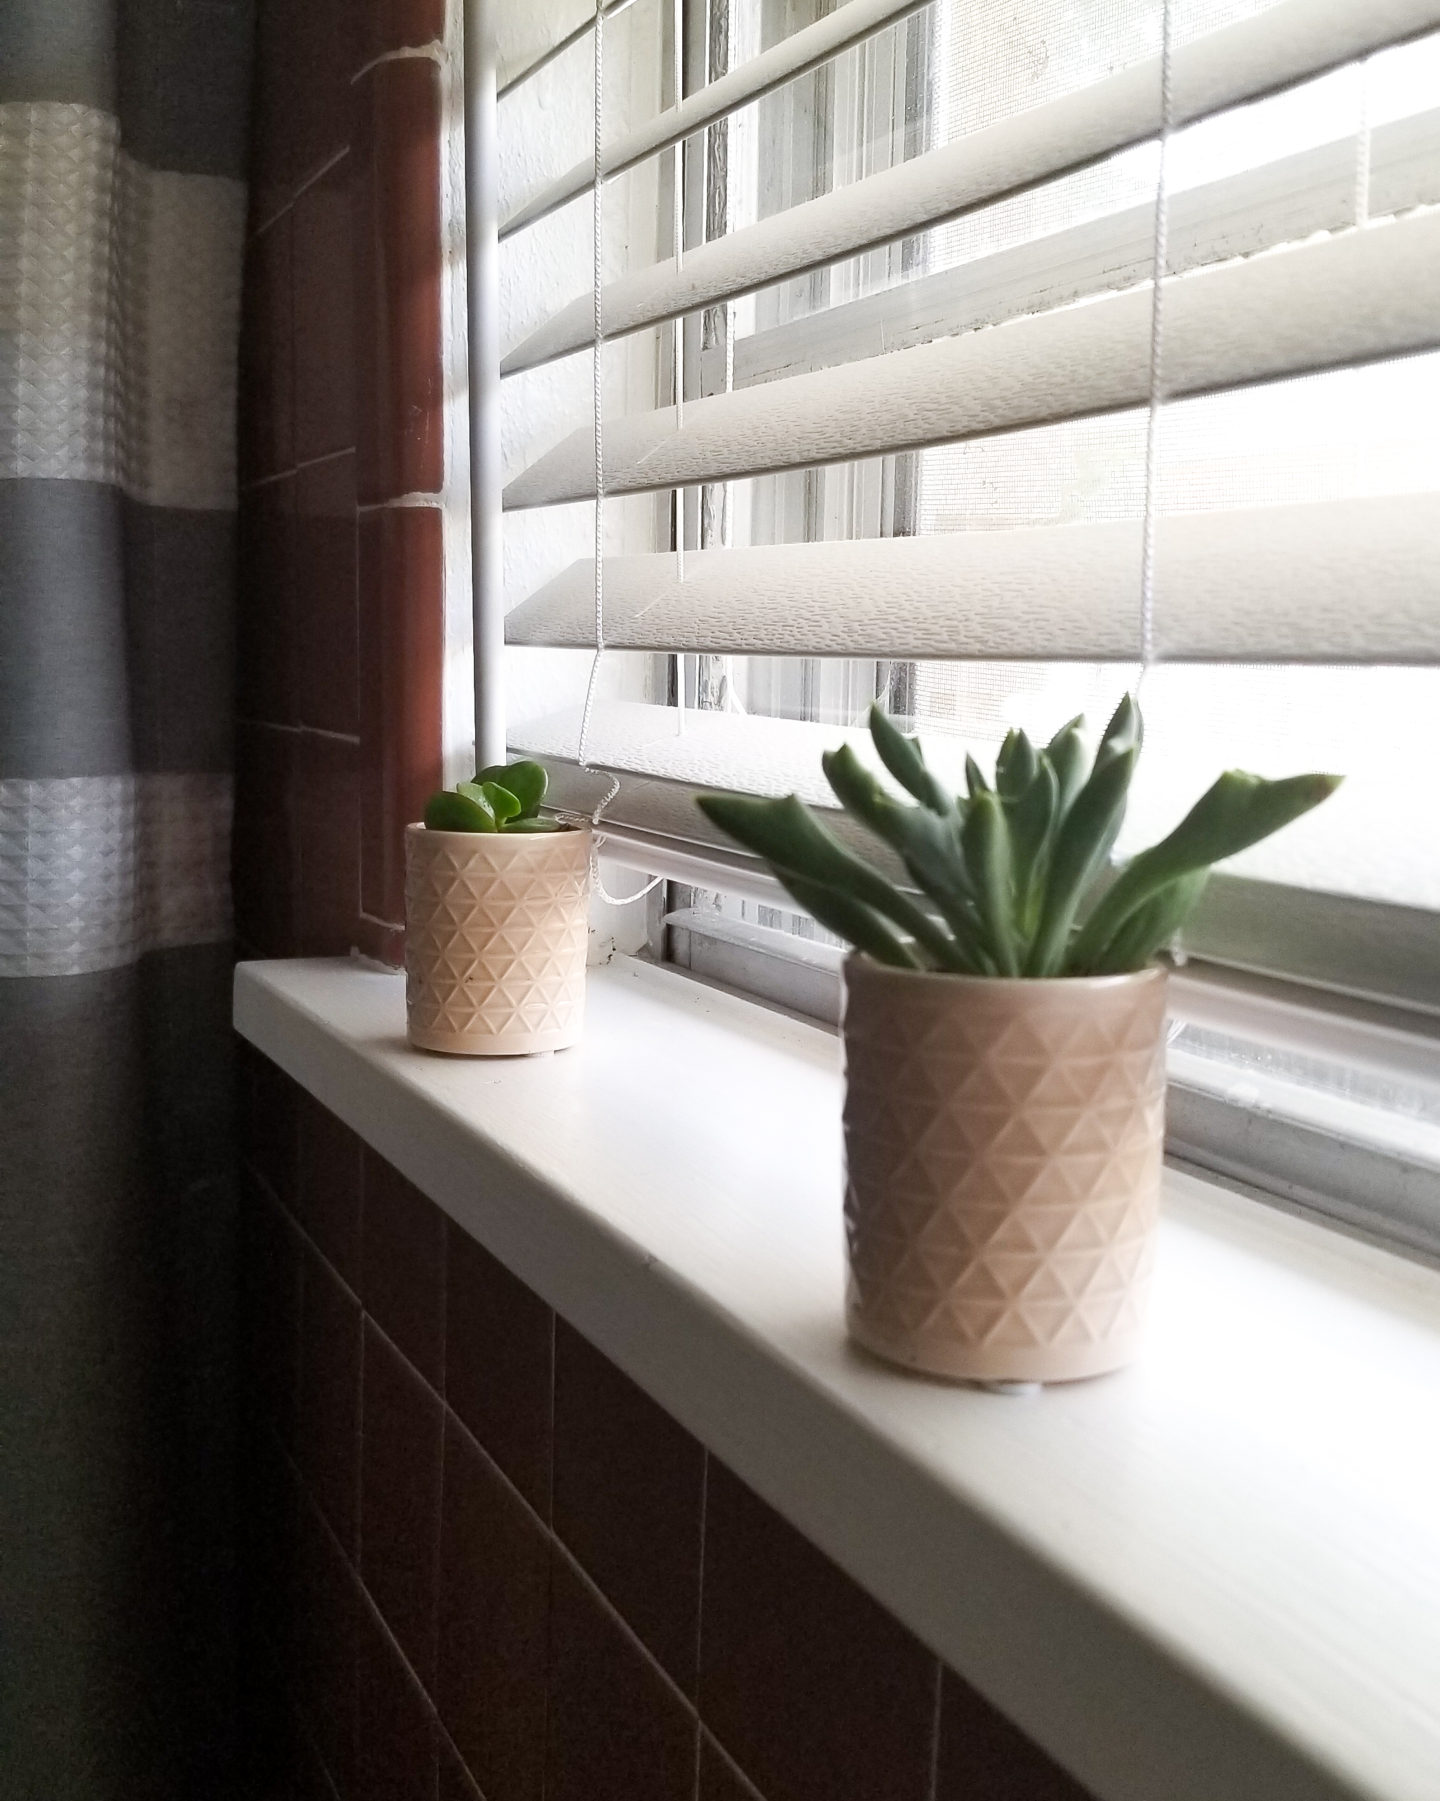
What do you think of our Before and After?! I love the replacement of the glass door with our shower curtain and the addition of the sliding barn door to the entrance. It has allowed for much easier access to our cabinets in the bathroom and made the space feel more balanced. Some simple additions like these succulents and bath mat completed our look (for the time being!). I am already thinking about the next stage of this reno, but for now, I am super happy with the adjustments we made!
What do you think we will tackle next? Drop your guess in the comments!