
Who loves a good DIY trend? Me! Every year I love pulling down the Christmas decoration boxes and sorting through which colors and decor I want to use for the season. I don’t often buy new, and this year was no different.
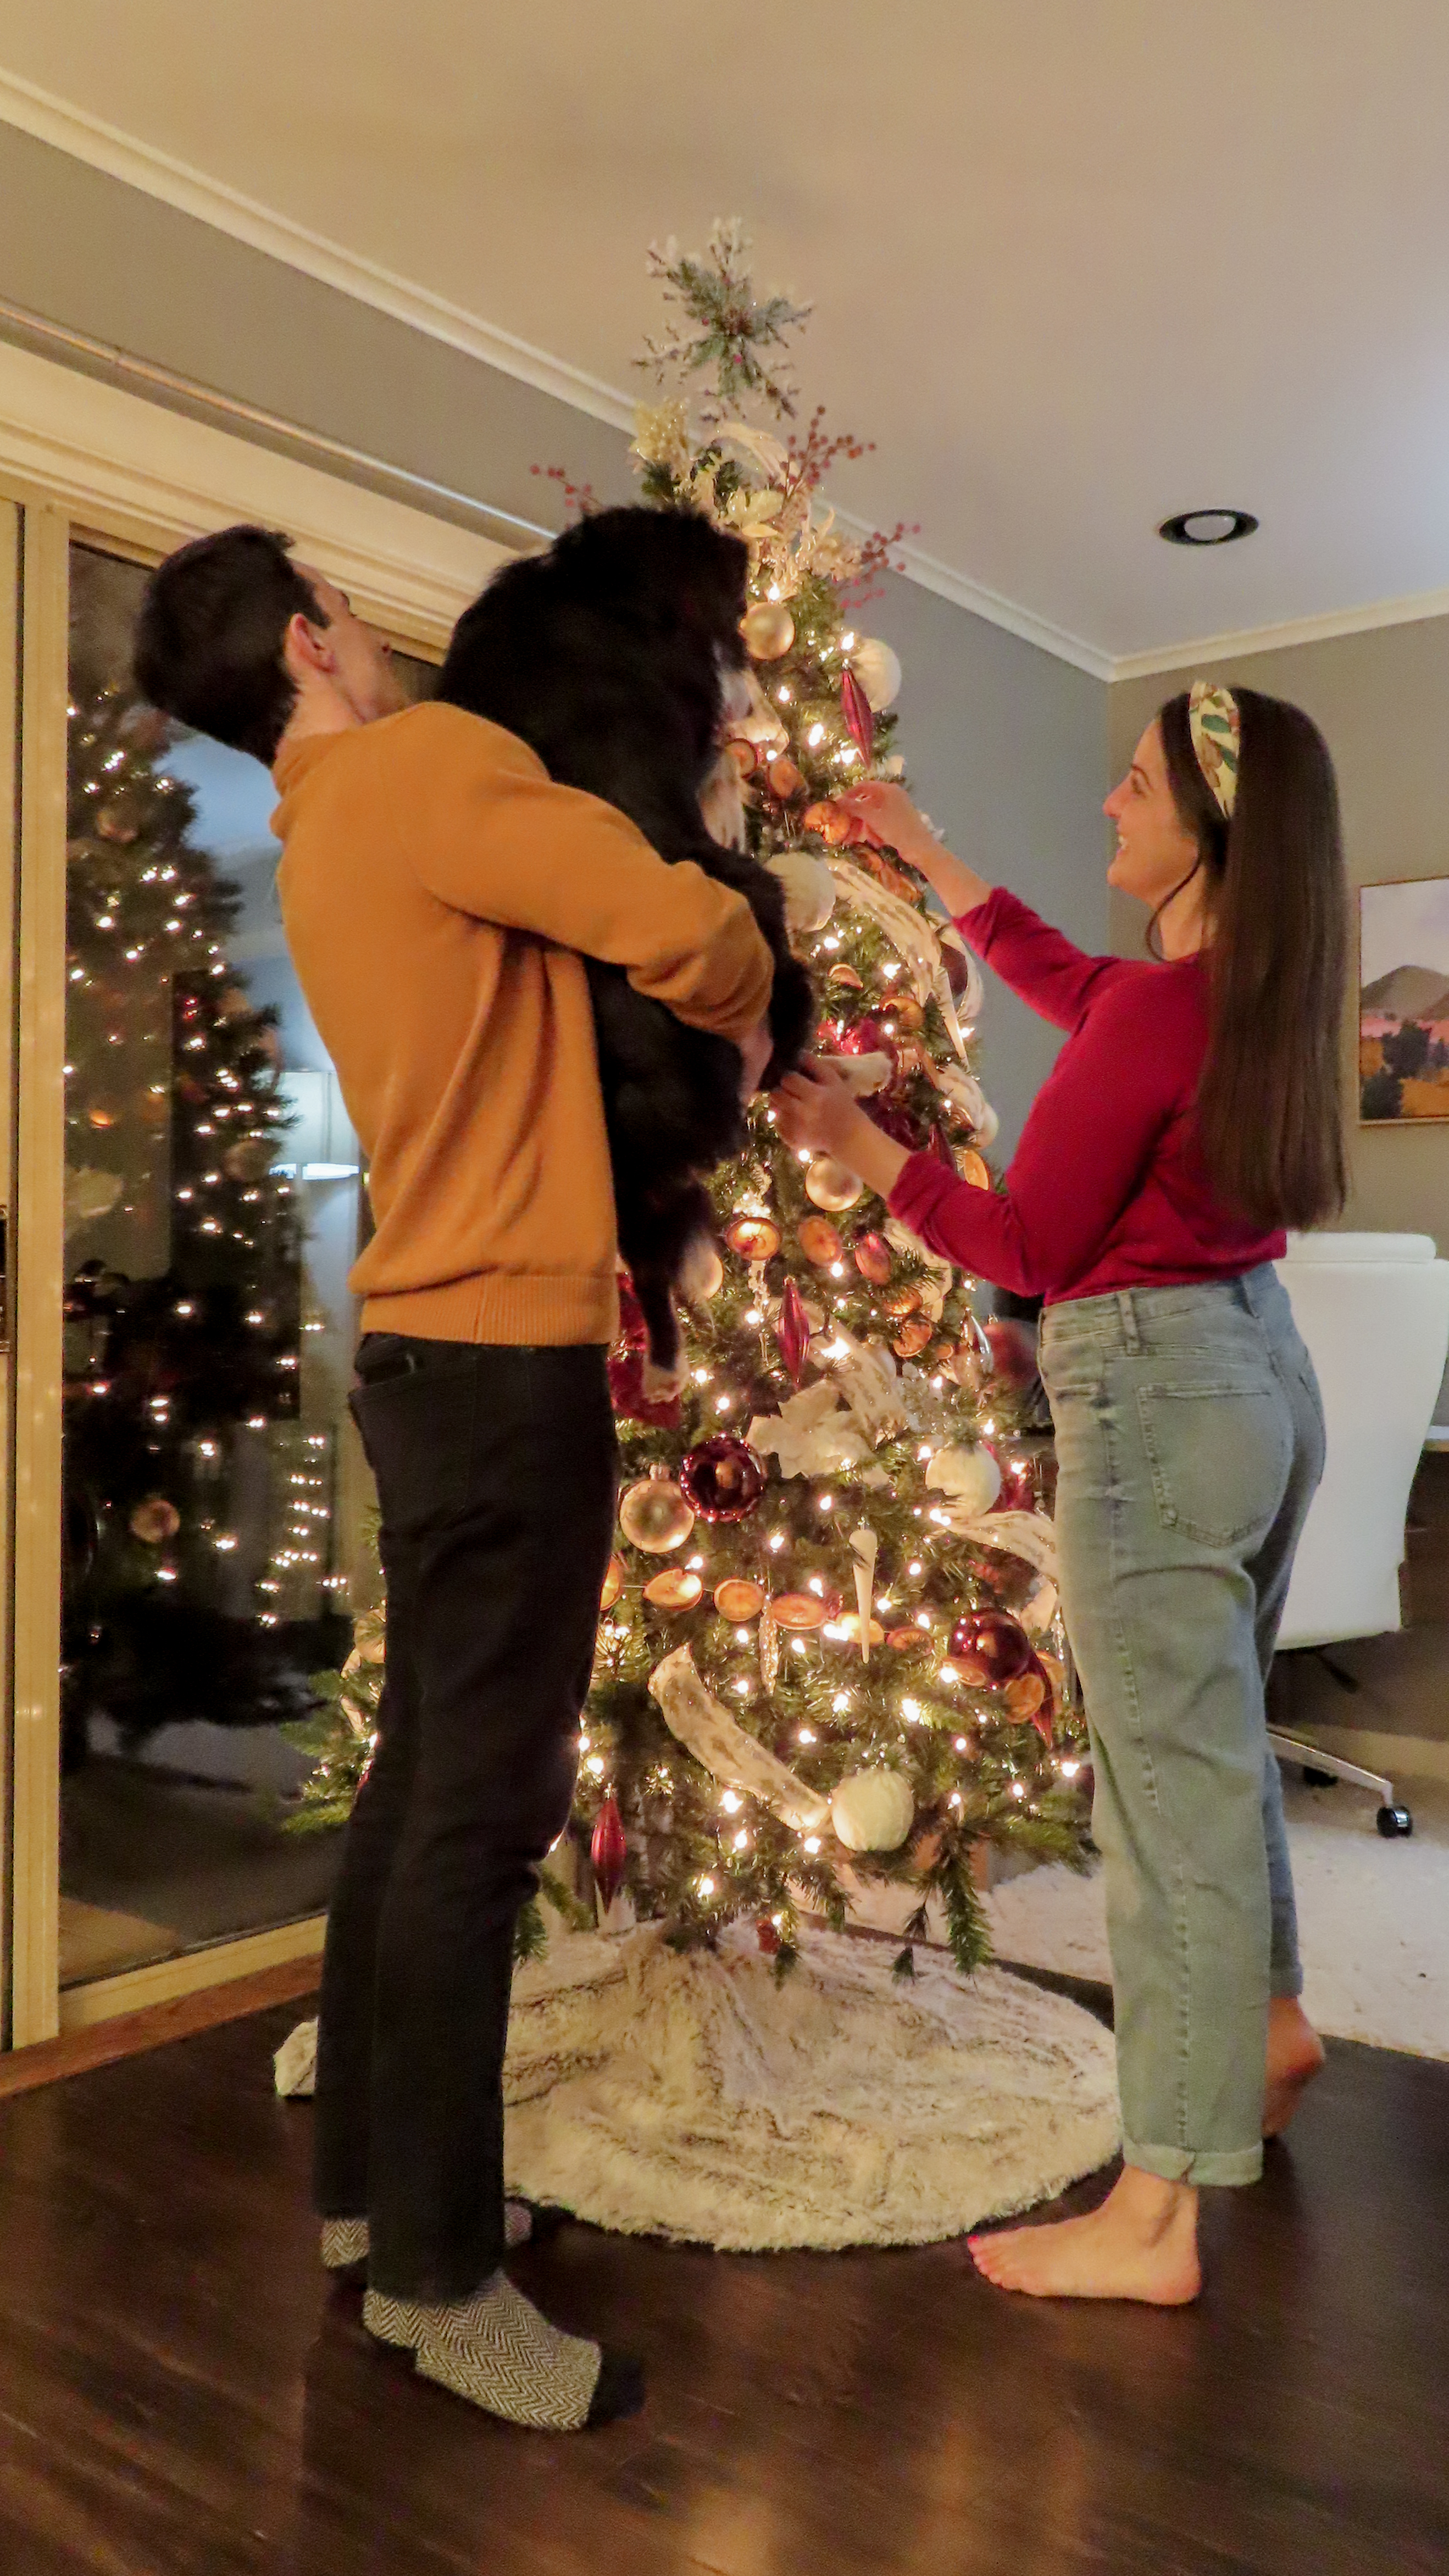
When I got my tree up (I always wait until after Thanksgiving!) I felt like something was missing. I didn’t want to go to the store and stand in the masses of decorations to try to choose something new. Instead, I opted to do a DIY I saw that looked really fun!
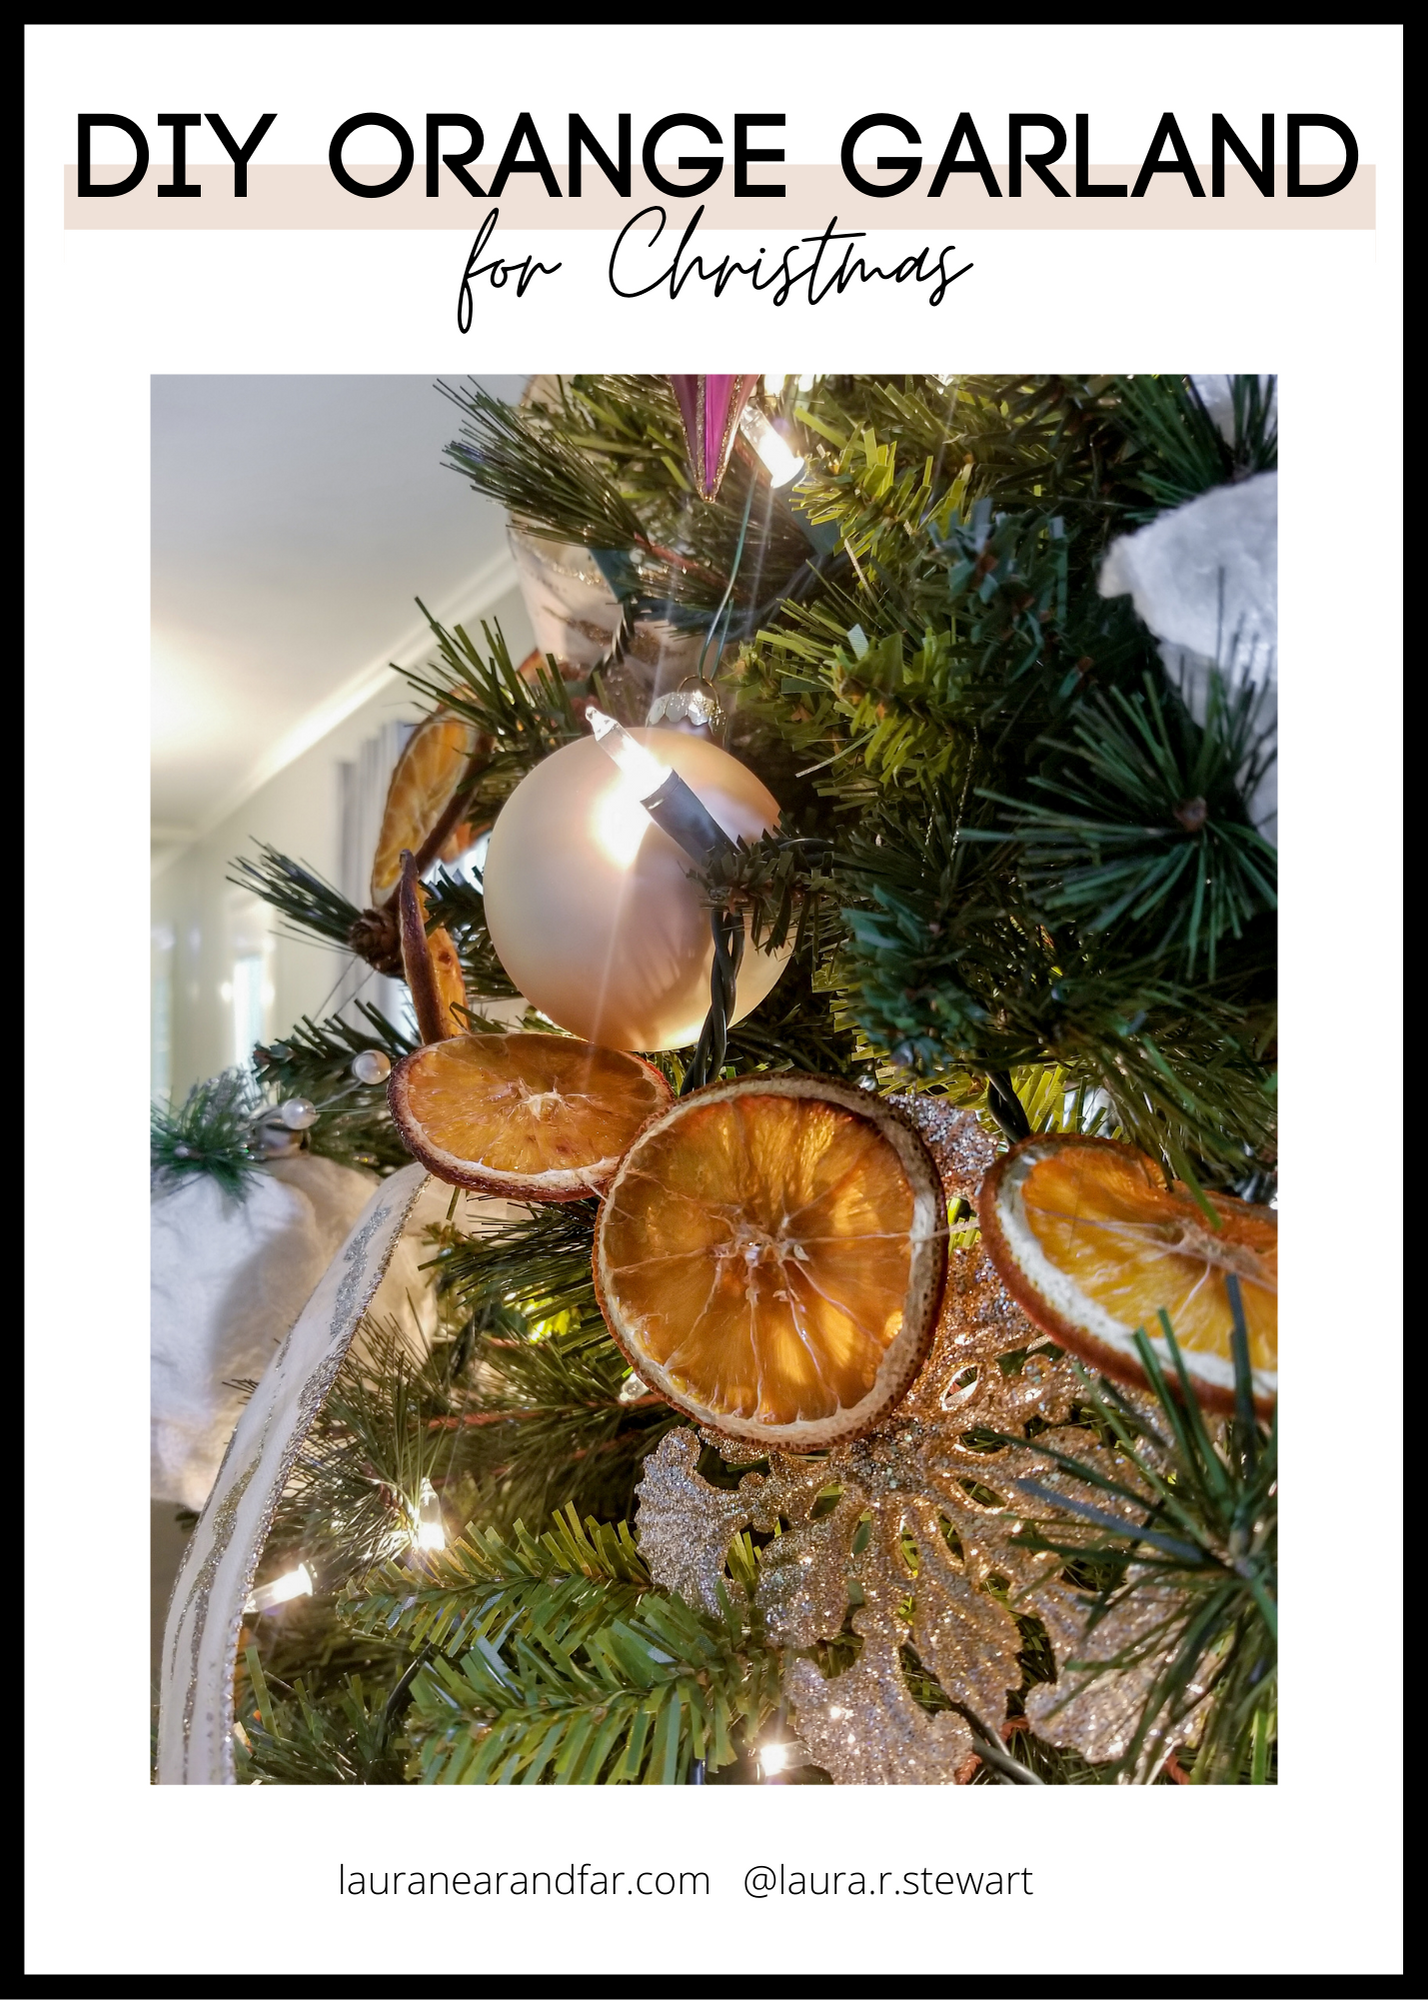
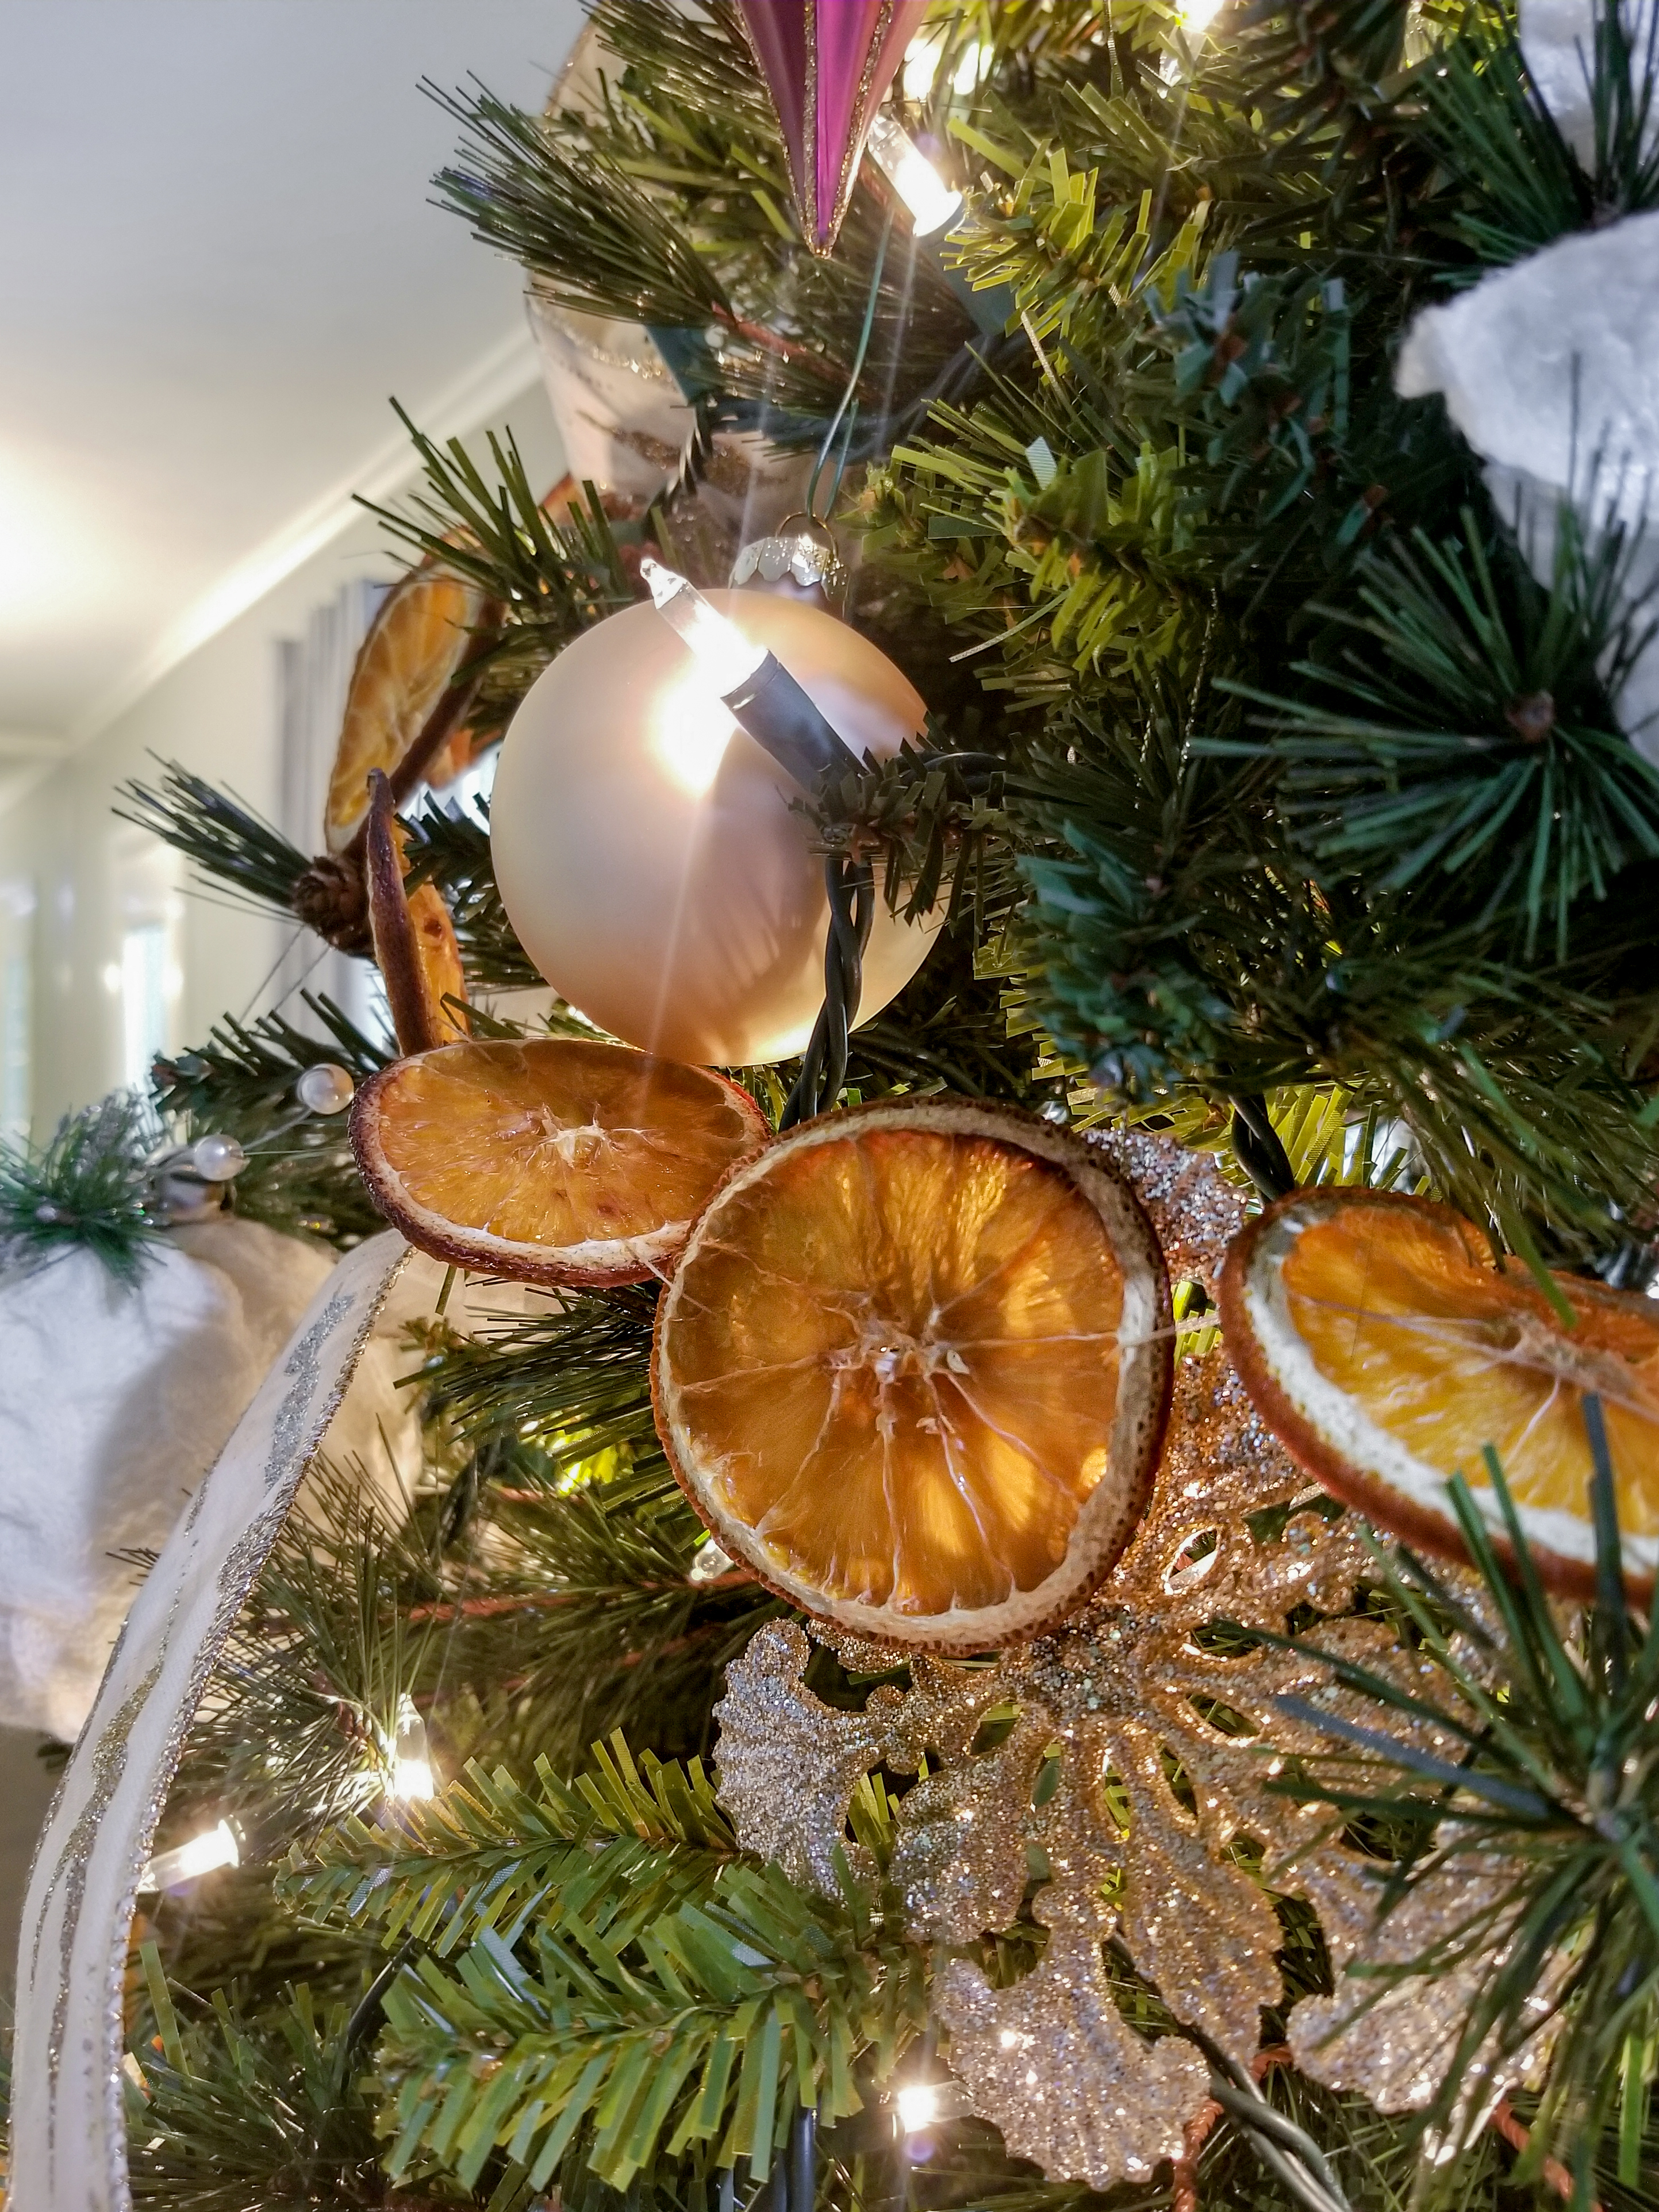
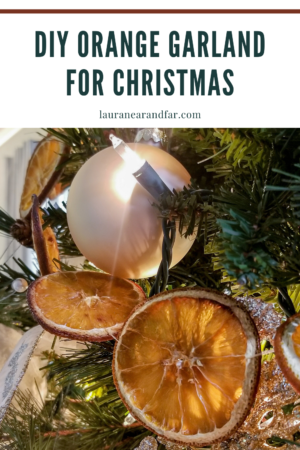
If you like a more homemade or minimal look, this DIY orange garland trend is for you. Benefits of a DIY orange garland:
- less expensive than most store-bought decorations
- fits the minimal/natural aesthetic
- eco-friendly (you can set the oranges out for birds when the season is over)
- makes your house smell warm and wonderful
- adds a golden pop of color to your greenery
Check out more home decor posts: My Simple Fall Front Porch, DIY Spring Wreath, Home Office Makeover
Alright, let’s get into it! All the steps outlined are below.
DIY Orange Garland: What You’ll Need
- 8lb bag of fresh naval oranges. The amount of oranges you need depends on how long/how many garlands you want to make. I made about four 5′ garlands for my whole tree.
- Cutting board and sharp kitchen knife
- Paper towels
- Large baking sheets
- Parchment paper
- Thread or twine and needle
Step-by-Step DIY Orange Garland
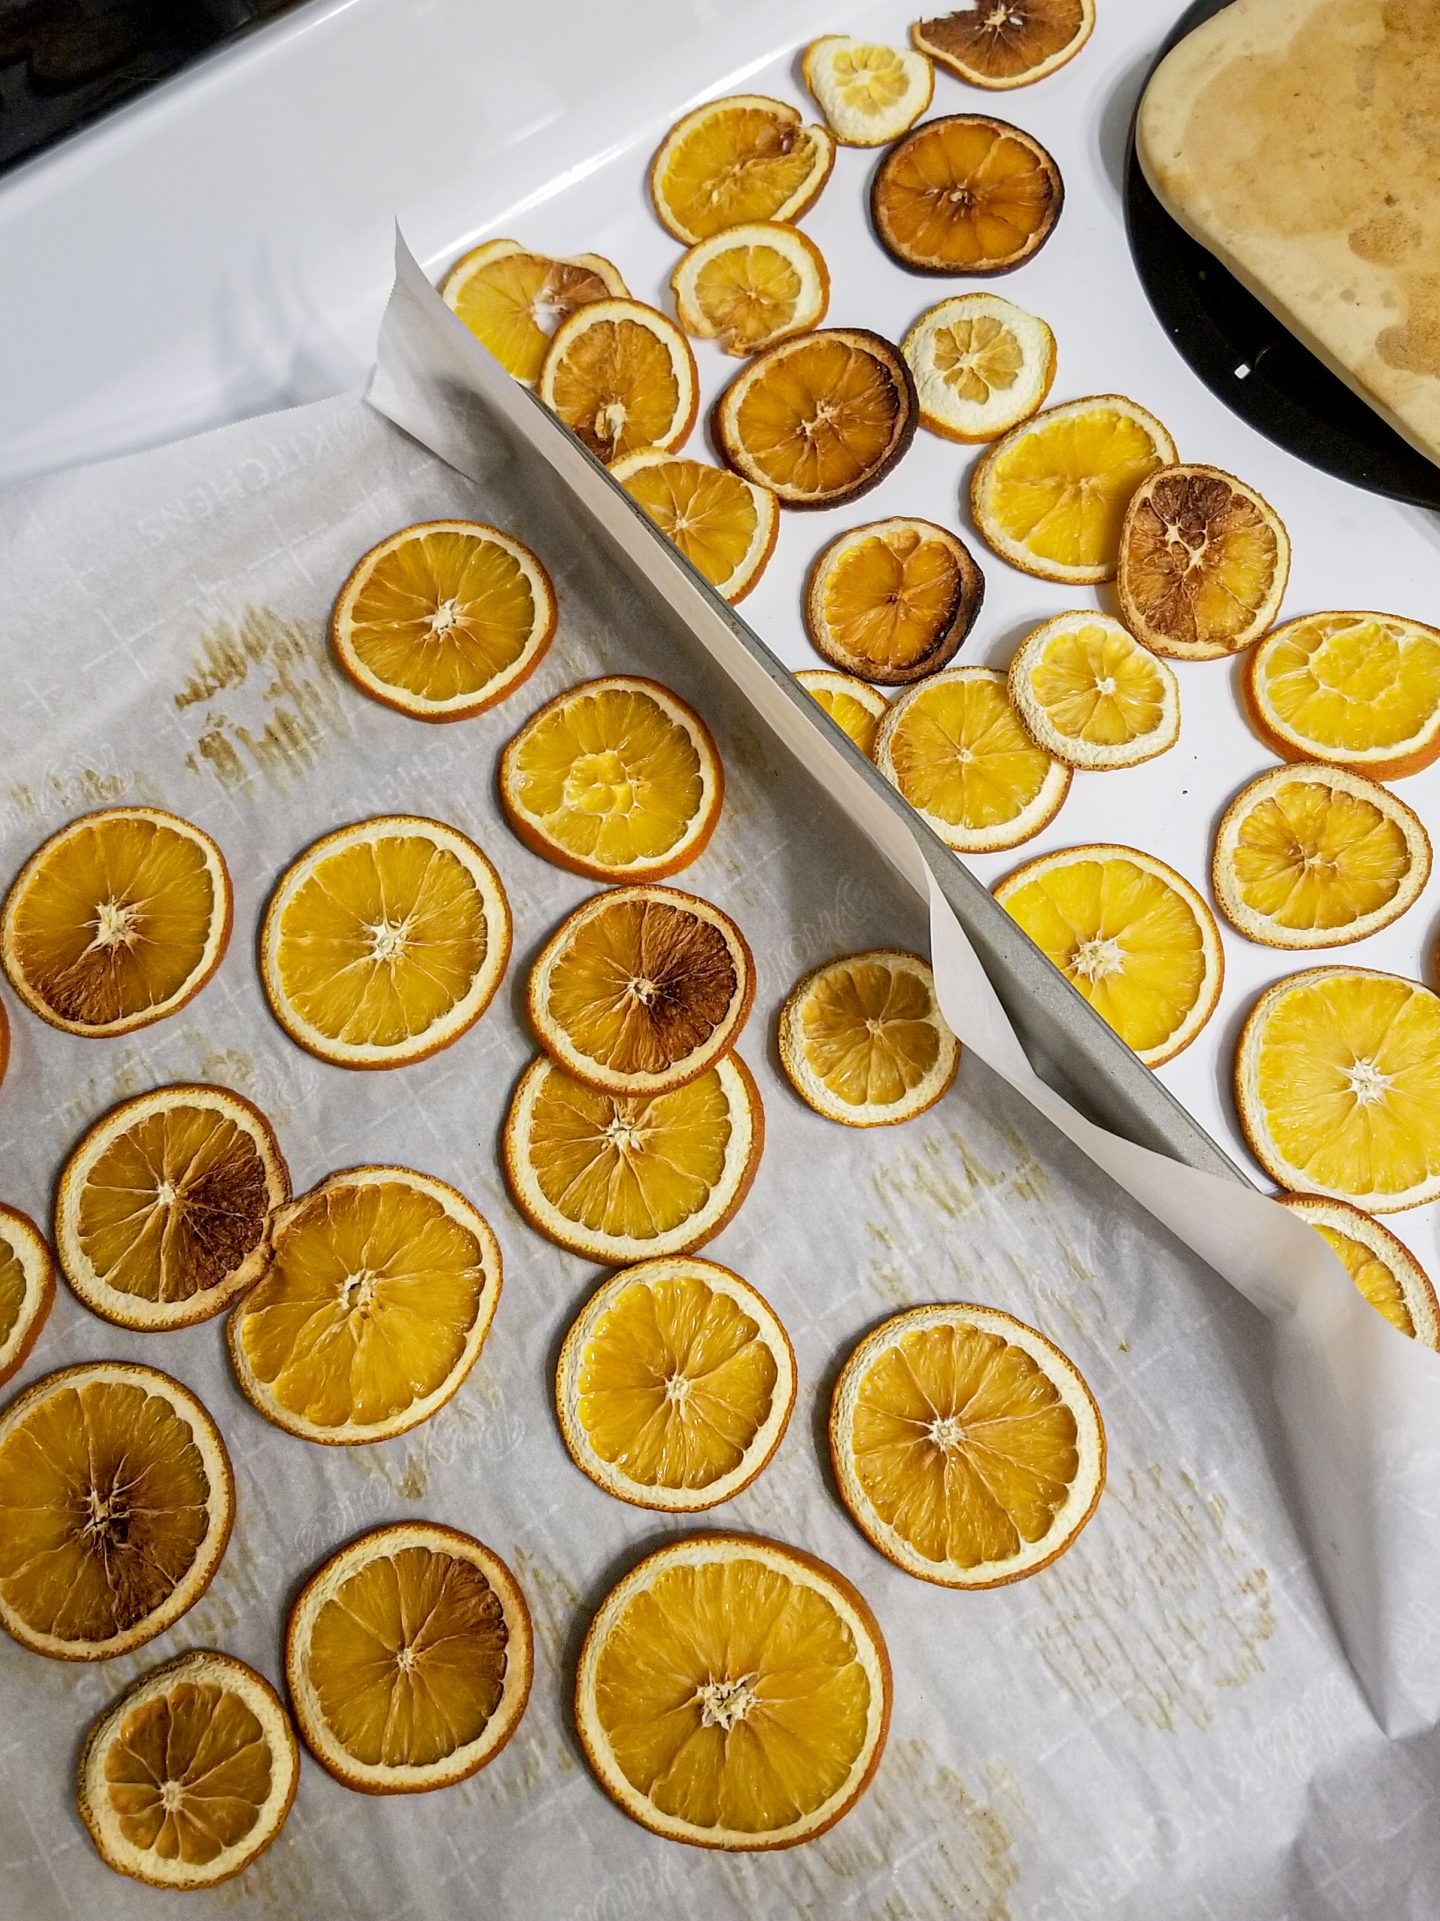
- Preheat oven at 225 degrees.
- Slice oranges as thinly as possible. Mine were around 1/4 inch, at best.
- Lay out paper towels and pat the orange slices down to absorb excess juice. Don’t skip!
- Line as many large baking sheets that will fit in your oven with parchment paper.
- Arrange oranges on the sheets and bake for 2.5 hours, flipping them over about every half an hour. (If you don’t do this step, one side of the oranges will be dried, while the other remains soggy.)
- Let the oranges cool for about 20 minutes.
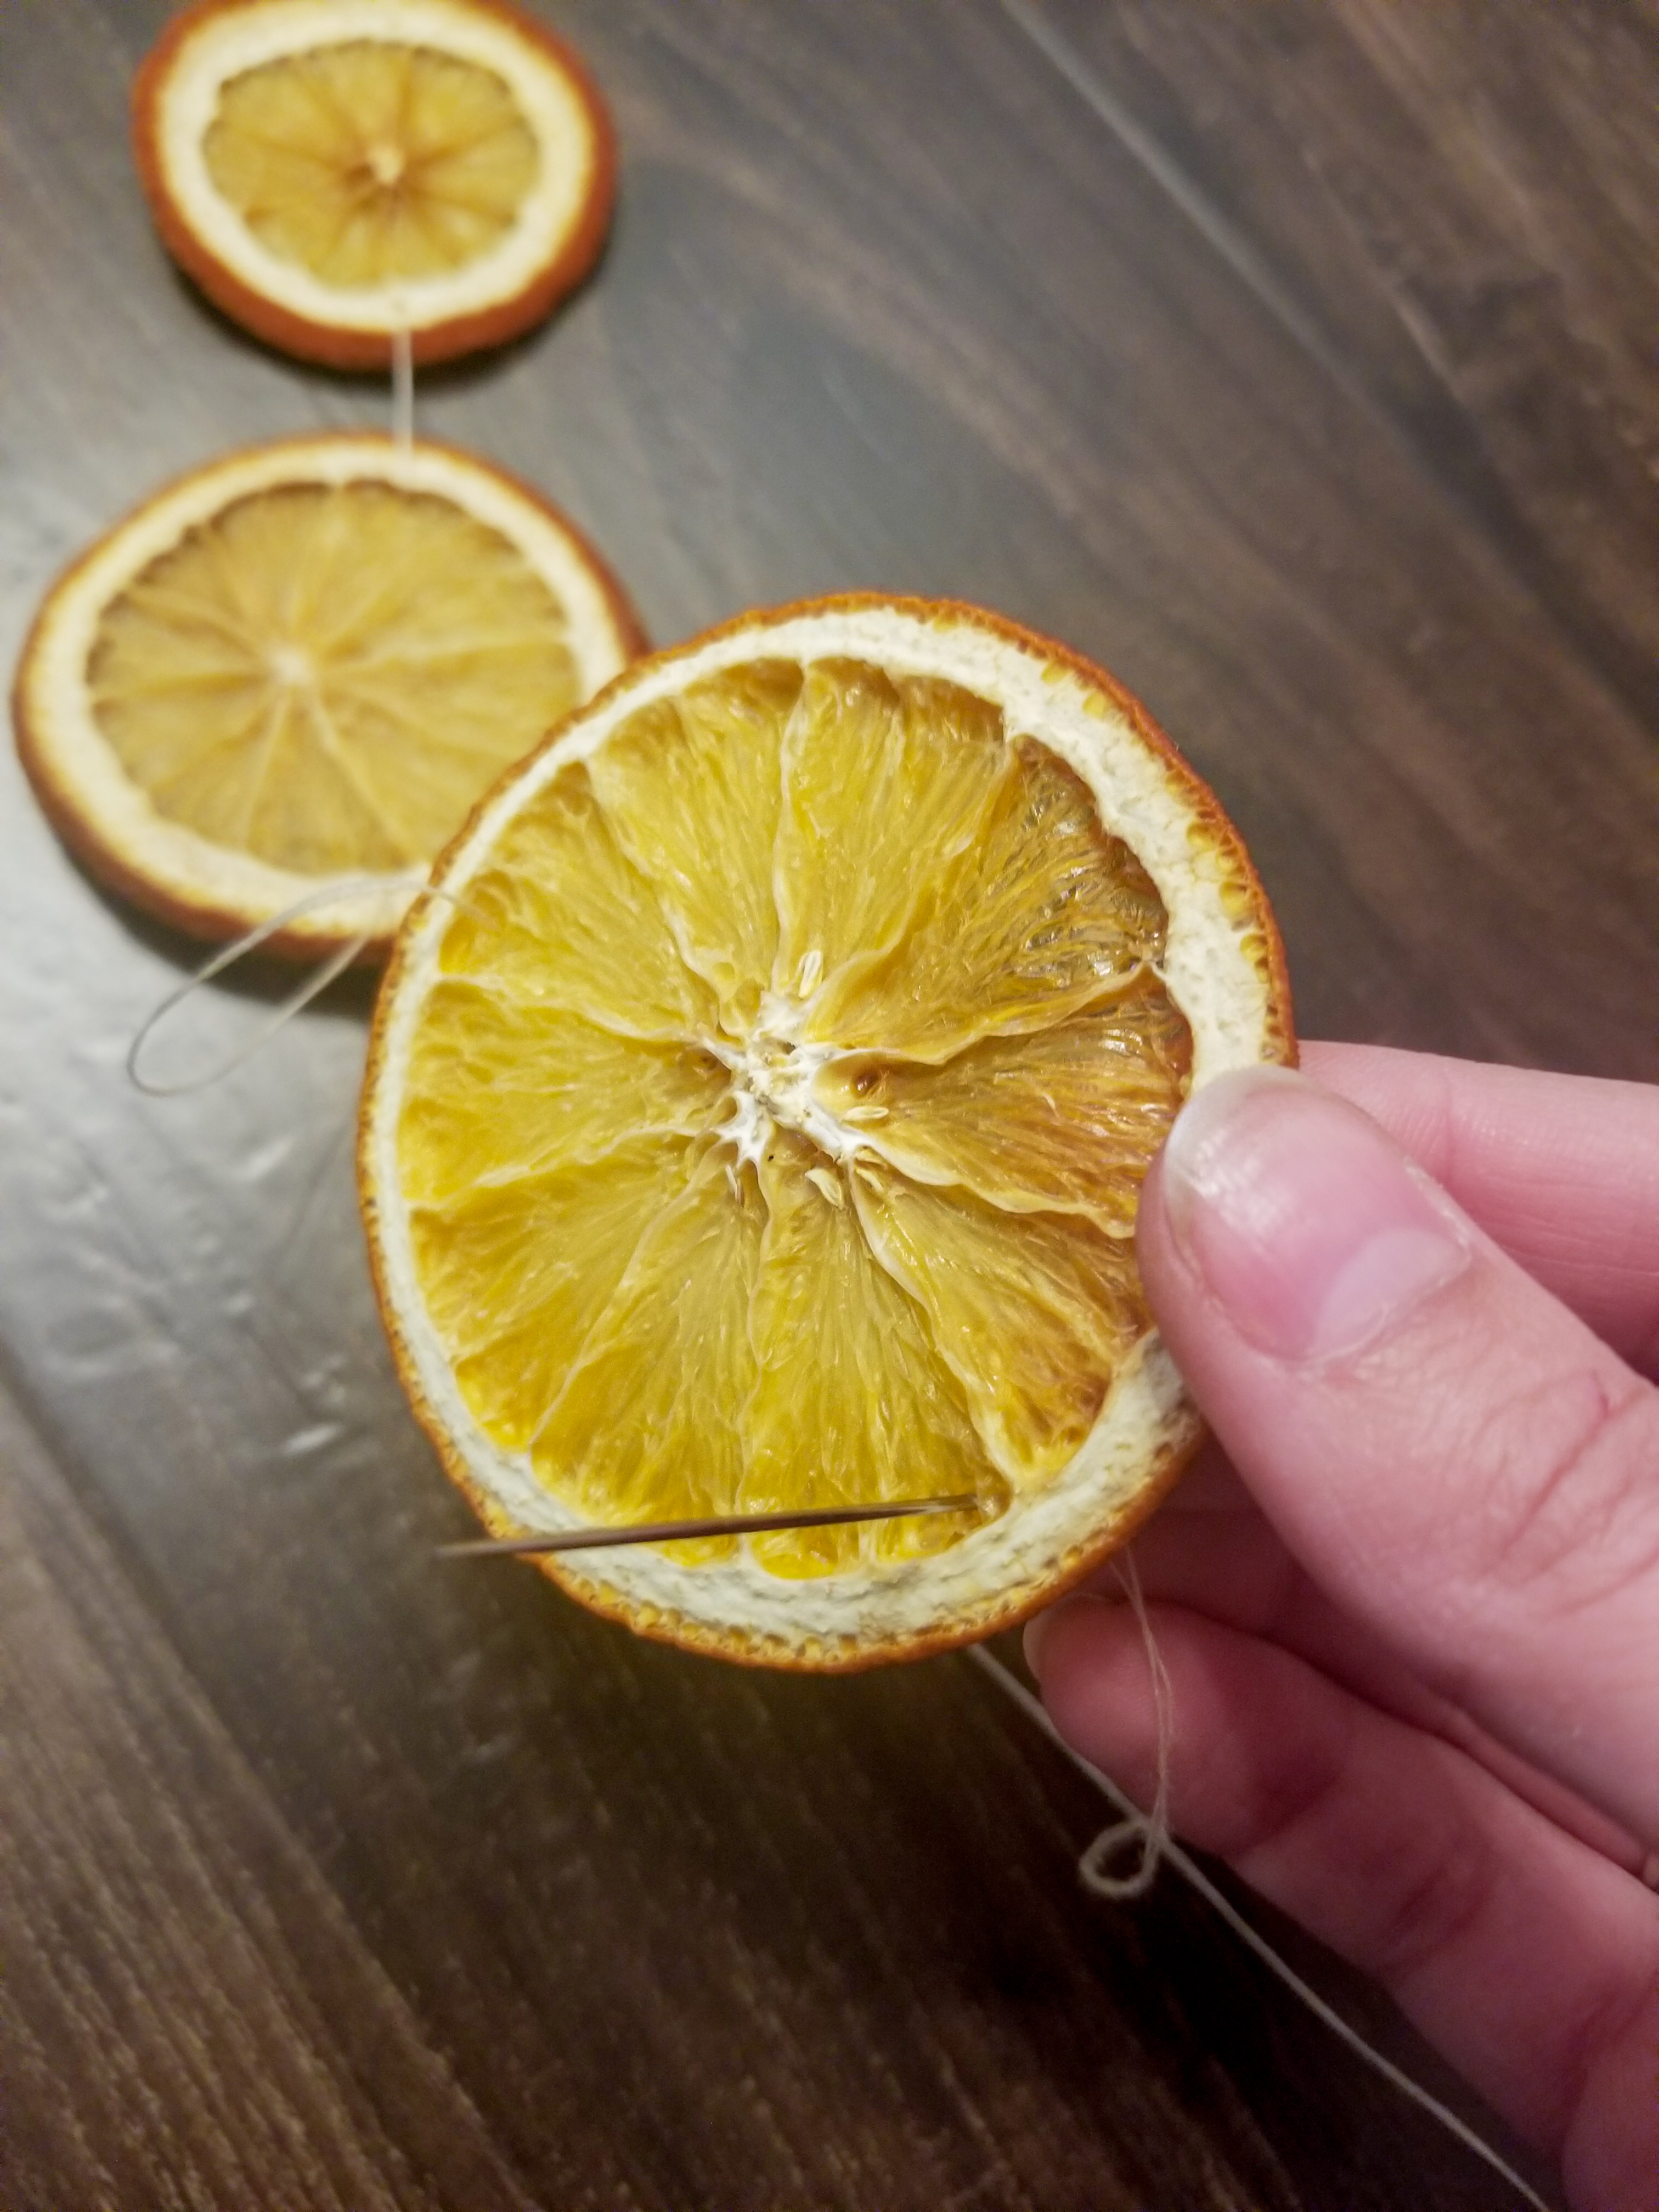
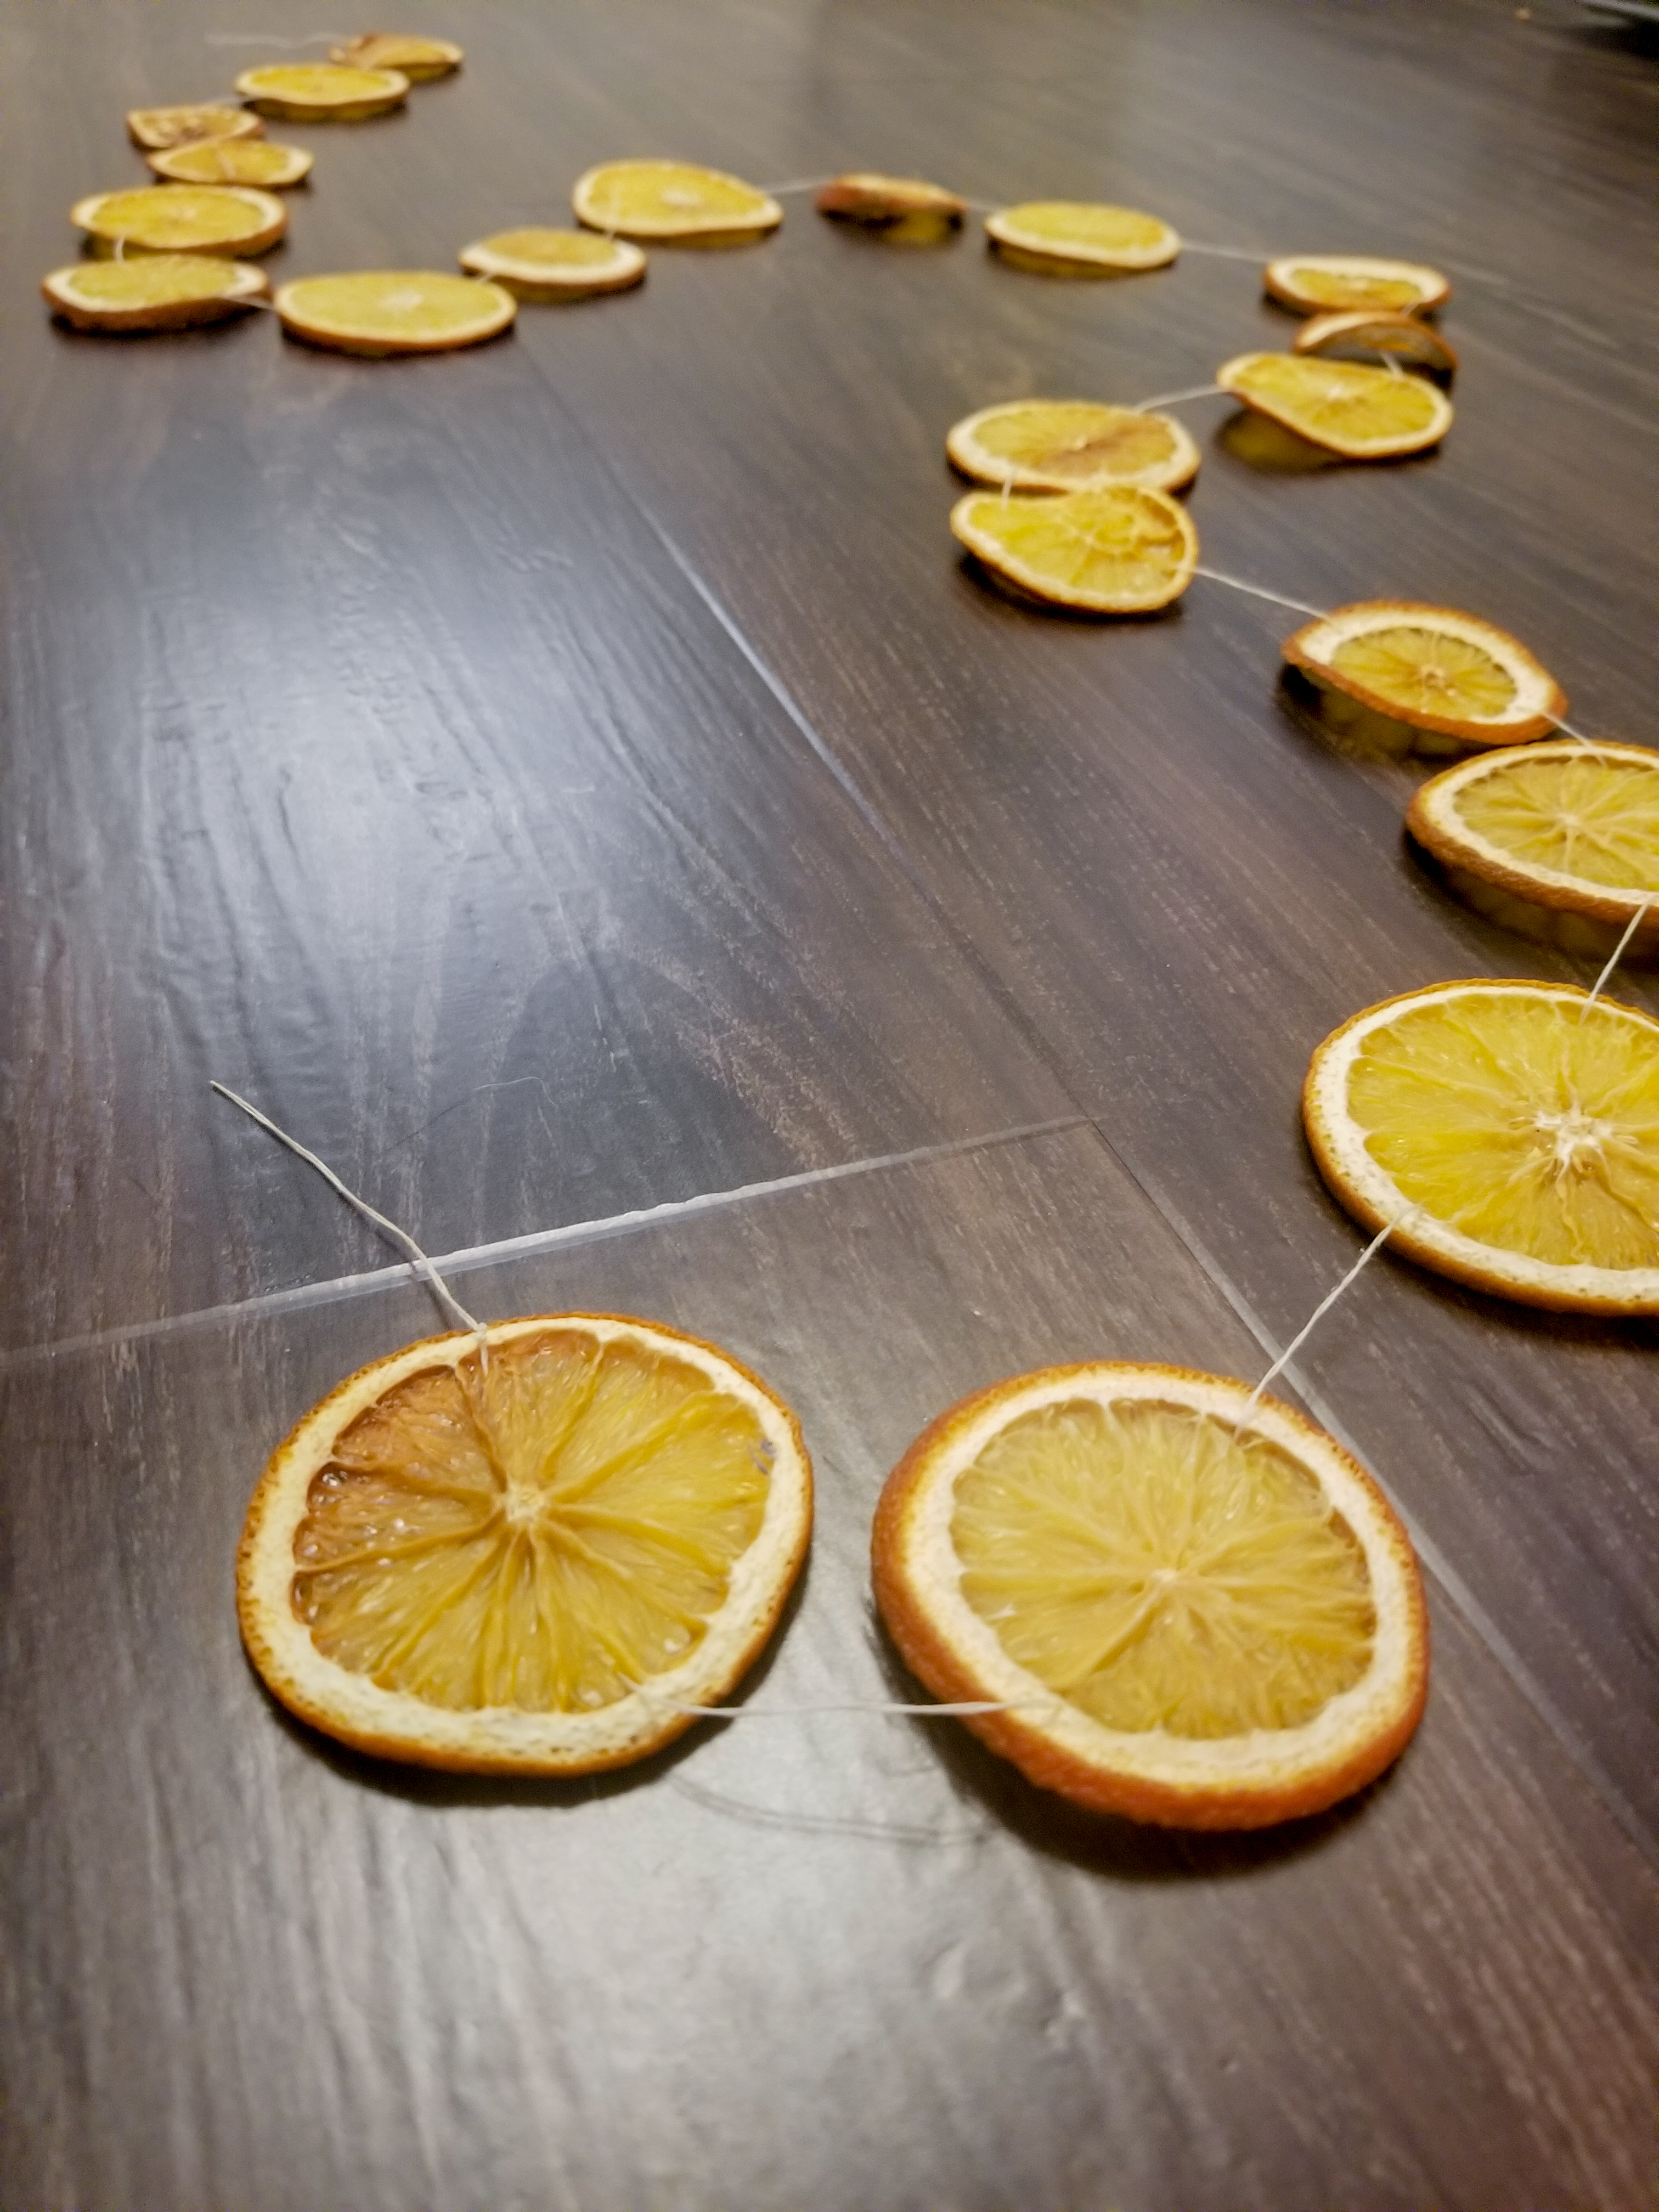
- Thread a medium-sized needle and cut the thread or twine to your desired length.
- “Sew” through the flesh of the orange on one side, and back through to the other side; so that your orange is secure across its diameter (see photos above).
- Continue to slide the orange slices down the line, leaving a little space between each one.
- Once you reach the end, tie off the thread and it’s done!
Let me know if you try this out, and make sure to tell me what you think! Merry Christmas season, everyone!
Xo, Laura