

Affiliate links are used in this post.
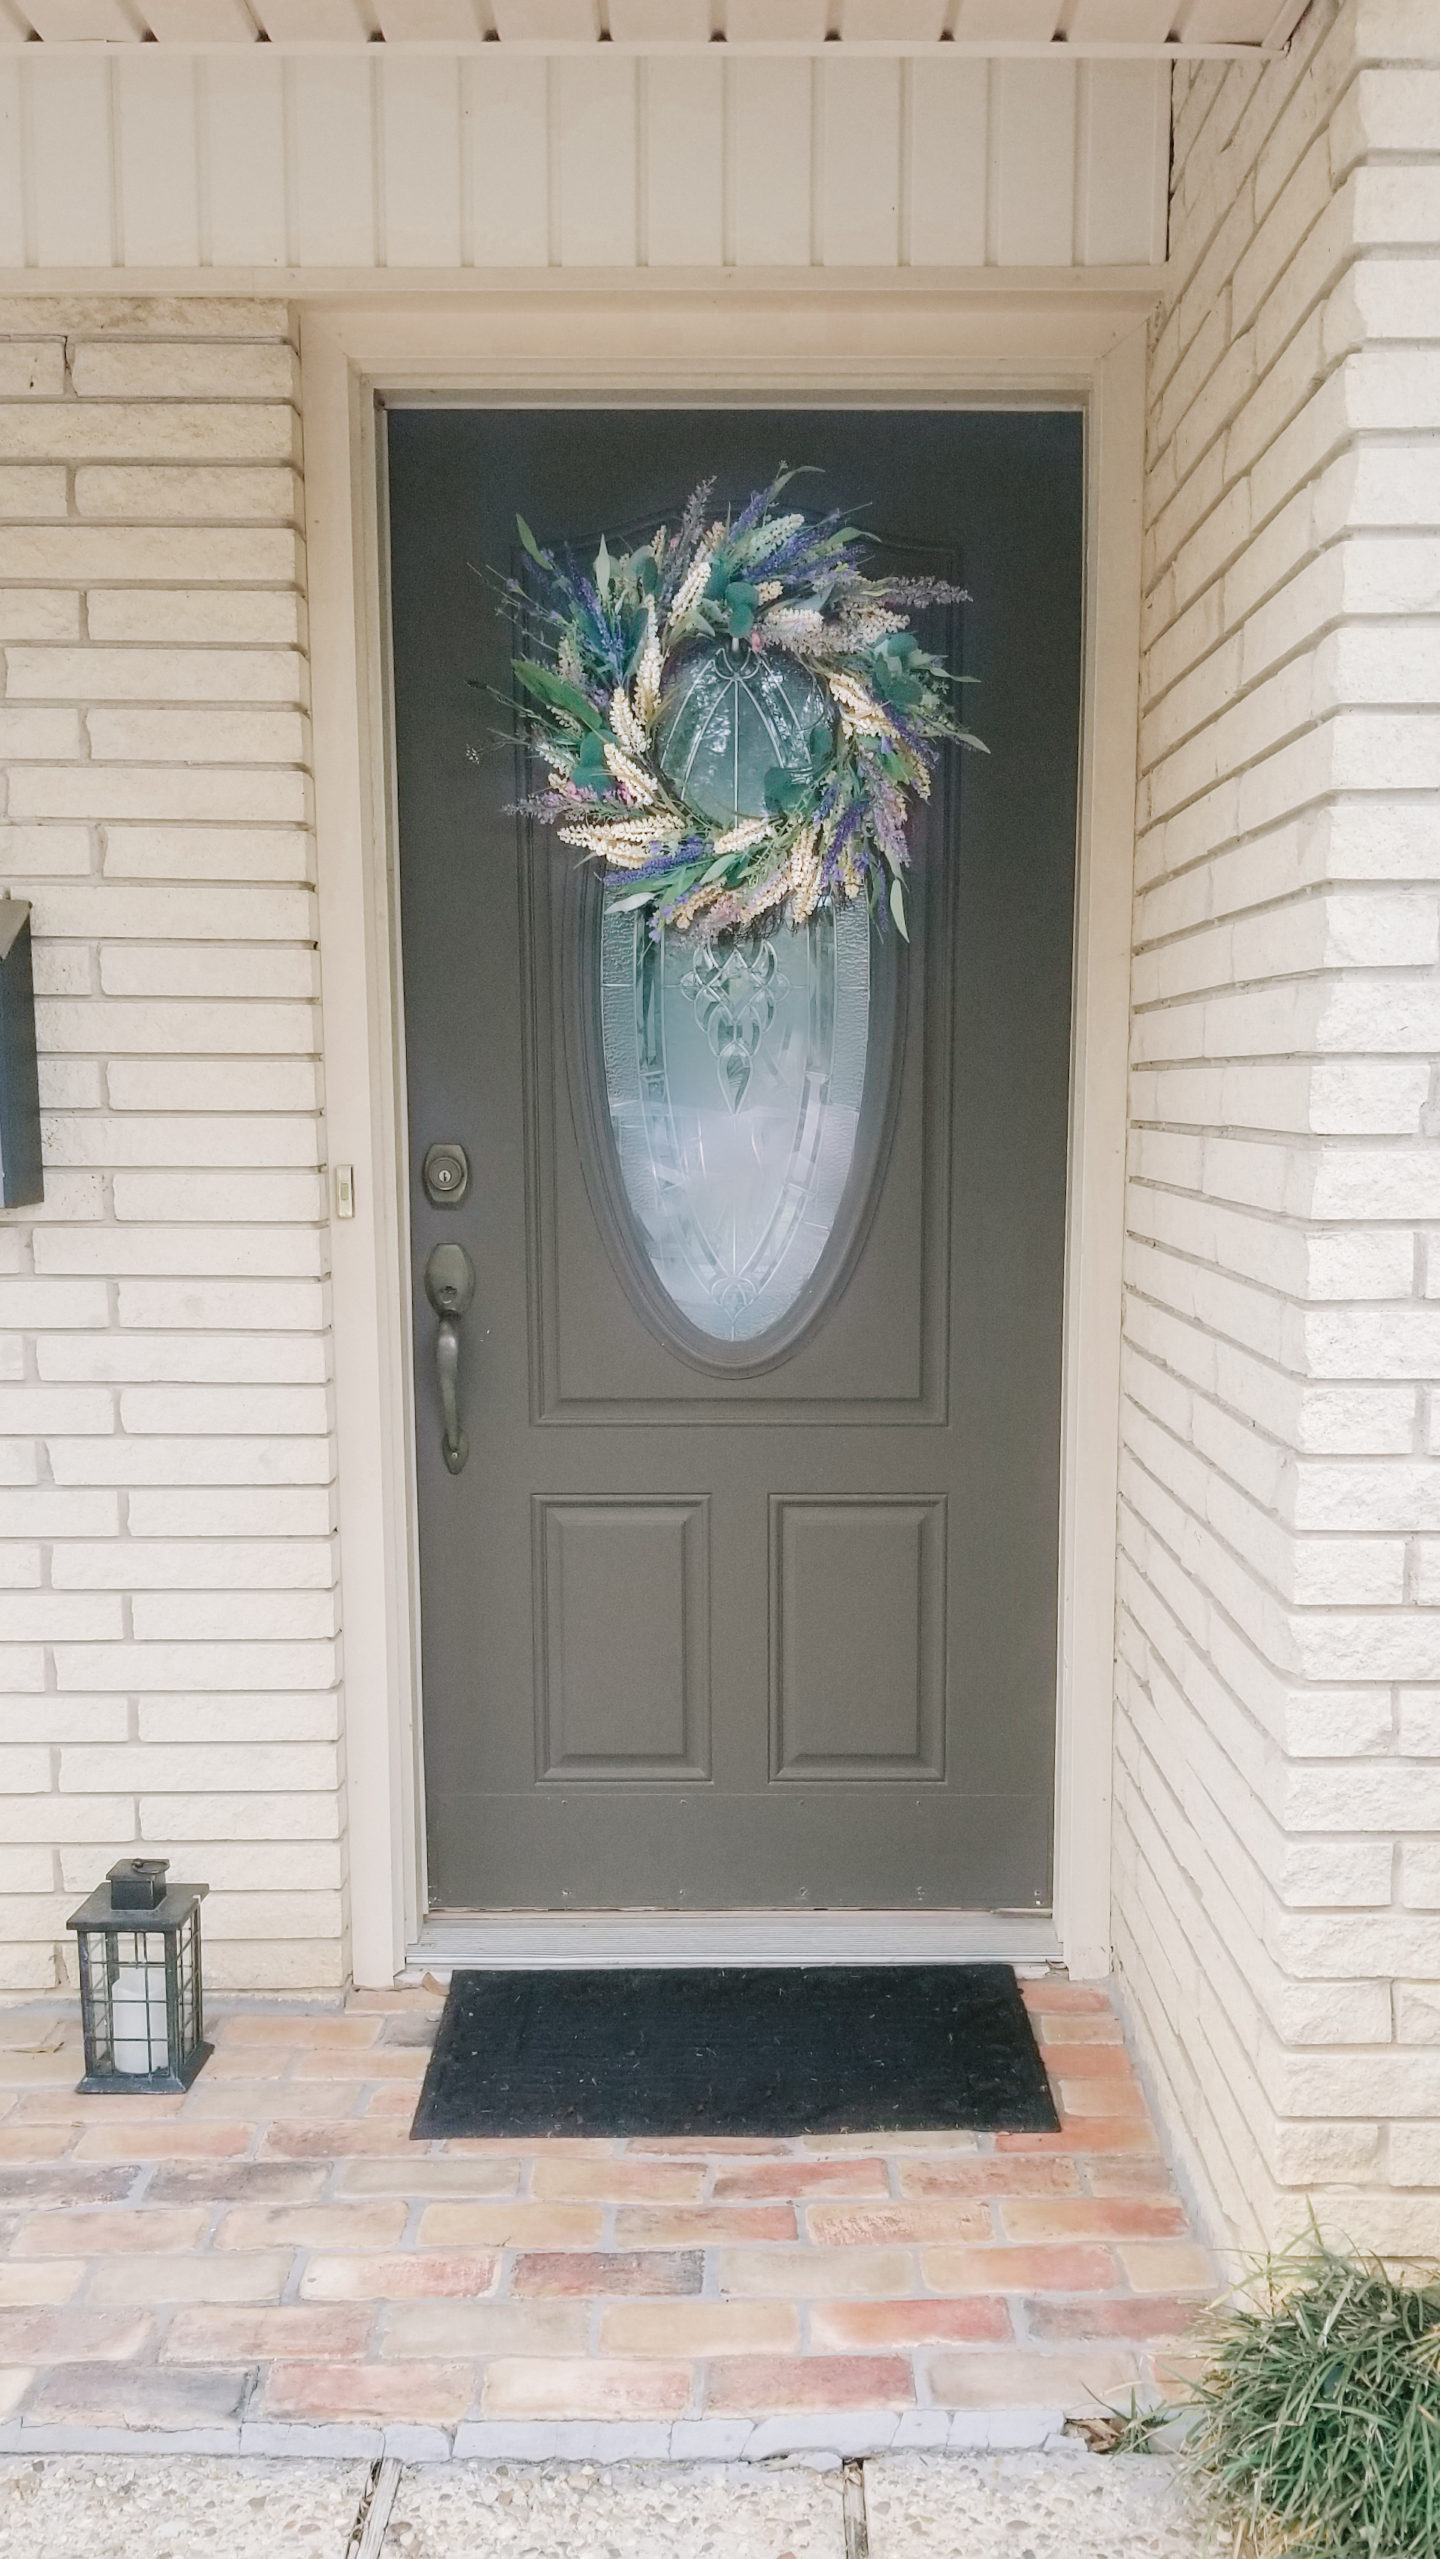
Spring is so close! It was 80 degrees here in Louisiana this weekend; can you believe it!? I love looking outside and seeing the trees start to bloom with bright white and pink petals. After the interesting winter we experienced, I’m glad temperatures are already warming up. One of my favorite things about decorating is bringing fresh but minimal updates to the important areas of my home. I wanted to start by creating a spring wreath for the front porch to help set the tone.
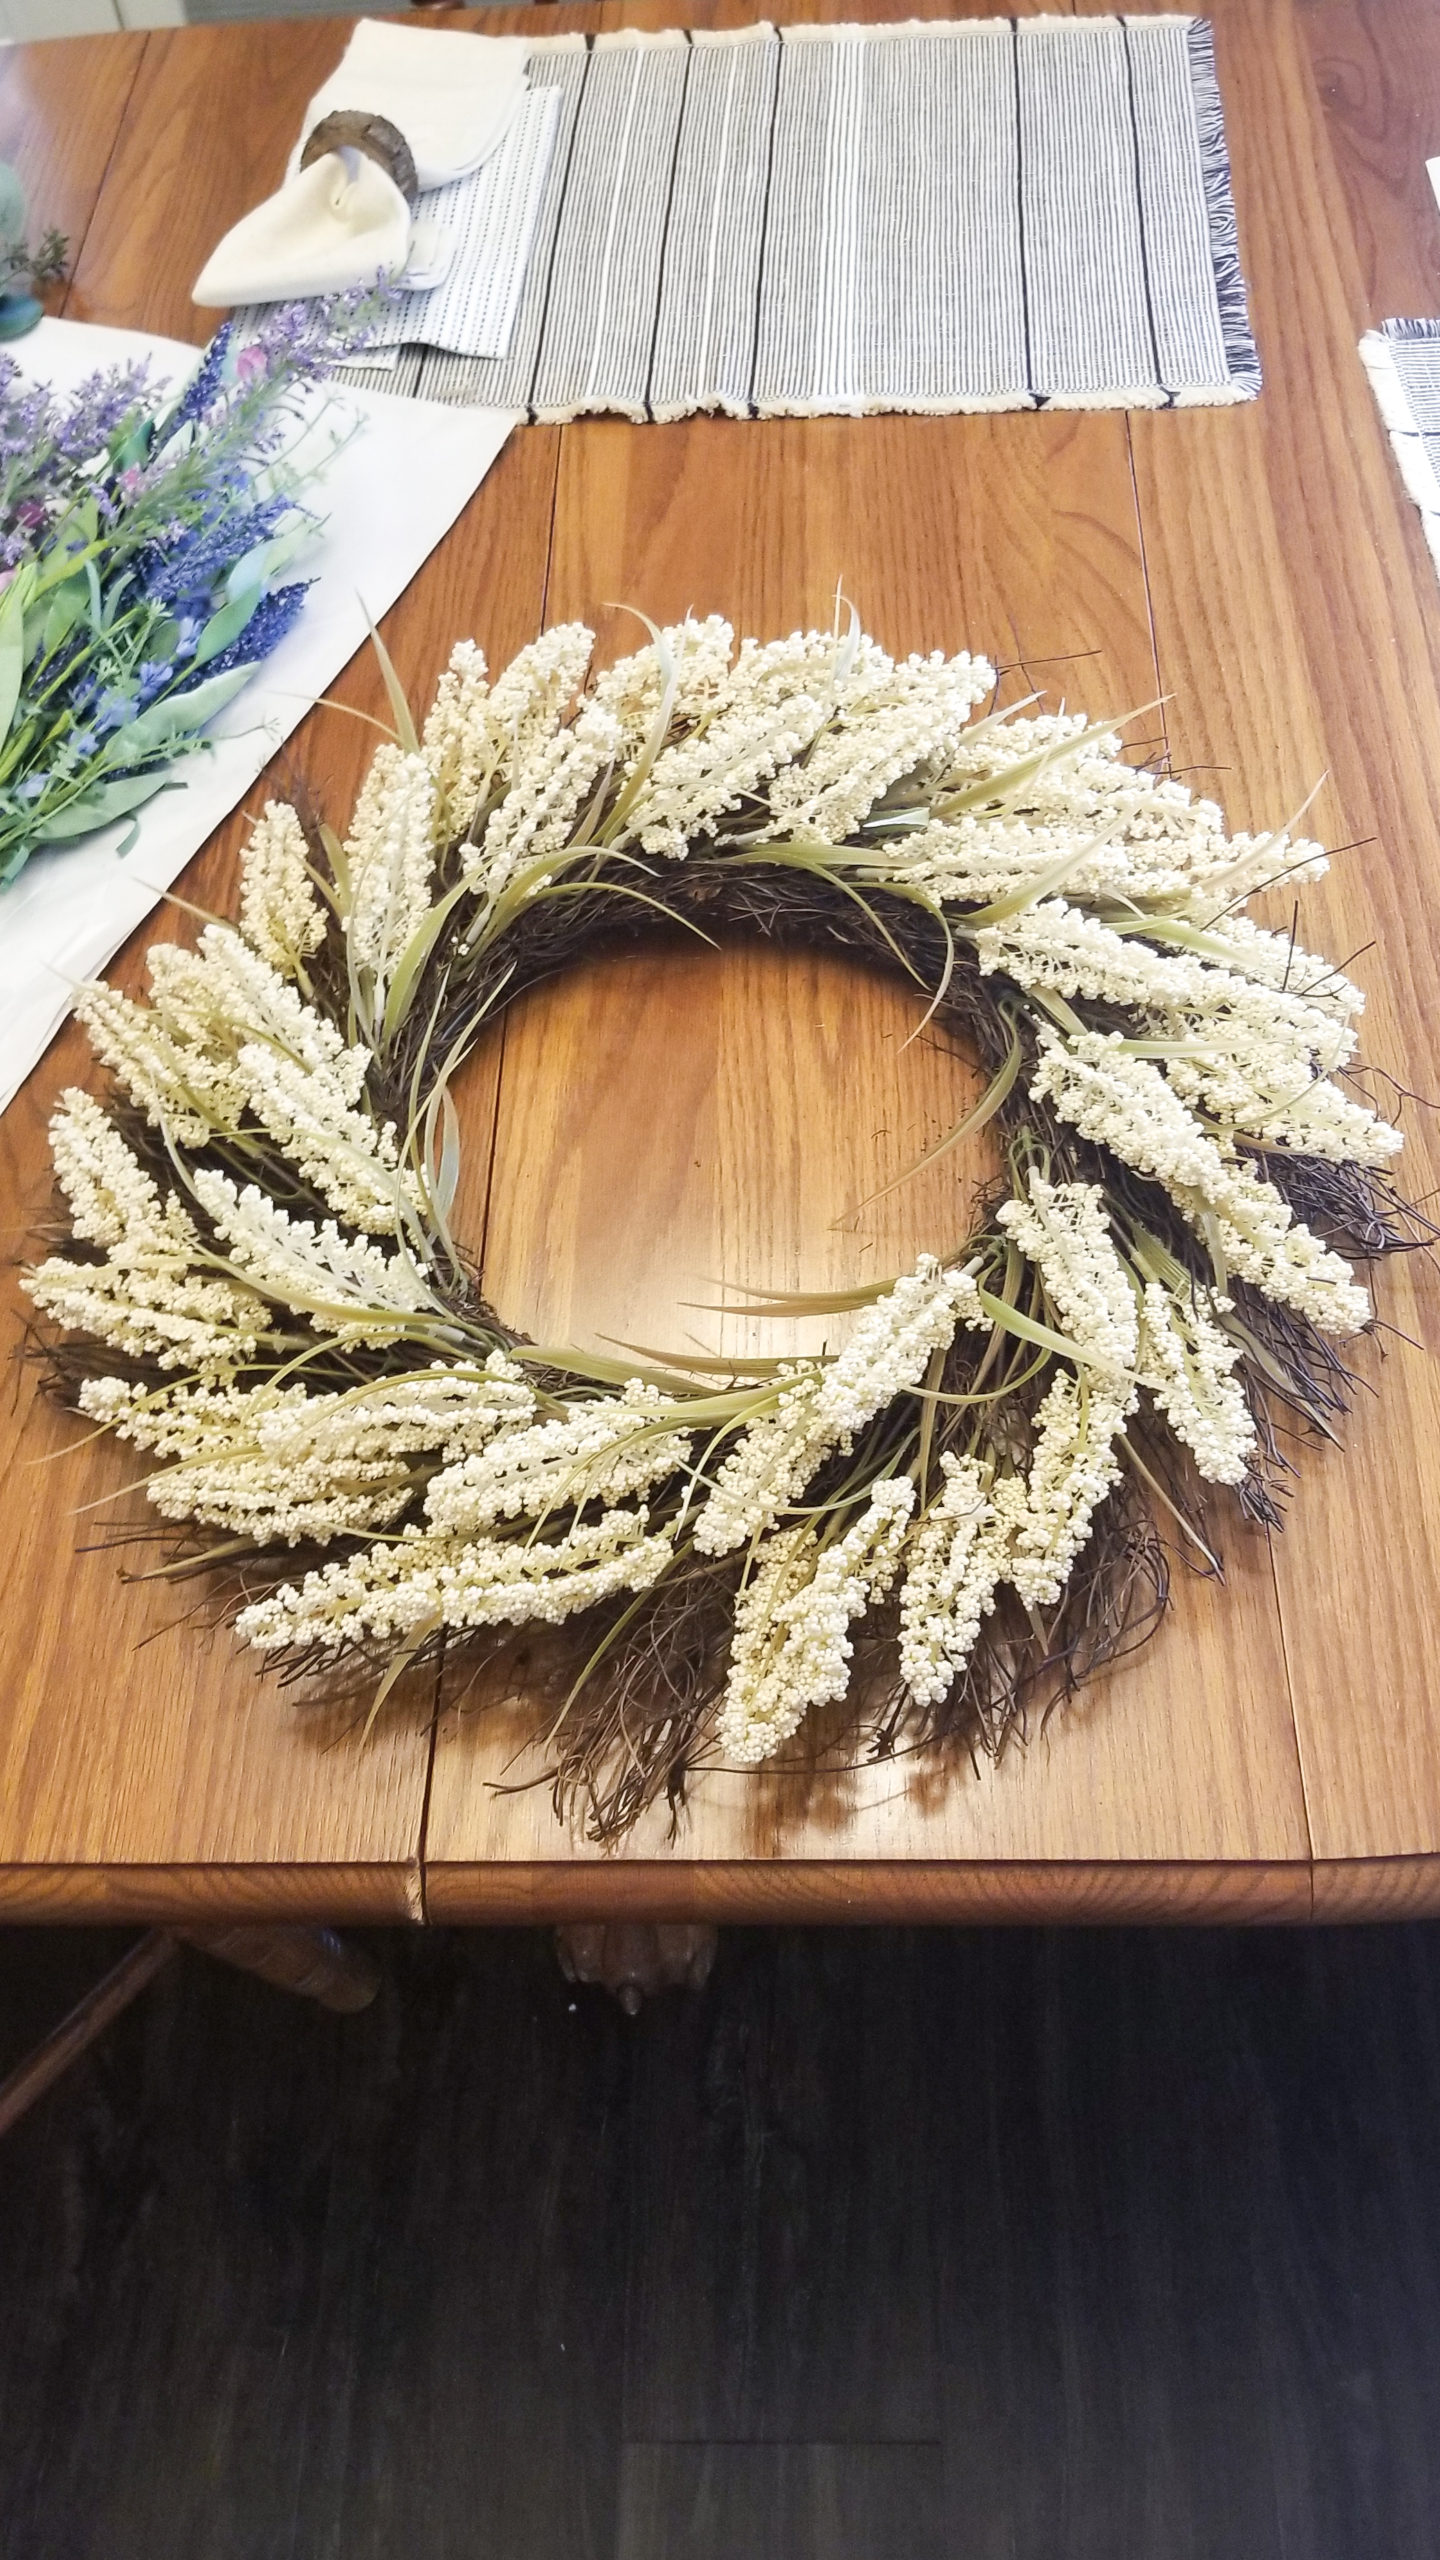
At the beginning of winter, I posted a DIY wreath using a basic grapevine wreath and a few festive enhancements. I was able to purchase my base wreath at a discount and it already had the cream lavender sprigs in it. I decided it would be handy to use year-round, changing out seasonal accents, instead of purchasing a new wreath each season.
My Method and Products
For my front door, the size that works the best is an 18-inch wreath, but you can go larger or smaller to fit your space. Keep in mind that once you place the additional sprigs of floral, it will bulk up a bit and appear larger. This process is so easy and takes no time. It’s completely customizable and it’s an affordable way to keep your front porch inviting and festive.
Keep scrolling to see my easy, step-by-step guide on putting together your own wreath. (P.S. I’m no expert, this is just what works for me!)

If you like the lavender theme, here are some products that are on sale at the moment.


Step-by-Step DIY Spring Wreath
- Begin with your base wreath. You can choose a grapevine wreath like this one, or something with a little more greenery already built-in. Either way, your goal is to use this base all year long. This should be a one-time purchase.
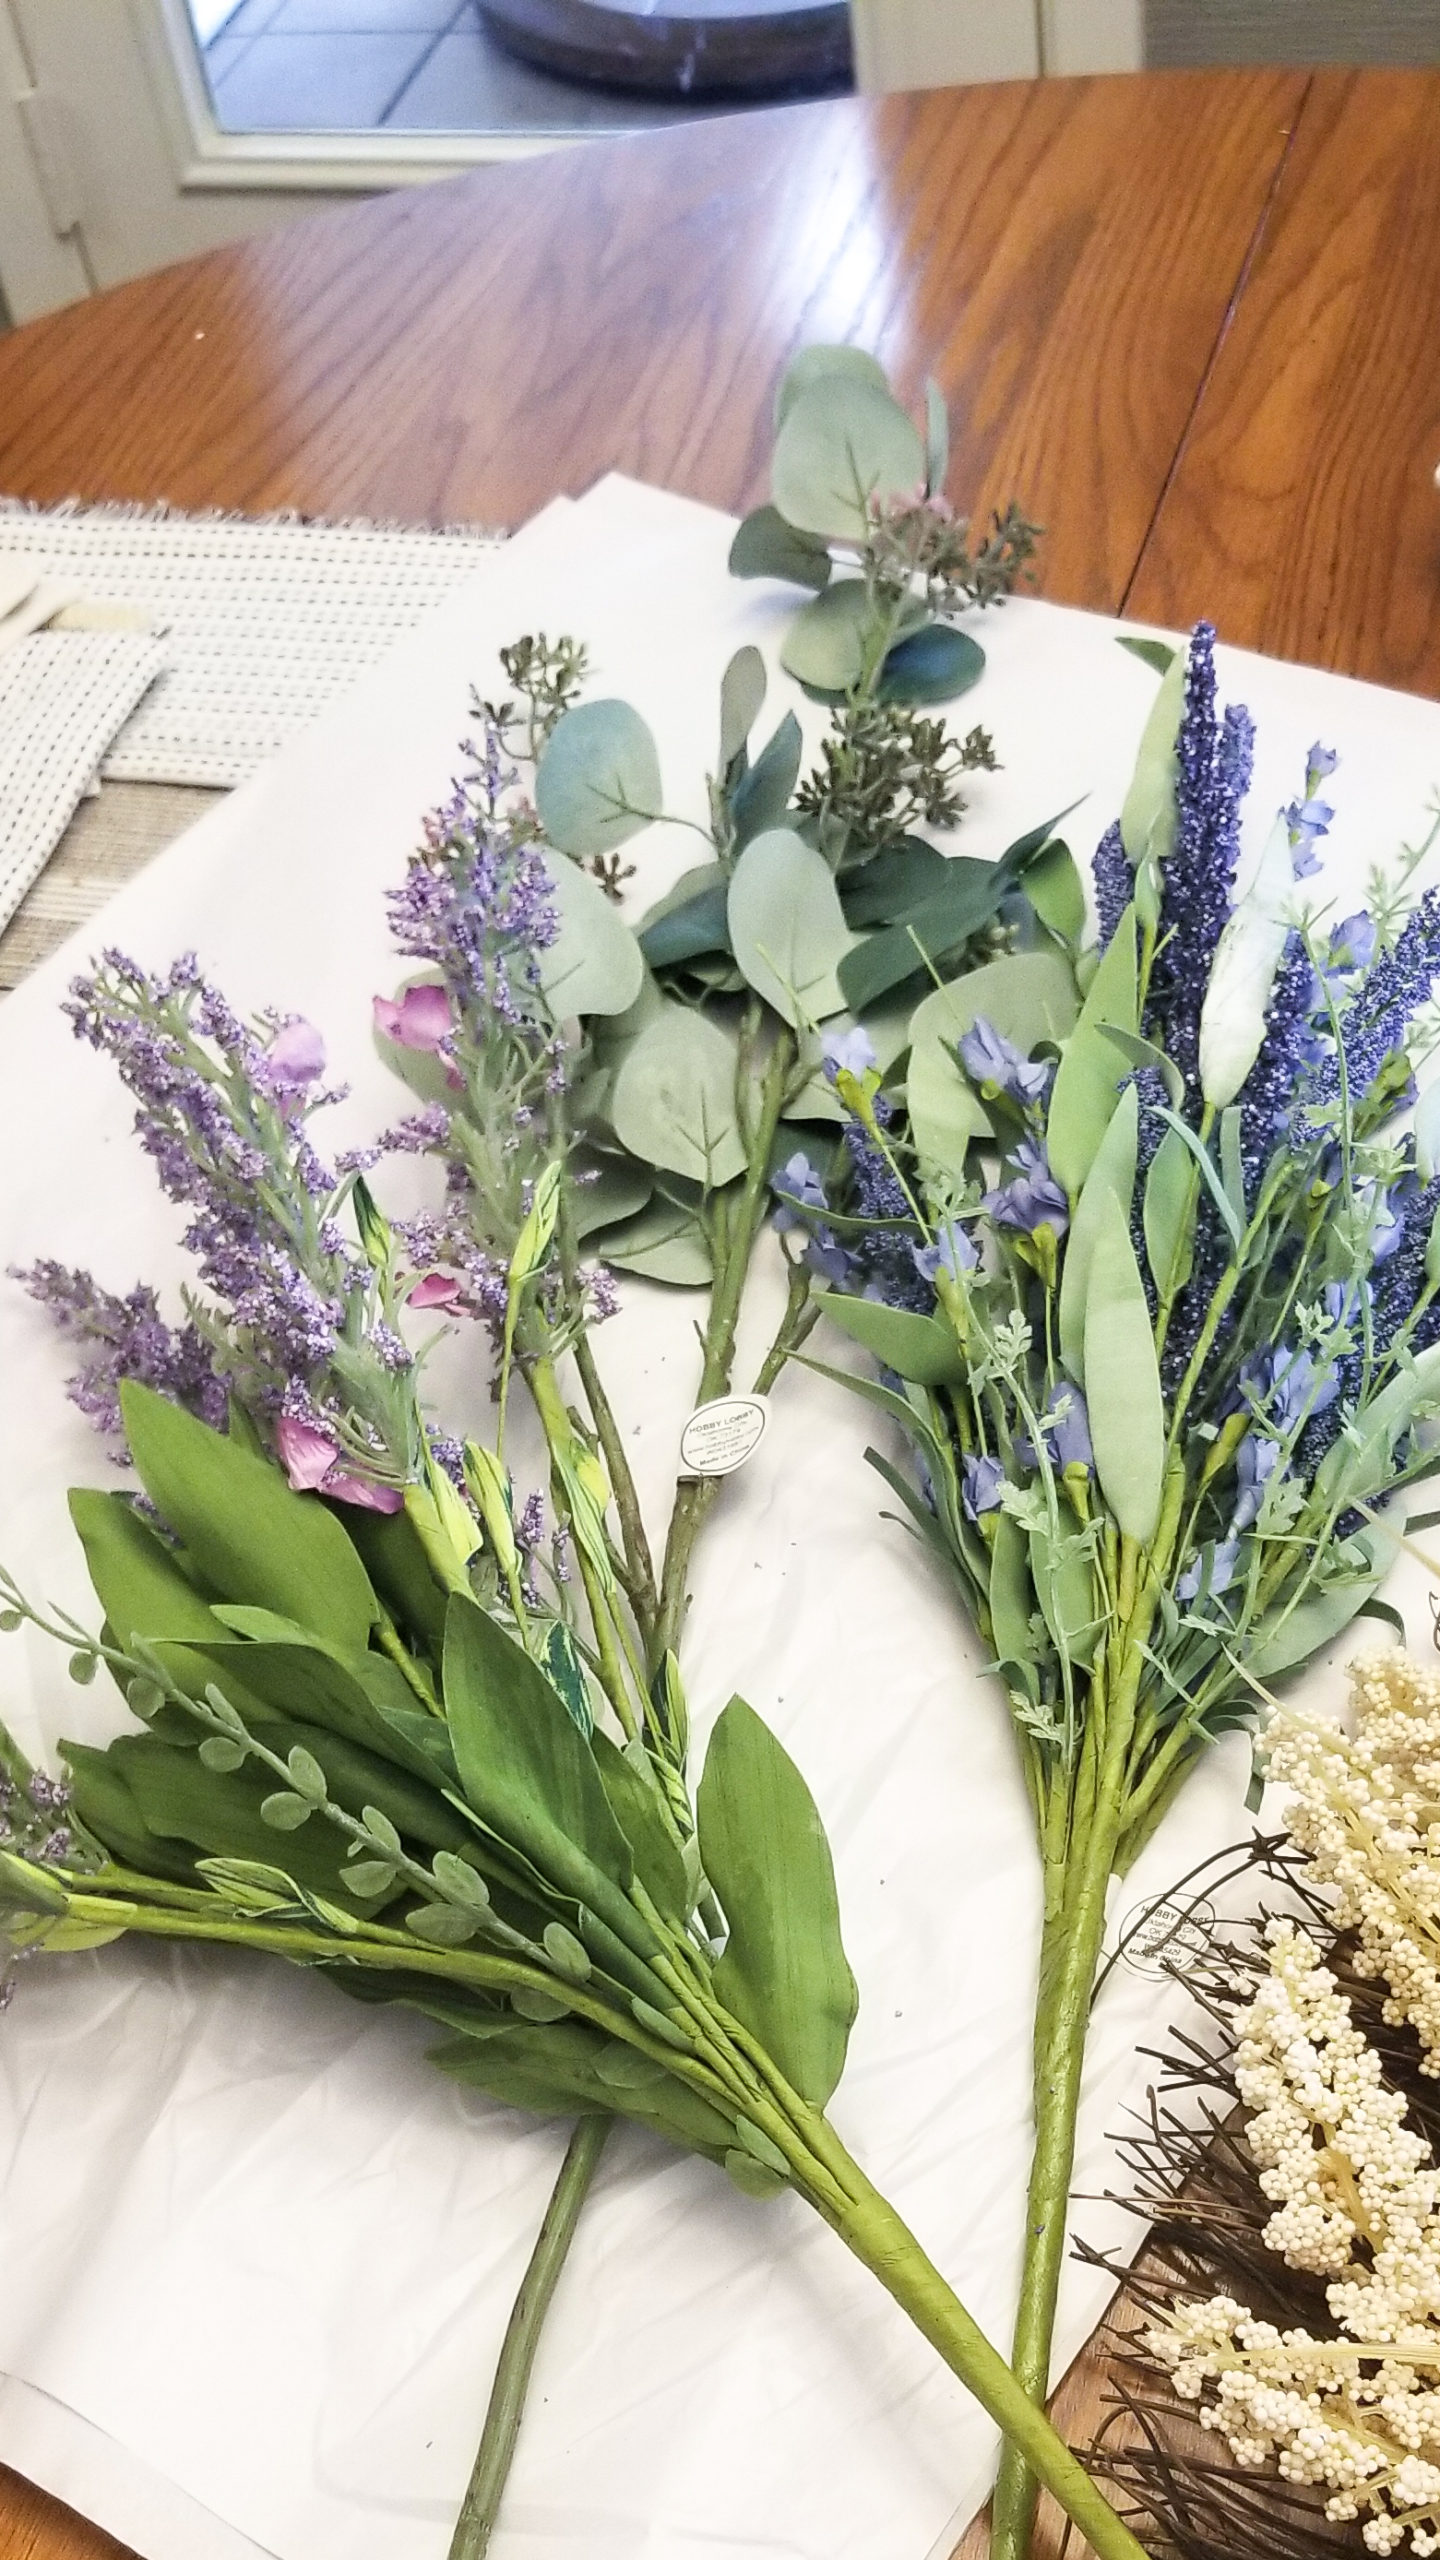
- Choose a color scheme. I went with lavender and greenery. Depending on how full you want your wreath to look, you may need to purchase 3-5 different sprigs of silk floral. For my Spring wreath, I bought one bush of blue-toned lavender, one bush of light lavender, and one bush of eucalyptus.
- Cut the bushes apart into separate sprigs. This step is important because it provides the quantity for fullness and balance.
- On a clean workspace, arrange the sprigs all around the wreath. You can choose whatever pattern you like; I went for a randomized design.
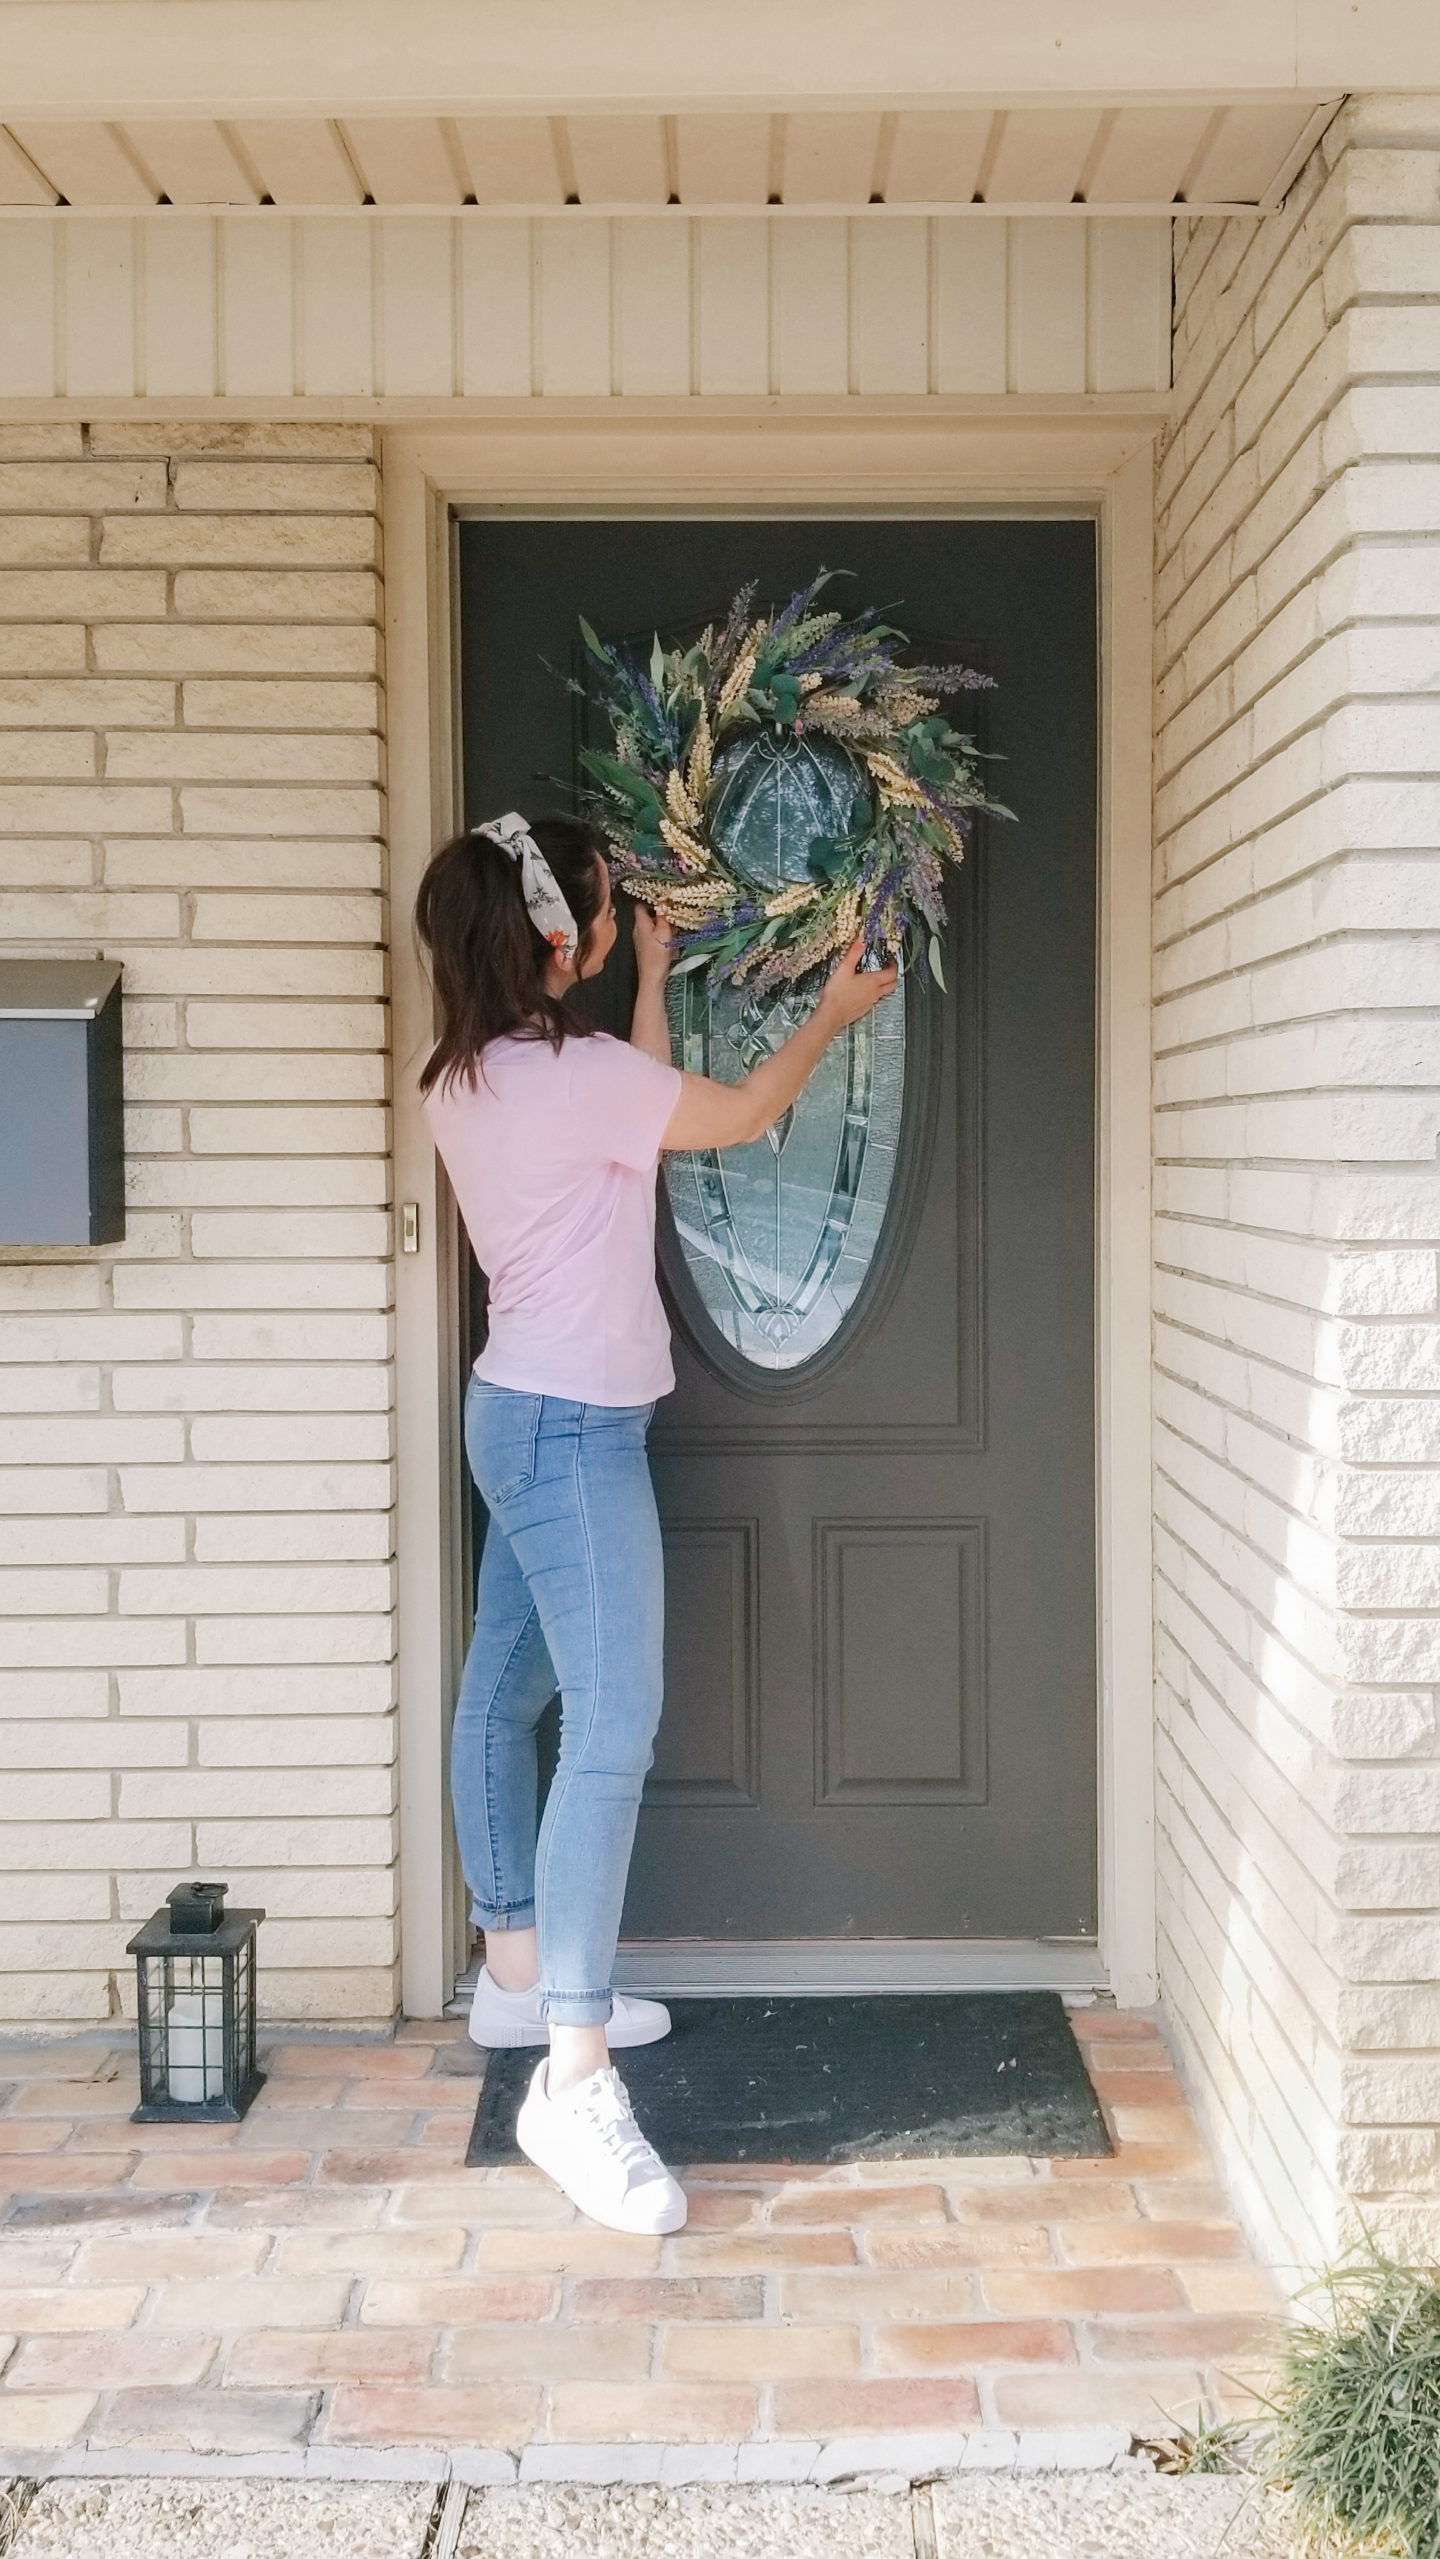
- Once you are satisfied with how the arrangement looks, simply insert the stems into the base wreath. You don’t even need glue! As long as you can firmly push the stems in, they should hold.
*Tip: Coordinate your purchase for when floral is on sale. Most craft stores have frequent sale periods of up to 40% or even 50% off. My spring update cost less than $16 which is still far cheaper than full wreaths, even when they’re on sale.
Outfit details below:
I hope you try this simple and fun DIY! I would love to see photos of your finished products. On Instagram, use the hashtag #lauranearandfar (or tag me on Facebook) so I can see and share your beautiful creations.
Xo, Laura